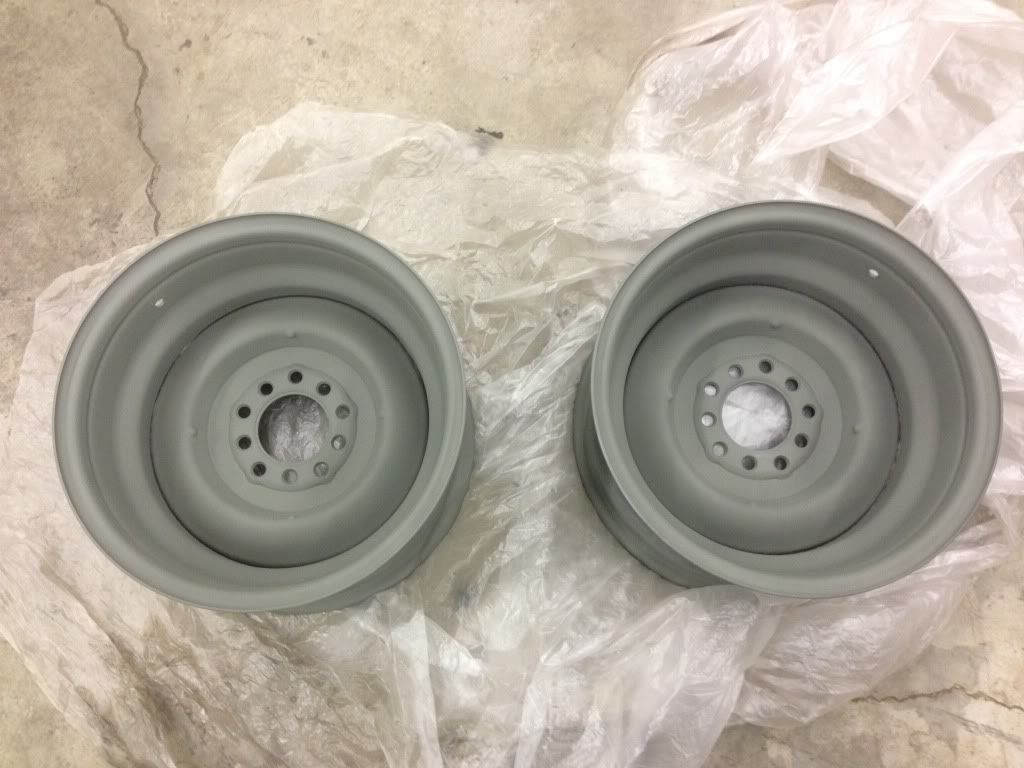
Here's after blasting.

Here's some etching primer applied.
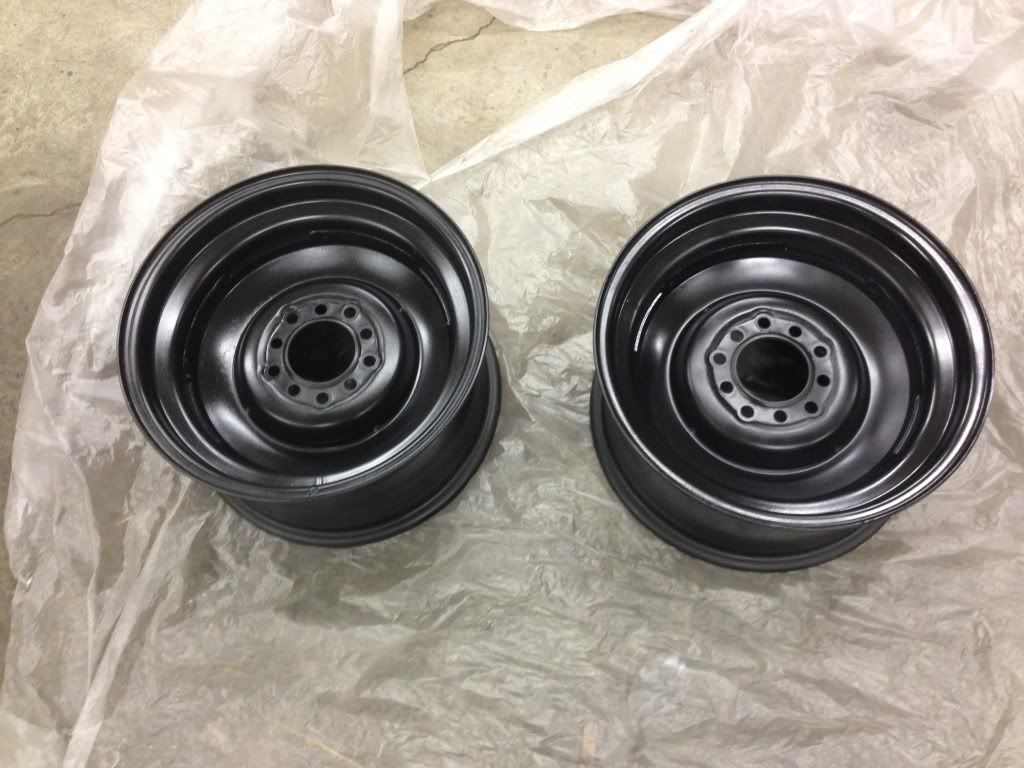
And here's the backside painted. I'll wait to paint the fronts when I'm ready to paint the truck. Hopefully getting the tires tomorrow.
 Fully Engaged
Posts: 423
Joined: Thu Jan 21, 2010 7:49 pm Location: Brandenburg, KY |
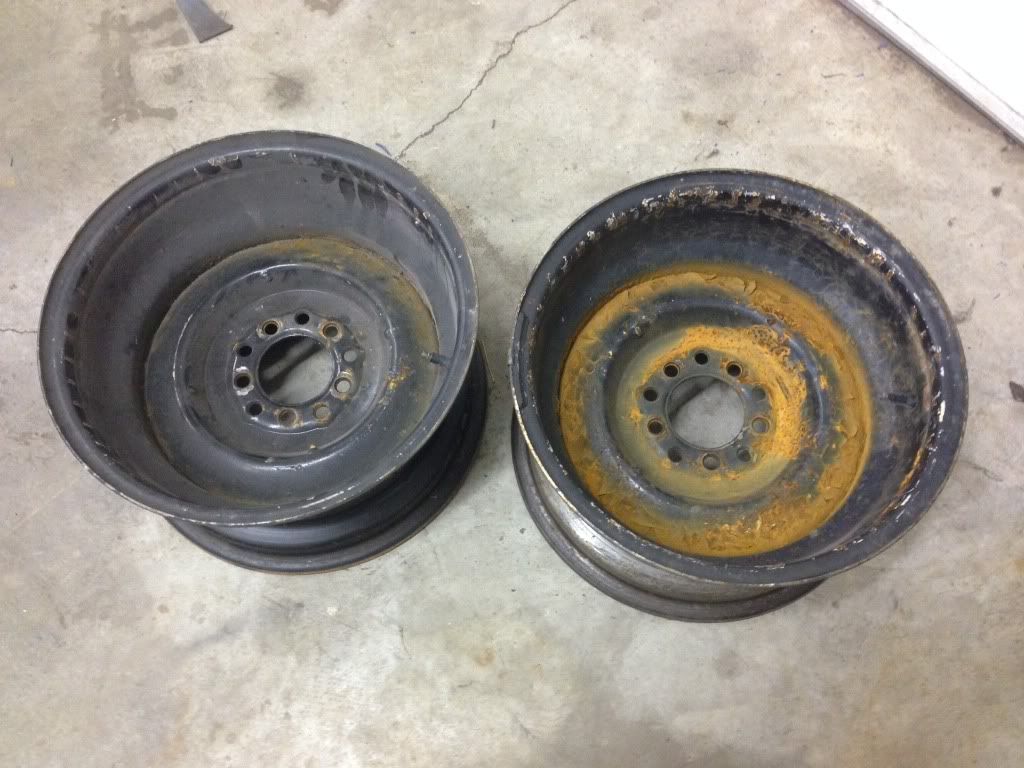
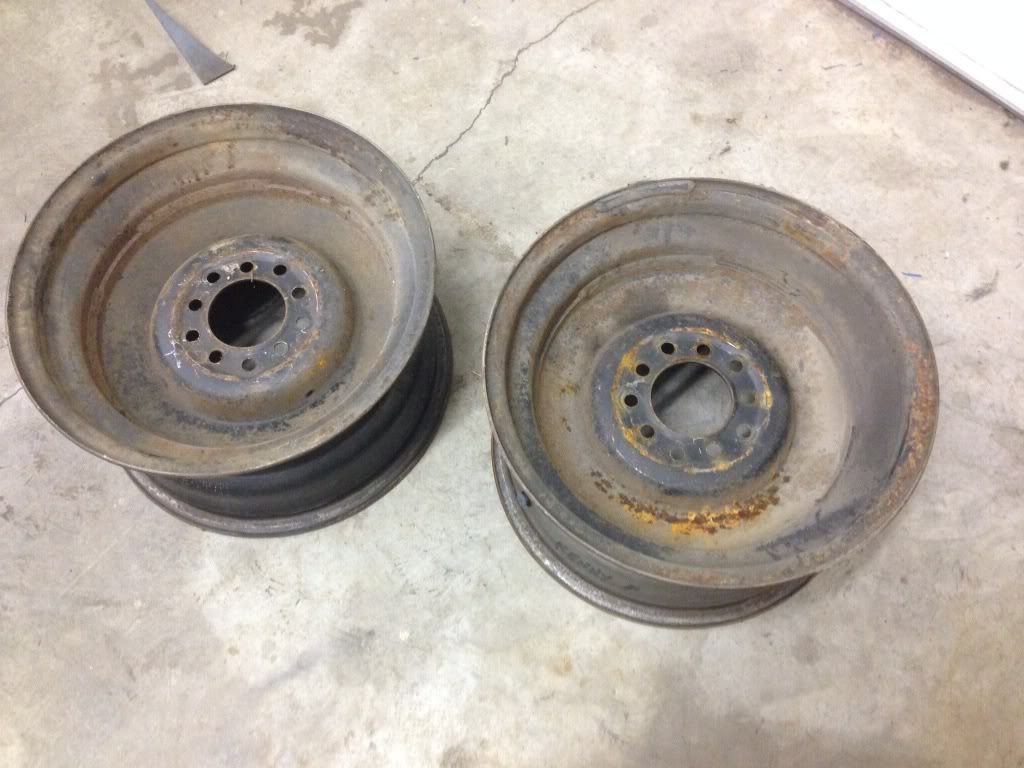
Here are the wheels I'm using on the back. They are also Wheel Vintiques, just not new. Definitely in need of some TLC.
Here's after blasting. Here's some etching primer applied. And here's the backside painted. I'll wait to paint the fronts when I'm ready to paint the truck. Hopefully getting the tires tomorrow. |
Fully Engaged
Posts: 423
Joined: Thu Jan 21, 2010 7:49 pm Location: Brandenburg, KY |
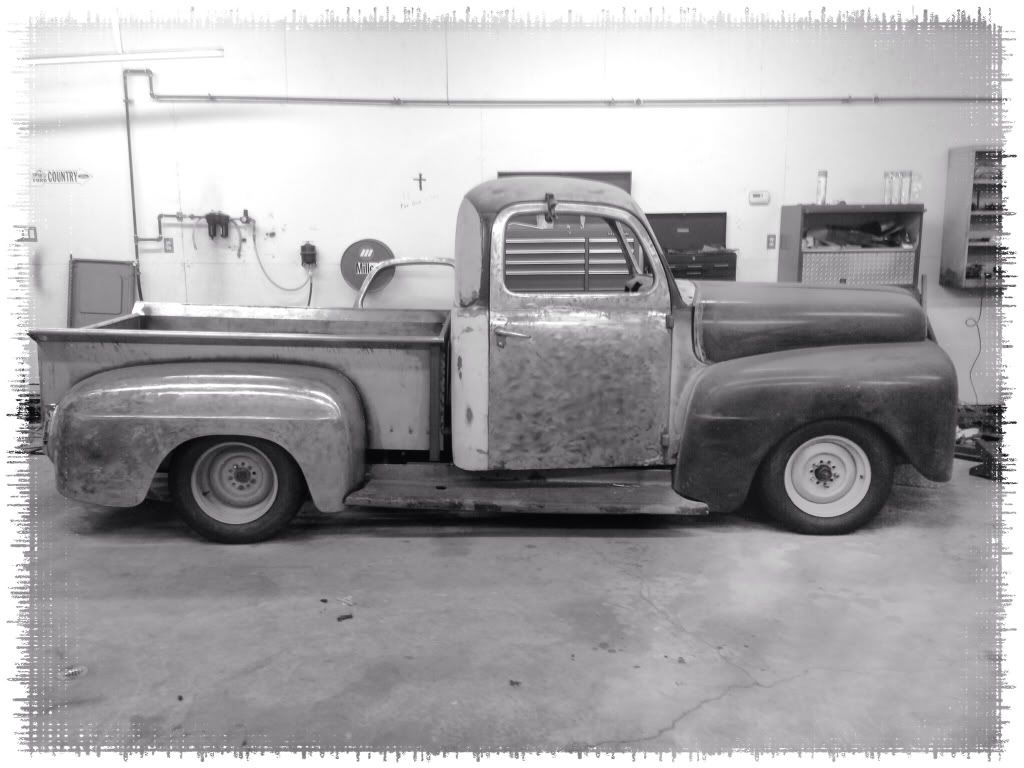
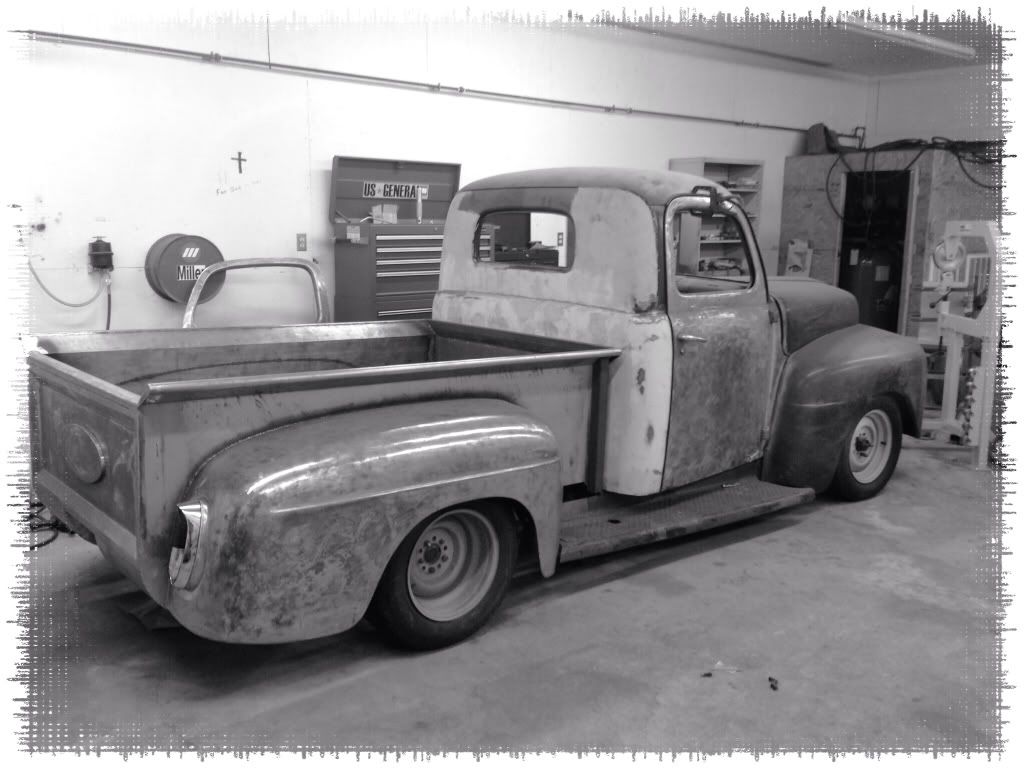
Got the rear wheels and the new tires on today, not much but progress. Hopefully start working on the bed again soon. I would like to get some epoxy on it soon.
  |
 Fully Engaged
Posts: 211
Joined: Thu Jul 28, 2011 1:30 pm Location: Inglewood, CA Country: USA |
I just went through your whole project page and what a nice project it is.
|
Fully Engaged
Posts: 423
Joined: Thu Jan 21, 2010 7:49 pm Location: Brandenburg, KY |
Thank you, it's been fun!
|
Fully Engaged
Posts: 423
Joined: Thu Jan 21, 2010 7:49 pm Location: Brandenburg, KY |
I've been back and forth on whether to use a tilt front-end or try and repair some pretty bad fenders and hood. I've finally decided on the tilt front-end.
It got pretty dirty sitting around all this time so I used a degreaser then dawn soap and some comet cleanser on the underside. I'm using some conduit and duraglas to strengthen it for use with a linear actuator. Big thanks to DarrelK for the advice about this.  Here's the first piece of reinforcement I made today. I filled the conduit with sand to keep it from collapsing then bent it with this bender I rigged up.  This is actually two pieces of 1/2" EMT conduit. I ground the coating off on the end and welded together. The coating is toxic when welding so care must be taken. I welded next to an open overhead door with a respirator on. I laid a few tacks and walked away for a few seconds then repeated.  I roughed up the conduit with 40 grit on a roloc then followed with some 36 grit by hand. I've also cut some grooves in it on top and bottom side to help the Duraglas bite some more. I sanded the fiberglass with 36 grit by hand and used a pick to scar up the surface as well.  I still have to weld the top piece(it's on the bottom here) of the mount on. I'm also going to add a couple of braces from the mount to the halo support I made.  Hopefully the Durglas will be here by this weekend. |
Fully Engaged
Posts: 423
Joined: Thu Jan 21, 2010 7:49 pm Location: Brandenburg, KY |
Started bonding the conduit to the fiberglass. Used some Durglas. Still going to add some more maybe tomorrow. Also have some braces tacked in going from the mount to the conduit halo. Going to put back on the truck and see if they clear. Also have to decide if more bracing is needed.
 |
Fully Engaged
Posts: 423
Joined: Thu Jan 21, 2010 7:49 pm Location: Brandenburg, KY |
Well, another change of plans. I tried to get on board with making this a tilt front end but it just wasn't meant to be. I think it would be kinda cool but it just didn't excite me enough to put in the work involved to make it happen. I always wanted stationery fenders, grill, etc. with a tilt hood. So I'm trying to make it happen with fiberglass unit. I took the sawzall to it yesterday so no turning back.
   I will extend the fenders inward with some fiberglass, the hood needs some work as well, the fenders where they meet the cab also. |
Fully Engaged
Posts: 423
Joined: Thu Jan 21, 2010 7:49 pm Location: Brandenburg, KY |
Getting around to some detail work. It's tedious but needs to be finished.
I ground down the welds on the bed rails and inside of tailgate top rail. BEFORE   AFTER   The teardrop on the corners of the bed was to flimsy so I boxed it in. BEFORE  Four pieces shaped to box it in.  AFTER  |
Fully Engaged
Posts: 211
Joined: Thu Jul 28, 2011 1:30 pm Location: Inglewood, CA Country: USA |
Looking good, looking real good.
|
Fully Engaged
Posts: 423
Joined: Thu Jan 21, 2010 7:49 pm Location: Brandenburg, KY |
Thank you. Small, tedious work that has to get done but can sometimes cause burnout when you don't see "big" stuff getting finished.
I didn't have a wide enough piece of metal when I made the bedsides to go all the way down to the running board and I didn't want a bolt on filler piece so I'm welding in a piece. Got the passenger side finished tonight. I plan on making the running boards on down the road.   |
Return to Completed & In Progress Member Projects
Users browsing this forum: No registered users and 89 guests