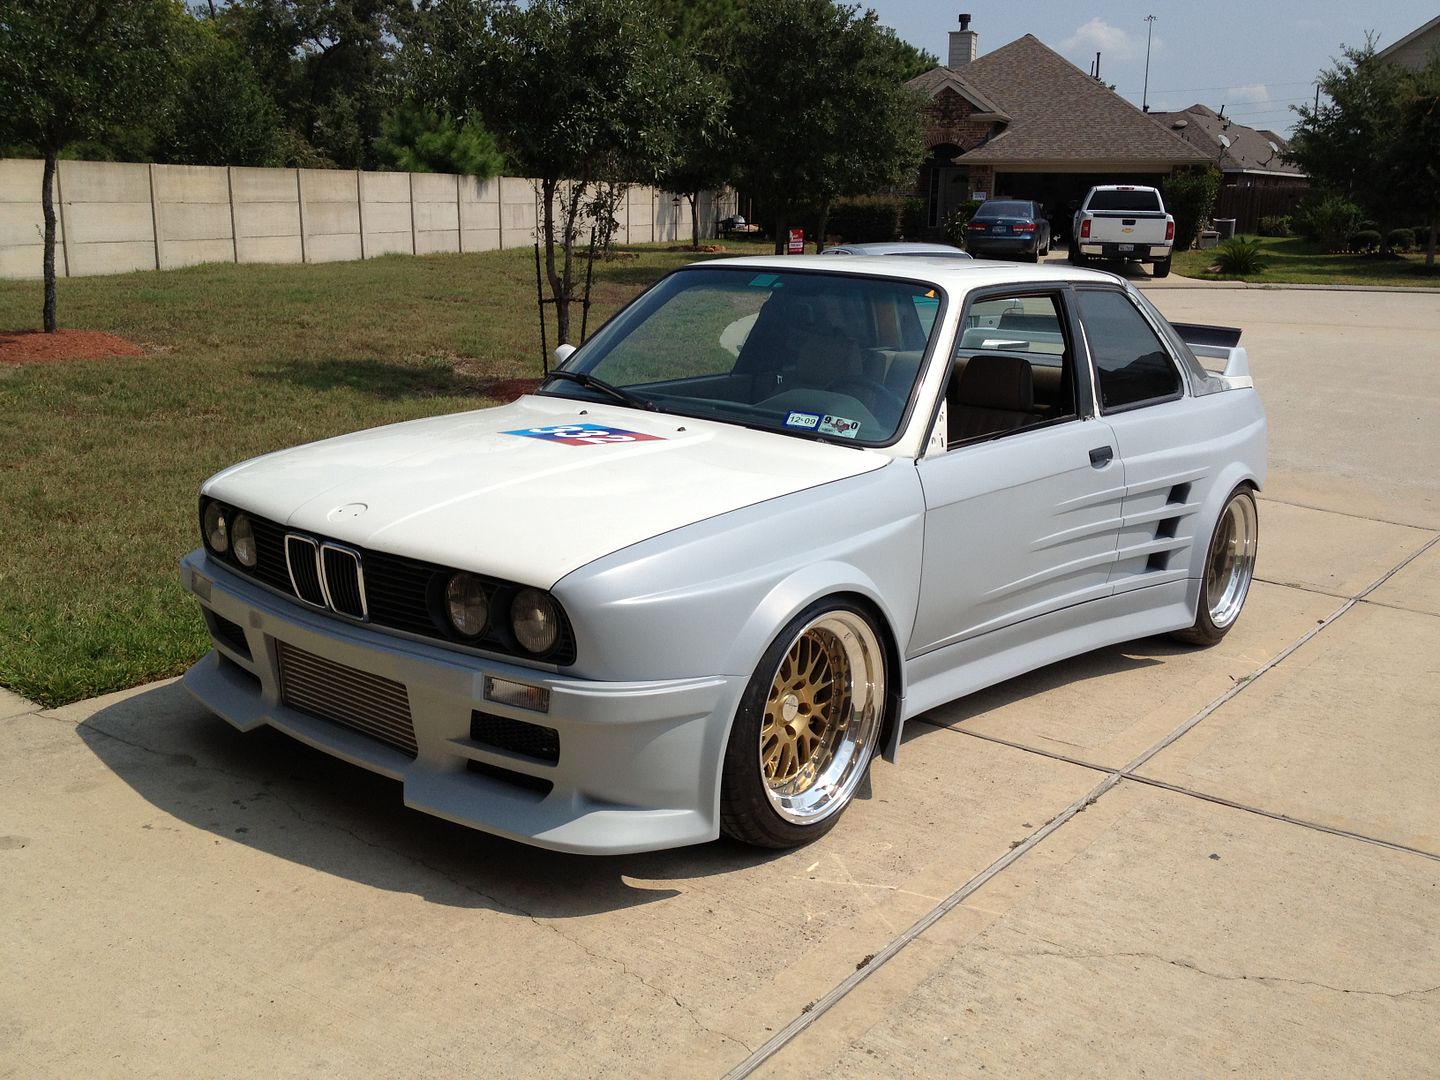
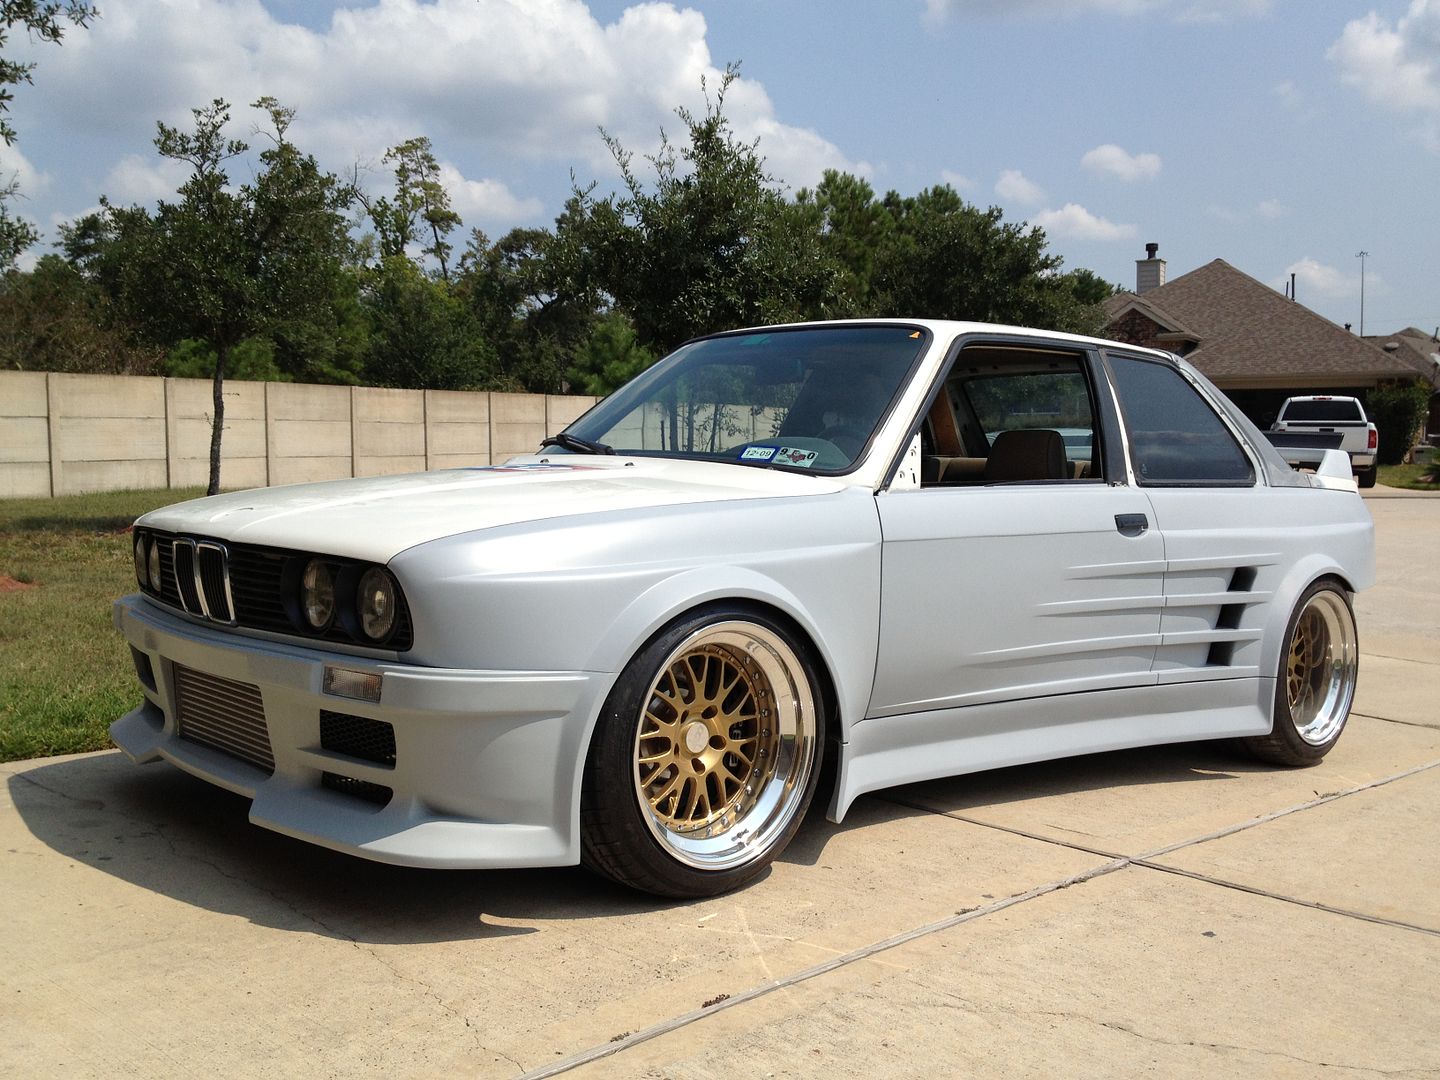
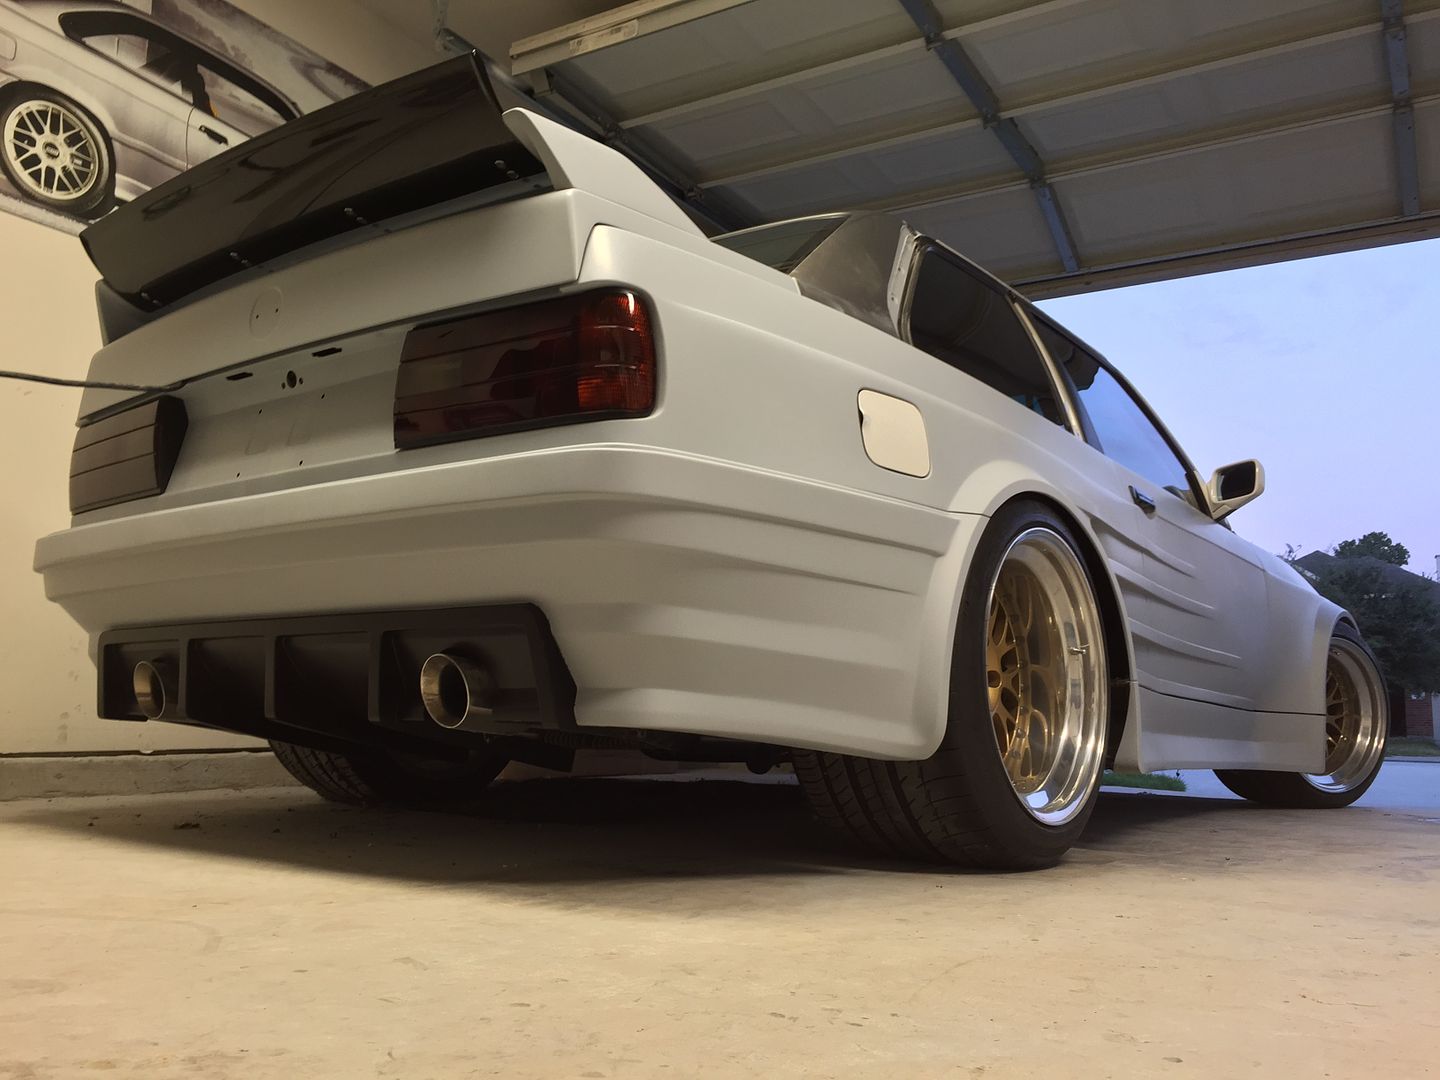
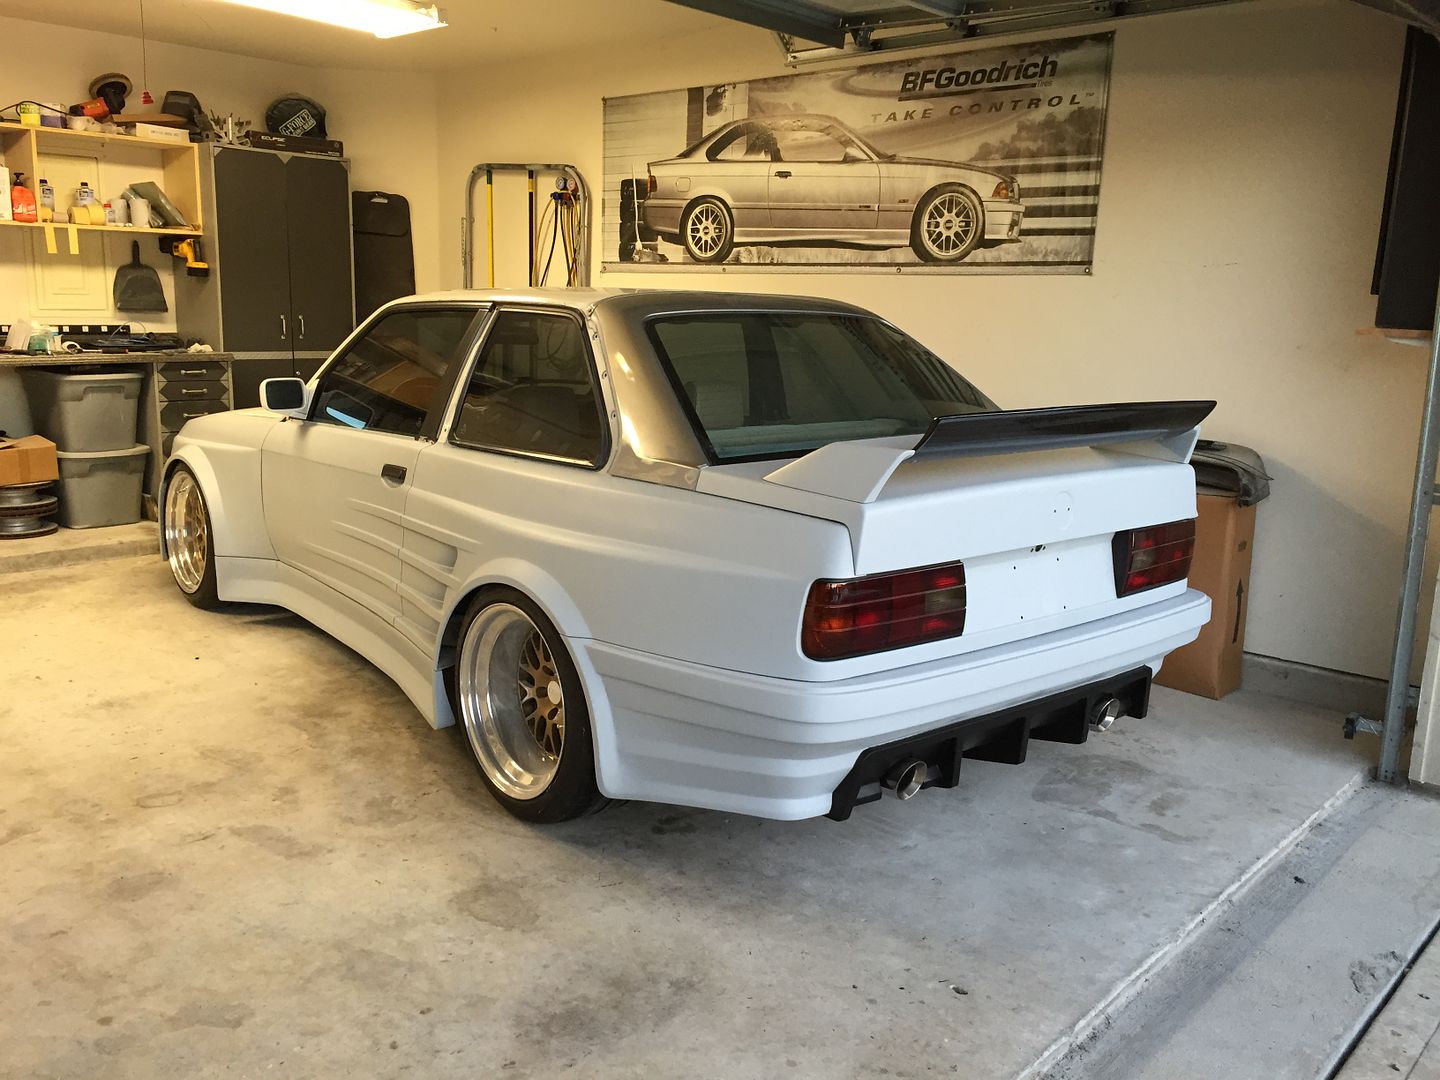
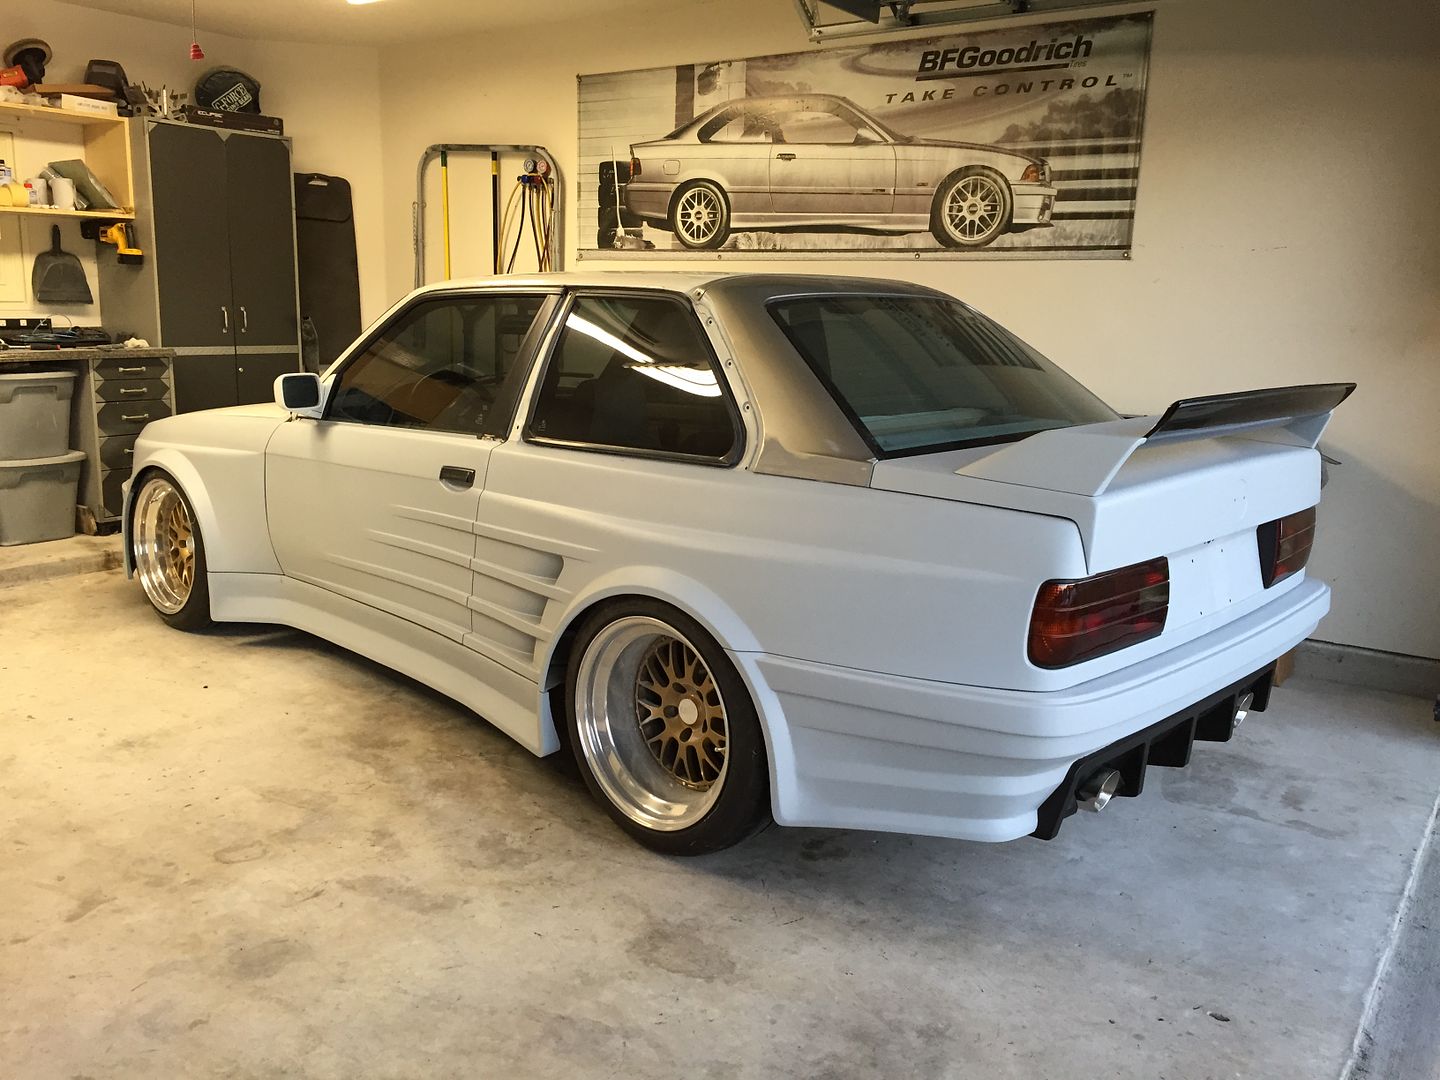
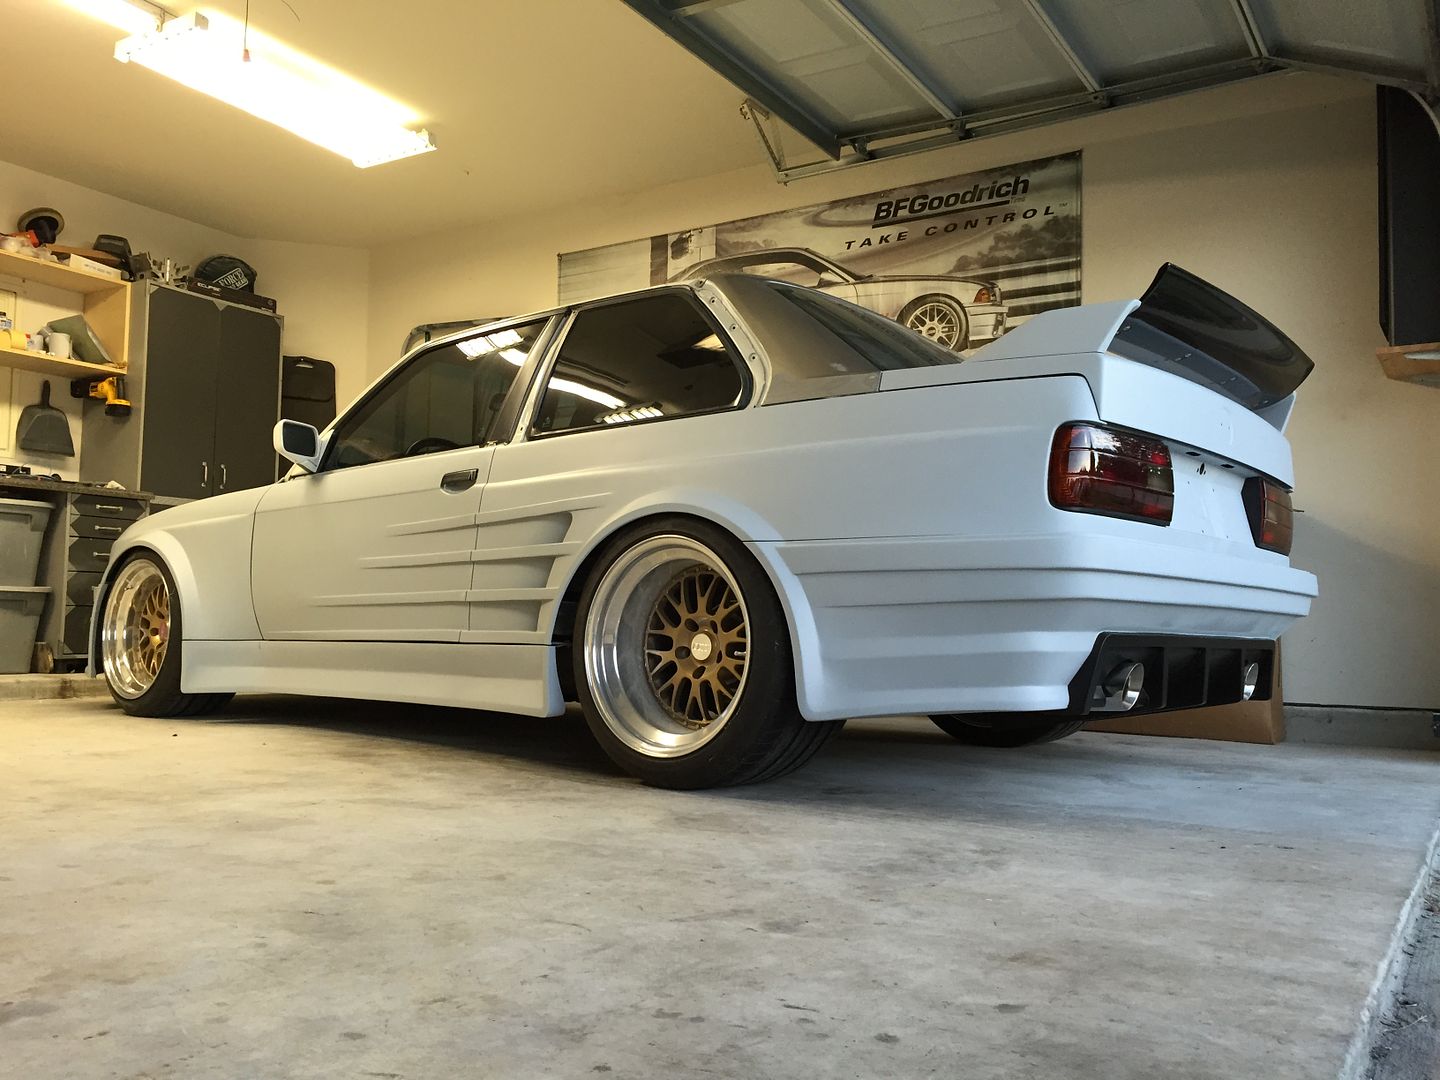
1991 BMW custom fiberglass wide bodied, supercharged beast

Show off your work! Anything from final results to full start-to-finish project journals.

User avatar

Settled In
Posts: 28
Joined: Tue Aug 06, 2013 5:40 pm
Location: Houston, TX
Country:
USA
PostPosted: Sun Sep 08, 2013 7:33 pm
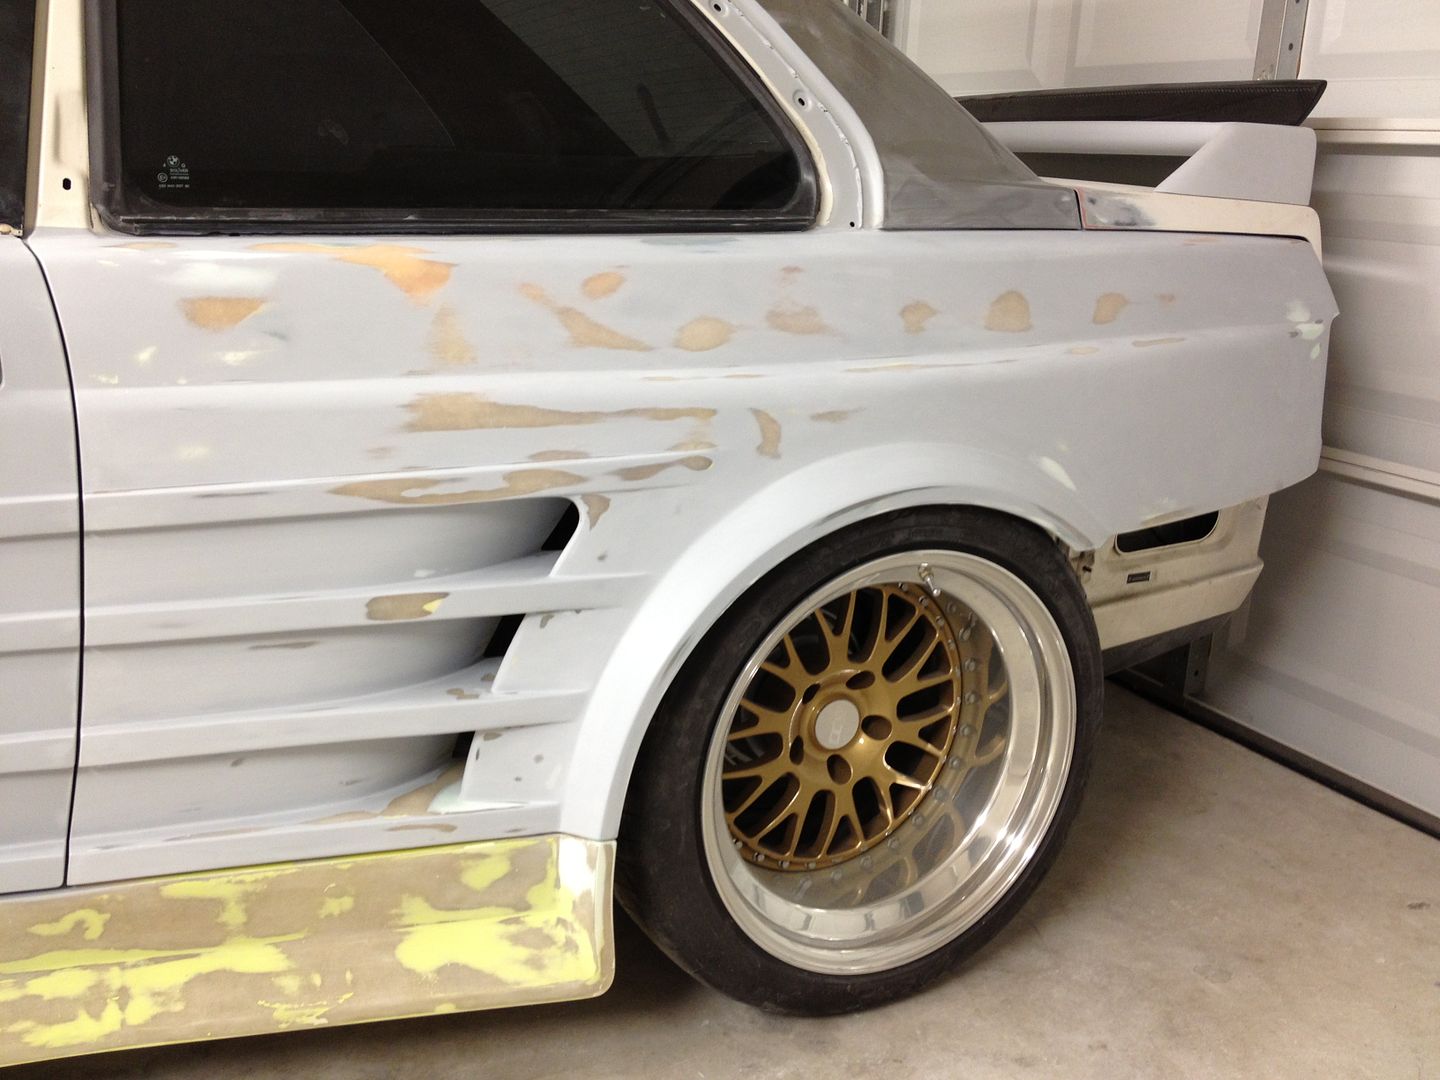
This weekend hasn't been very productive on my own car, between half a day yesterday spent in CHL class, the afternoon working on a customers car, this morning on a customers car... etc... today I had about 5 hours to work on the project.

I made the best of it and was able to fully block out the quarter panel, fill pinholes, level low spots with metalglaze etc. Blocking inside and compound curves of the vents was just awful. I had to cut up one of my palm sized Durablocks and make a long skinny one and a short skinny one, both with 45 degree ends to let me block into all the nooks and crannies. So much time spent in those there.

It is now pretty much ready for another application of 2K primer surfacer.

Image


Top Contributor
Posts: 6234
Joined: Tue Sep 16, 2008 1:17 pm
Location: Pahrump NV.
Country:
USA
PostPosted: Mon Sep 09, 2013 7:55 am
Cool project

I would be careful about how much Hi build you put down sounds like your putting down a lot
I know your sanding most of it off BUT the stuff has an uncanny ability to build were you don't want it built up.
Dennis B.
A&P Mechanic, FCC General radio Telephone Operator
Line Maintenance A&P Mechanic and MOC Tech specialist.

User avatar

Settled In
Posts: 28
Joined: Tue Aug 06, 2013 5:40 pm
Location: Houston, TX
Country:
USA
PostPosted: Sat Sep 14, 2013 5:41 pm
I got the quarter and sideskirt sprayed out in primer earlier this week. Been busy since but found time today to roll the E30 out into the sun for a little towel bath, take these pictures of the finished side, *and to turn it around to back into the garage. Time to start on the passenger side.

*I may or may not have gone for a joyride and annoyed the neighbors

Image


Image


Image


Top Contributor
Posts: 6234
Joined: Tue Sep 16, 2008 1:17 pm
Location: Pahrump NV.
Country:
USA
PostPosted: Mon Sep 16, 2013 9:23 am
Looks Very sharp
Dennis B.
A&P Mechanic, FCC General radio Telephone Operator
Line Maintenance A&P Mechanic and MOC Tech specialist.

User avatar

Fully Engaged
Posts: 188
Joined: Sun May 22, 2011 8:52 pm
PostPosted: Wed Oct 02, 2013 9:46 pm
awesome project, lookin forward to seeing more

User avatar

Settled In
Posts: 28
Joined: Tue Aug 06, 2013 5:40 pm
Location: Houston, TX
Country:
USA
PostPosted: Sun Sep 21, 2014 9:45 pm
So its been about a year since I last posted an update here. Thought I would chime in with some progress reports.

Around the time of my last post I went and got my wife knocked up. Wasn't planned, wasn't especially welcome but my daughter is 3 months old now and I'm so glad to have her. What a blessing!

Work on my own projects has been sporatic over the last year, but I always get out there when I'm not inundated with side work and widdle away at my long to do list.

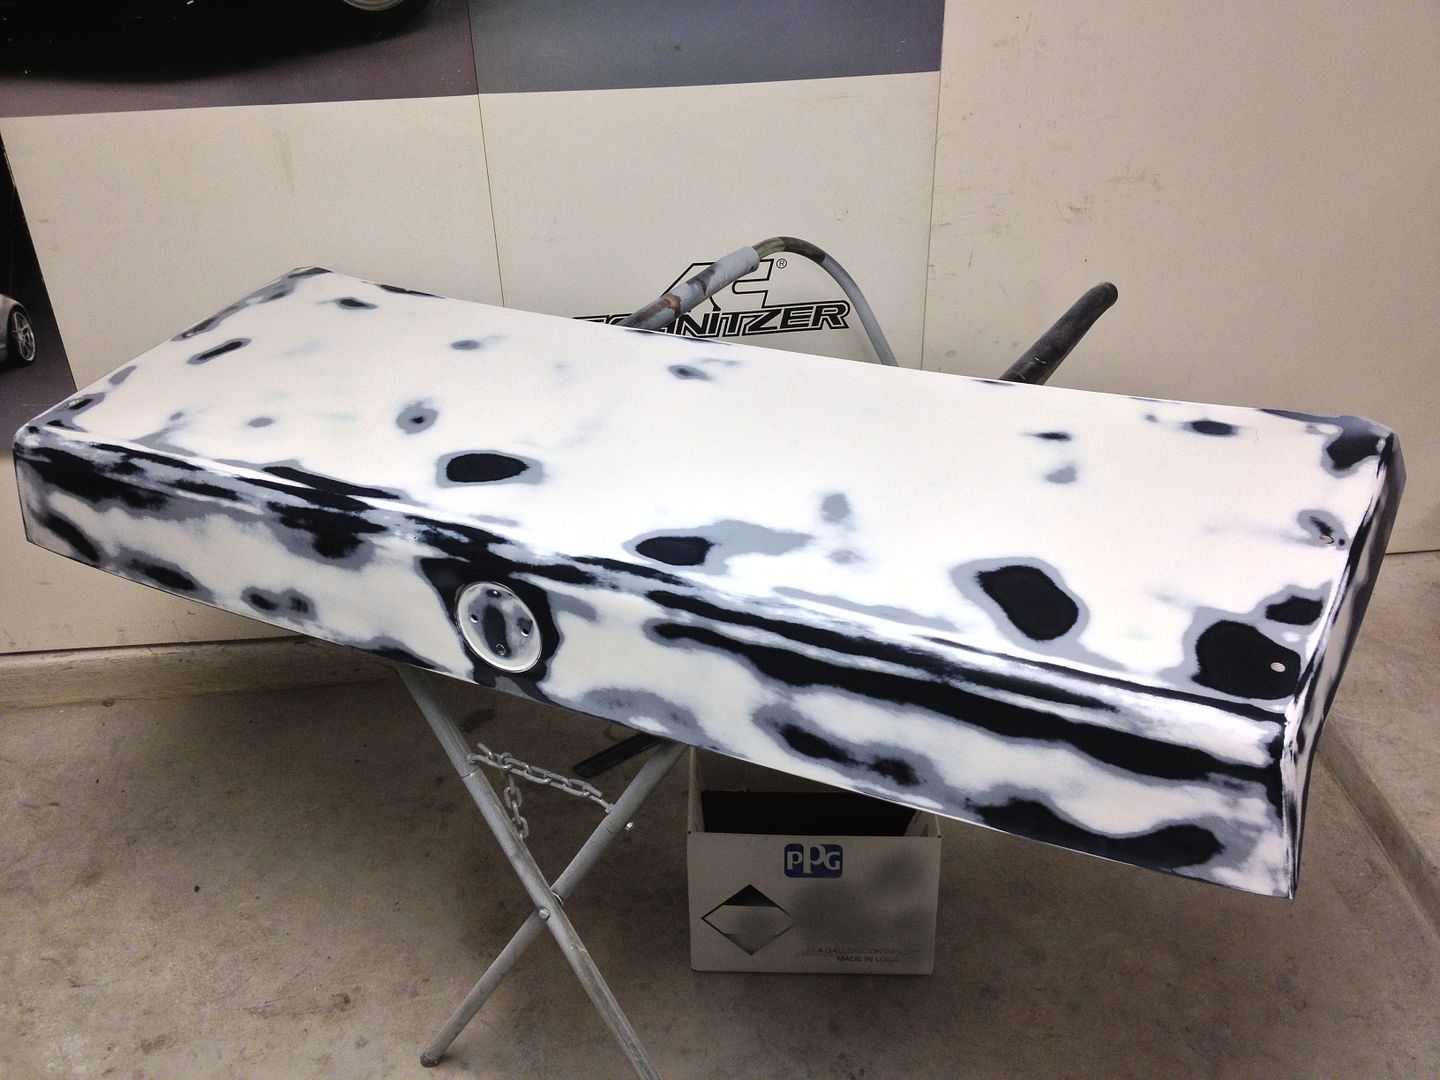
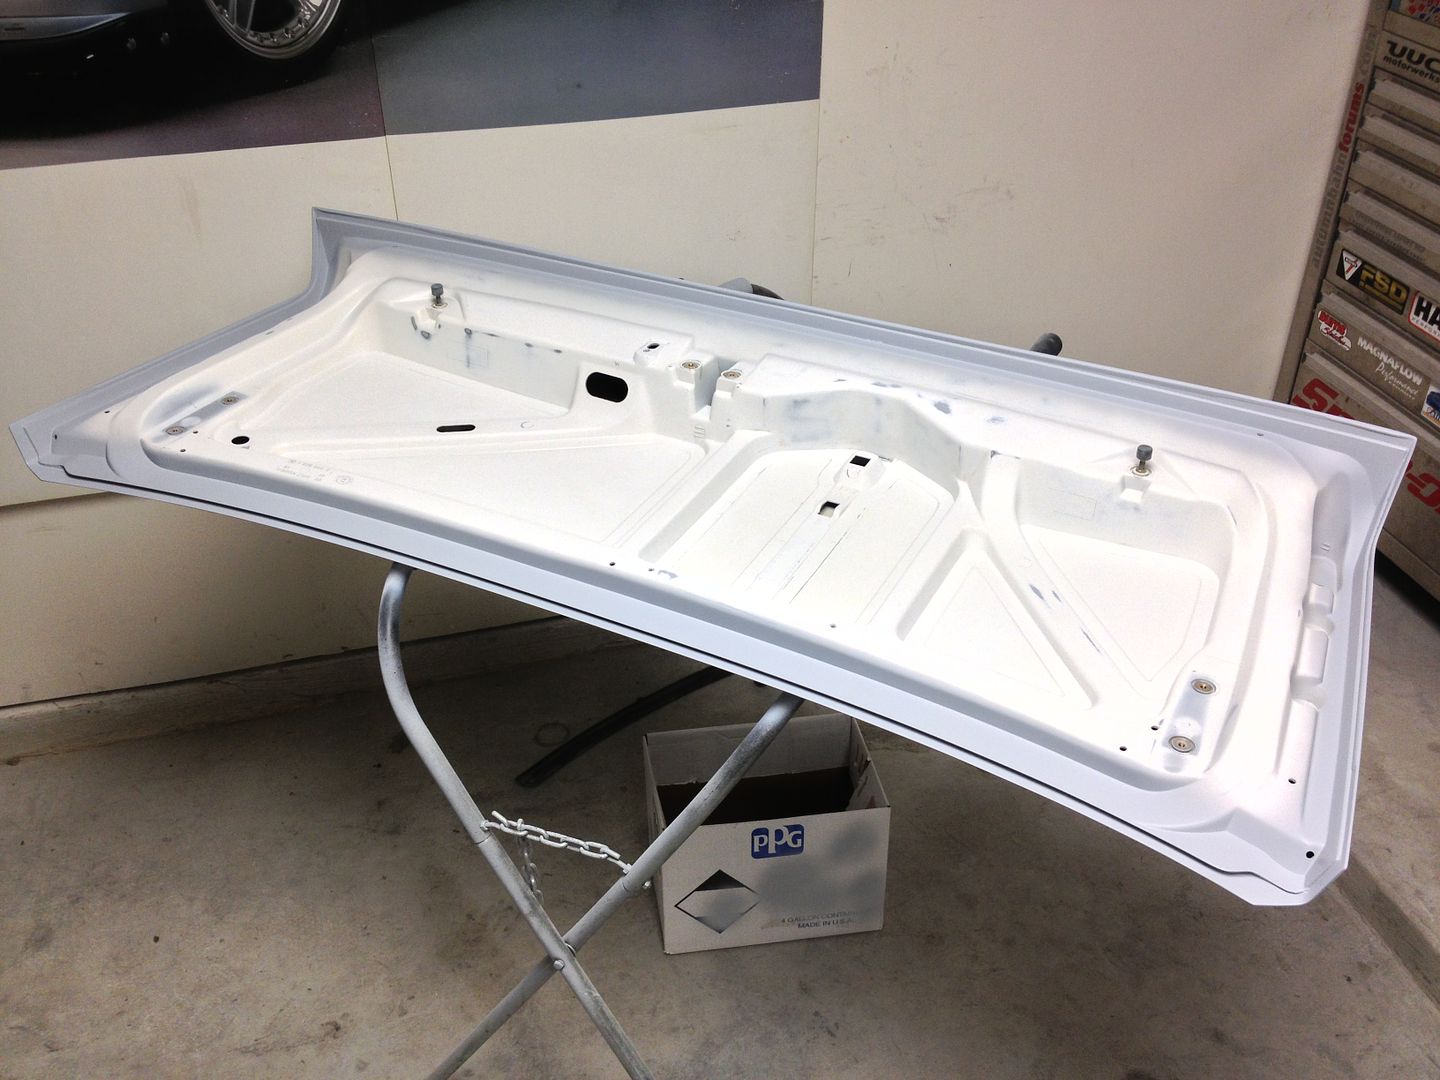
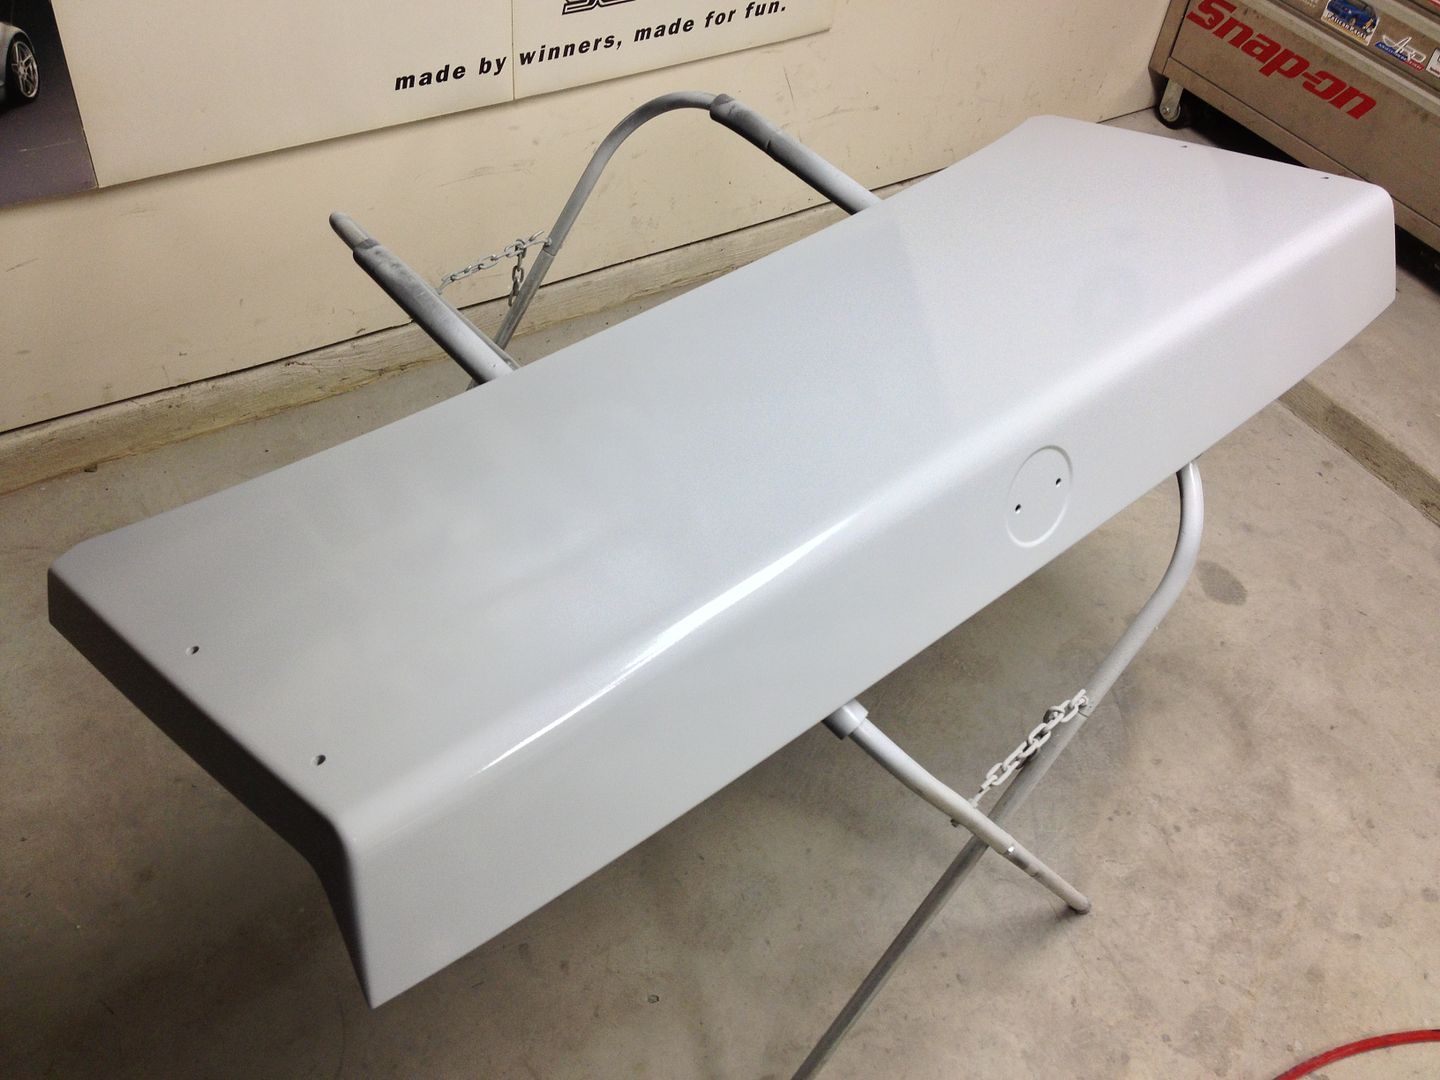
Here I am blocking the top AND undersides of the OE SMC M3 trunk lid.

Image


Image


Image


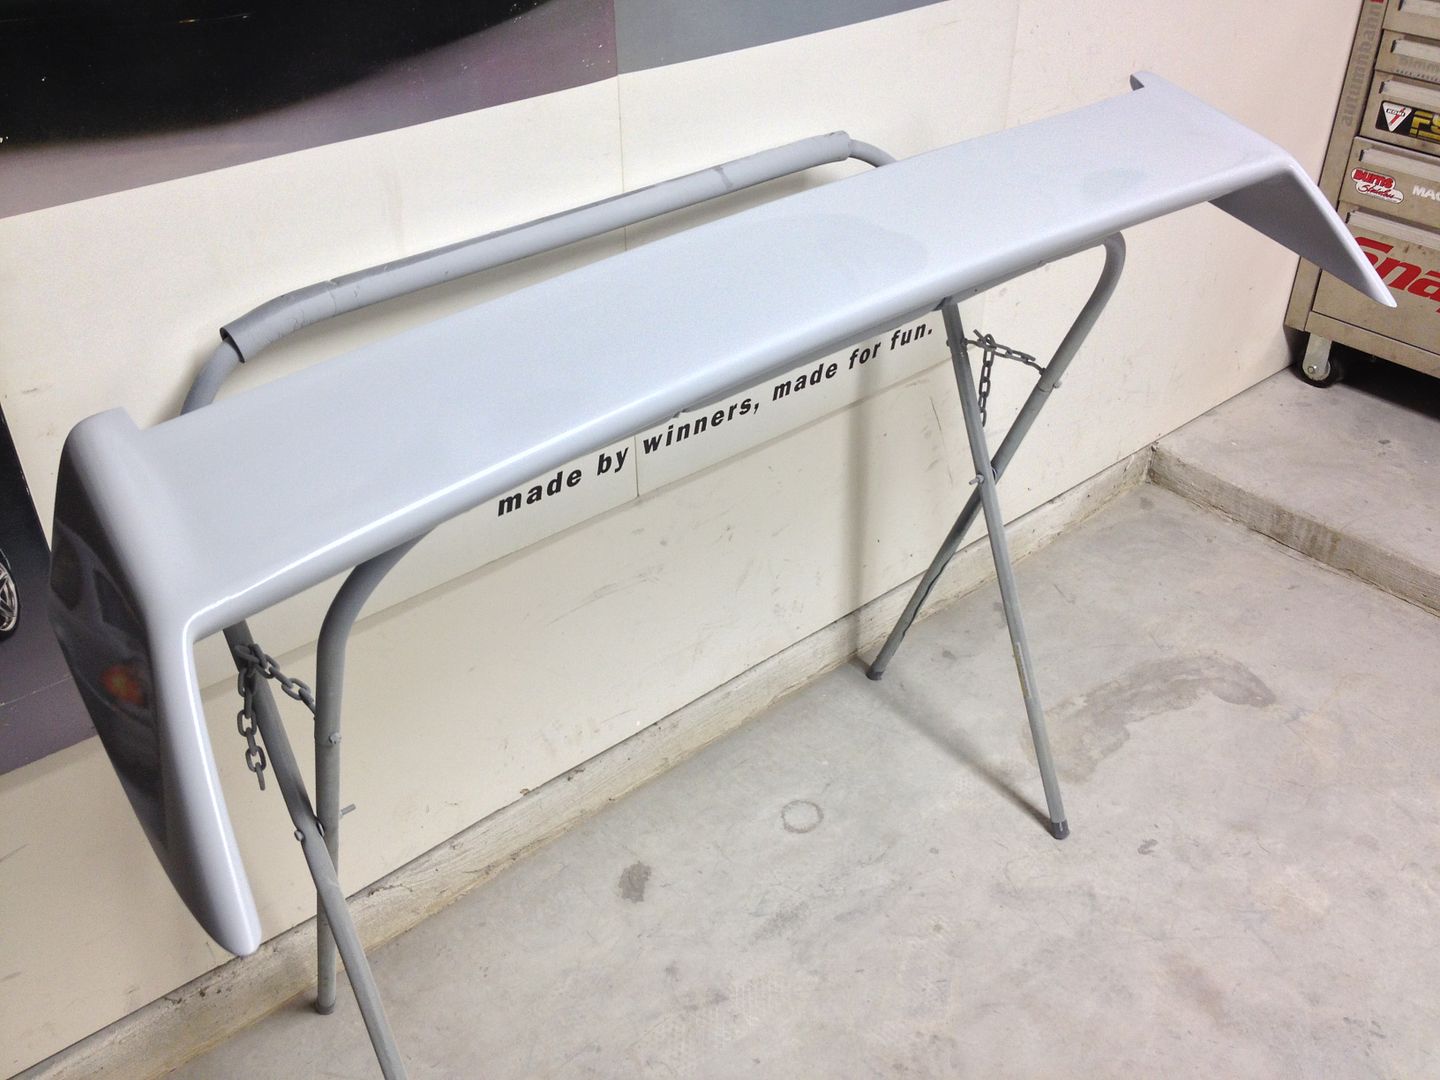
The OE reproduction EVO3 wing I bought was very good in terms of surface finish, but a blocking on it revealed quite a few leveling issues that were easily corrected. I finished it in the same primer.

Image


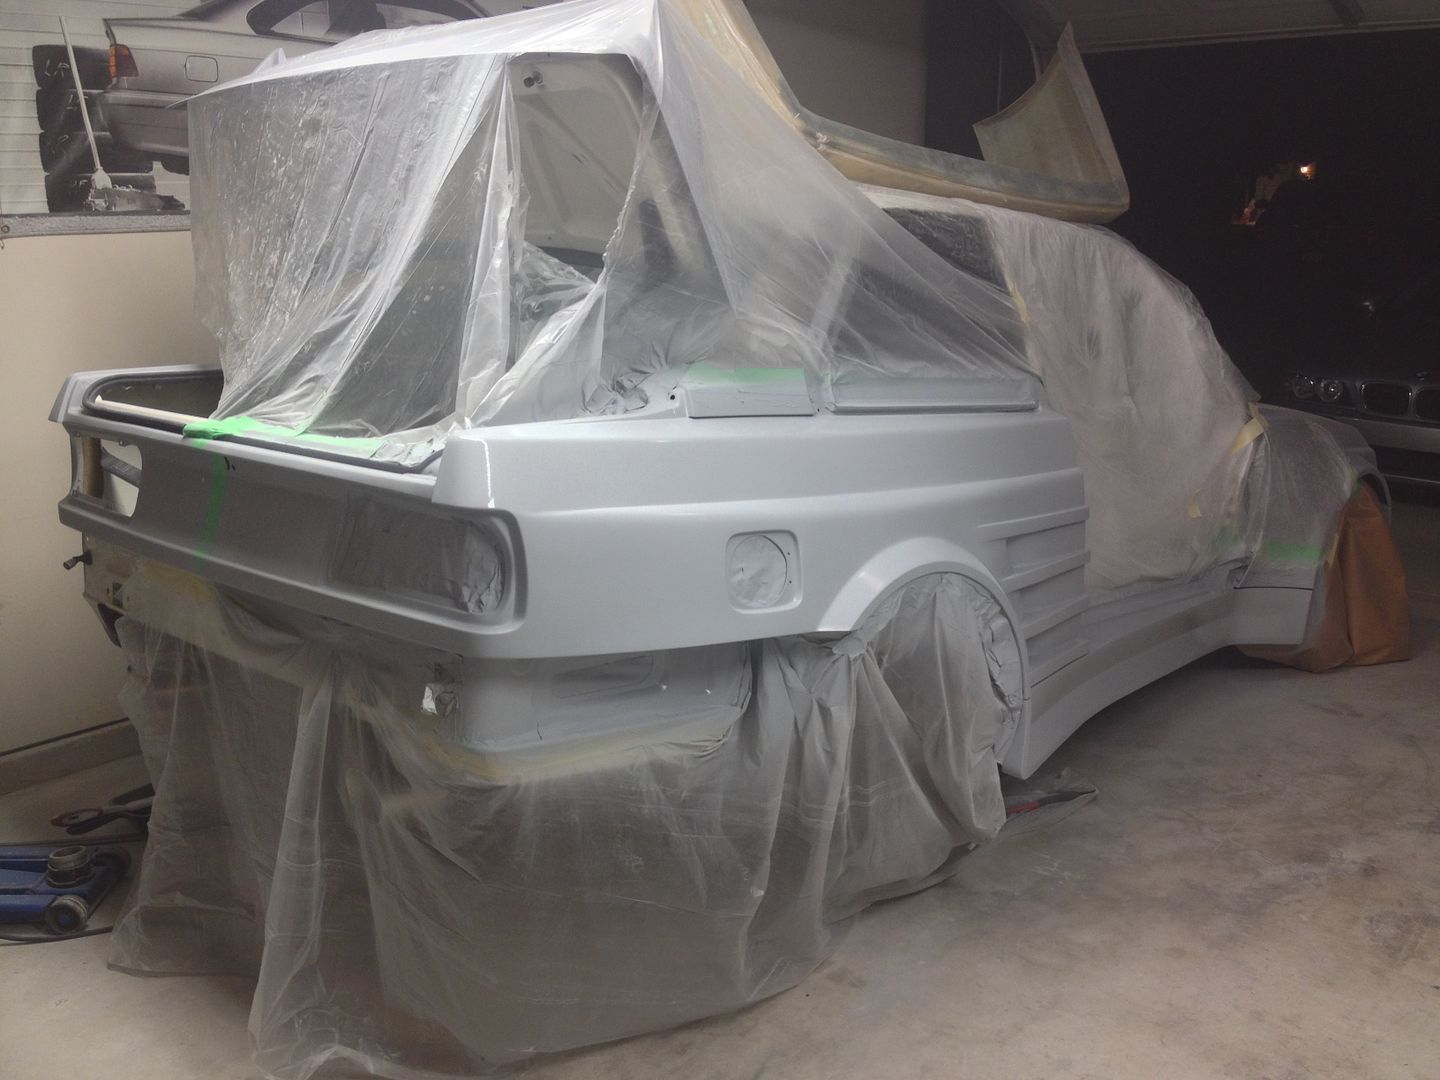
When I was done with all of that I reinstalled it on the car and started blocking out the passenger side of the car. I shot it with high build, blocked it down, and finished it in another coat of high build.

Image


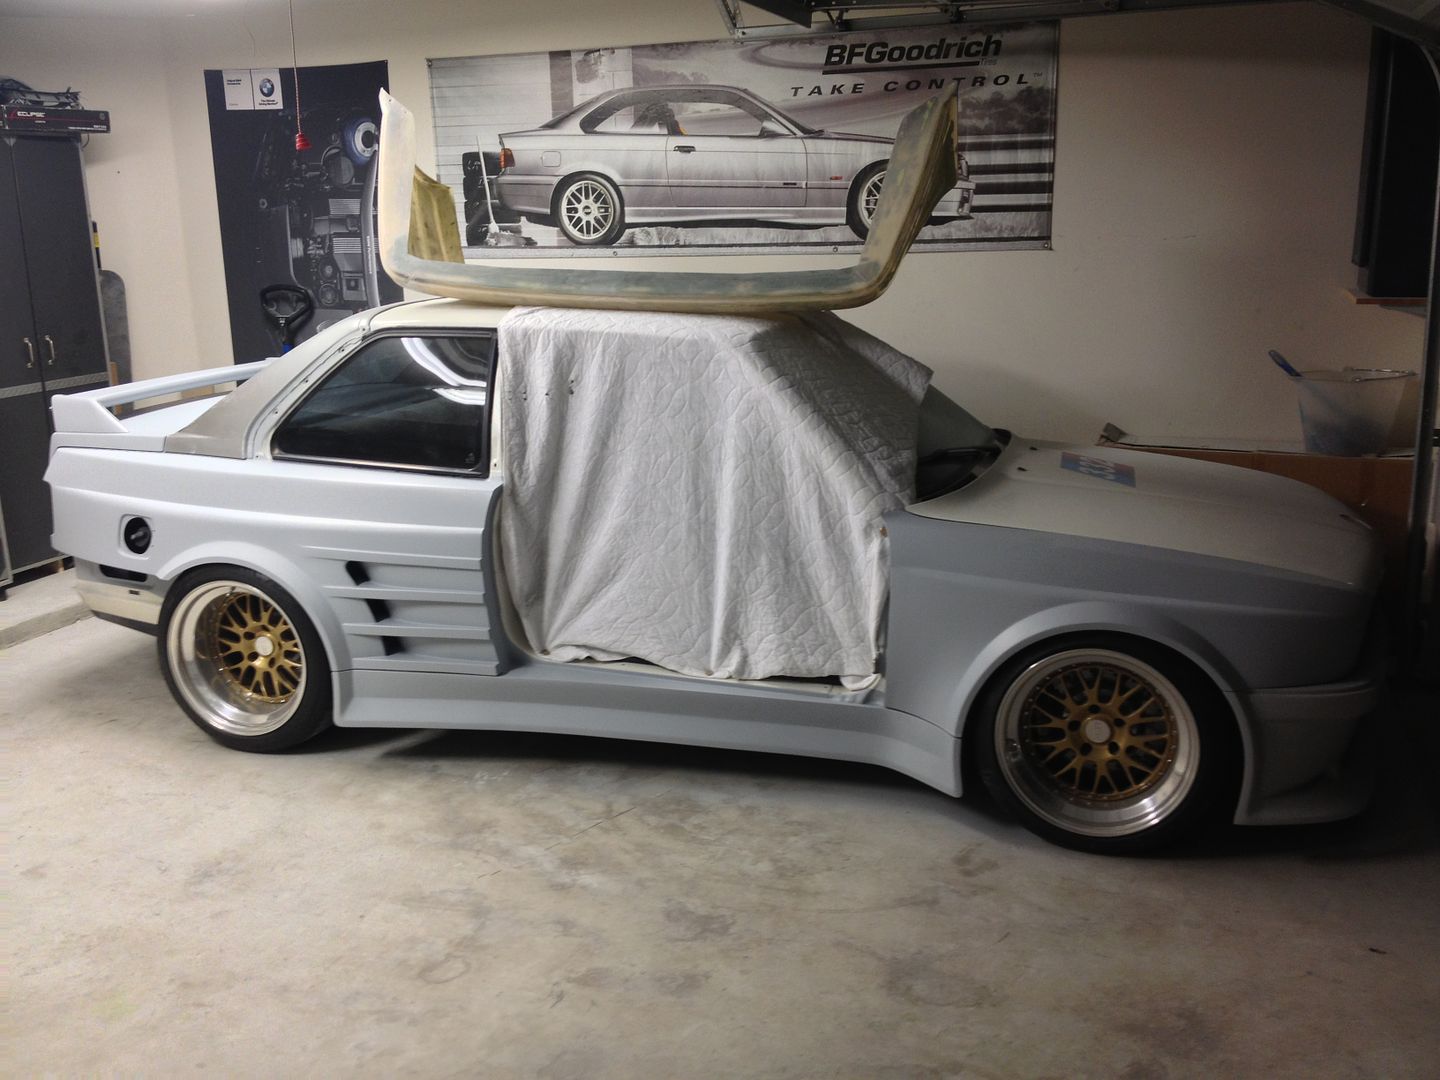
Rear bumper was tossed up on the roof where it would sit for another 6 months before I got to it...

Image


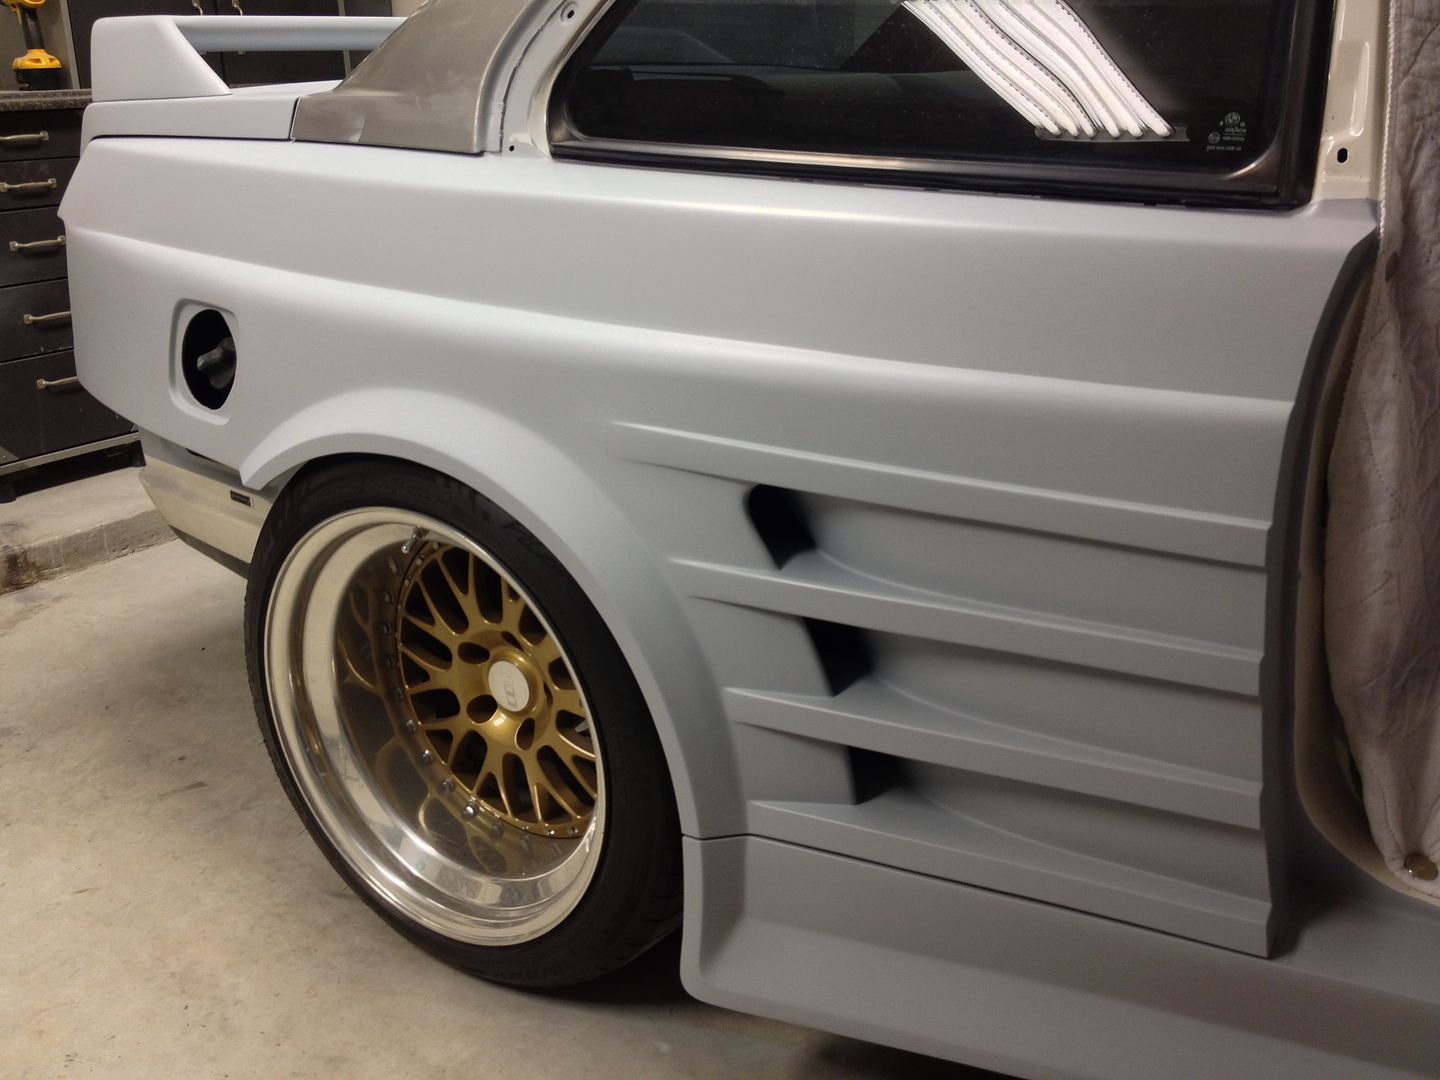
Body lines from the rocker skirt to the quarter panel painstakingly adjusted and worked until better than OE.

Image


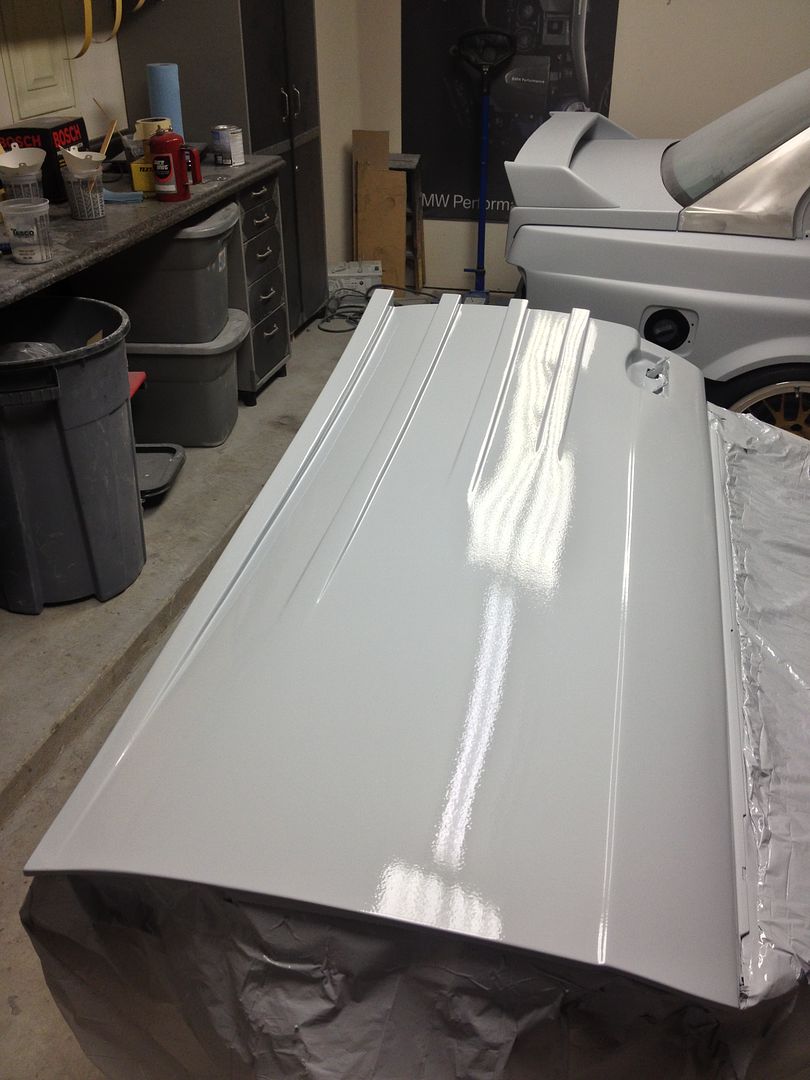
Gave the passenger door the same high build, blocking, and another high build finish and tossed it back on the car.

Image


Image


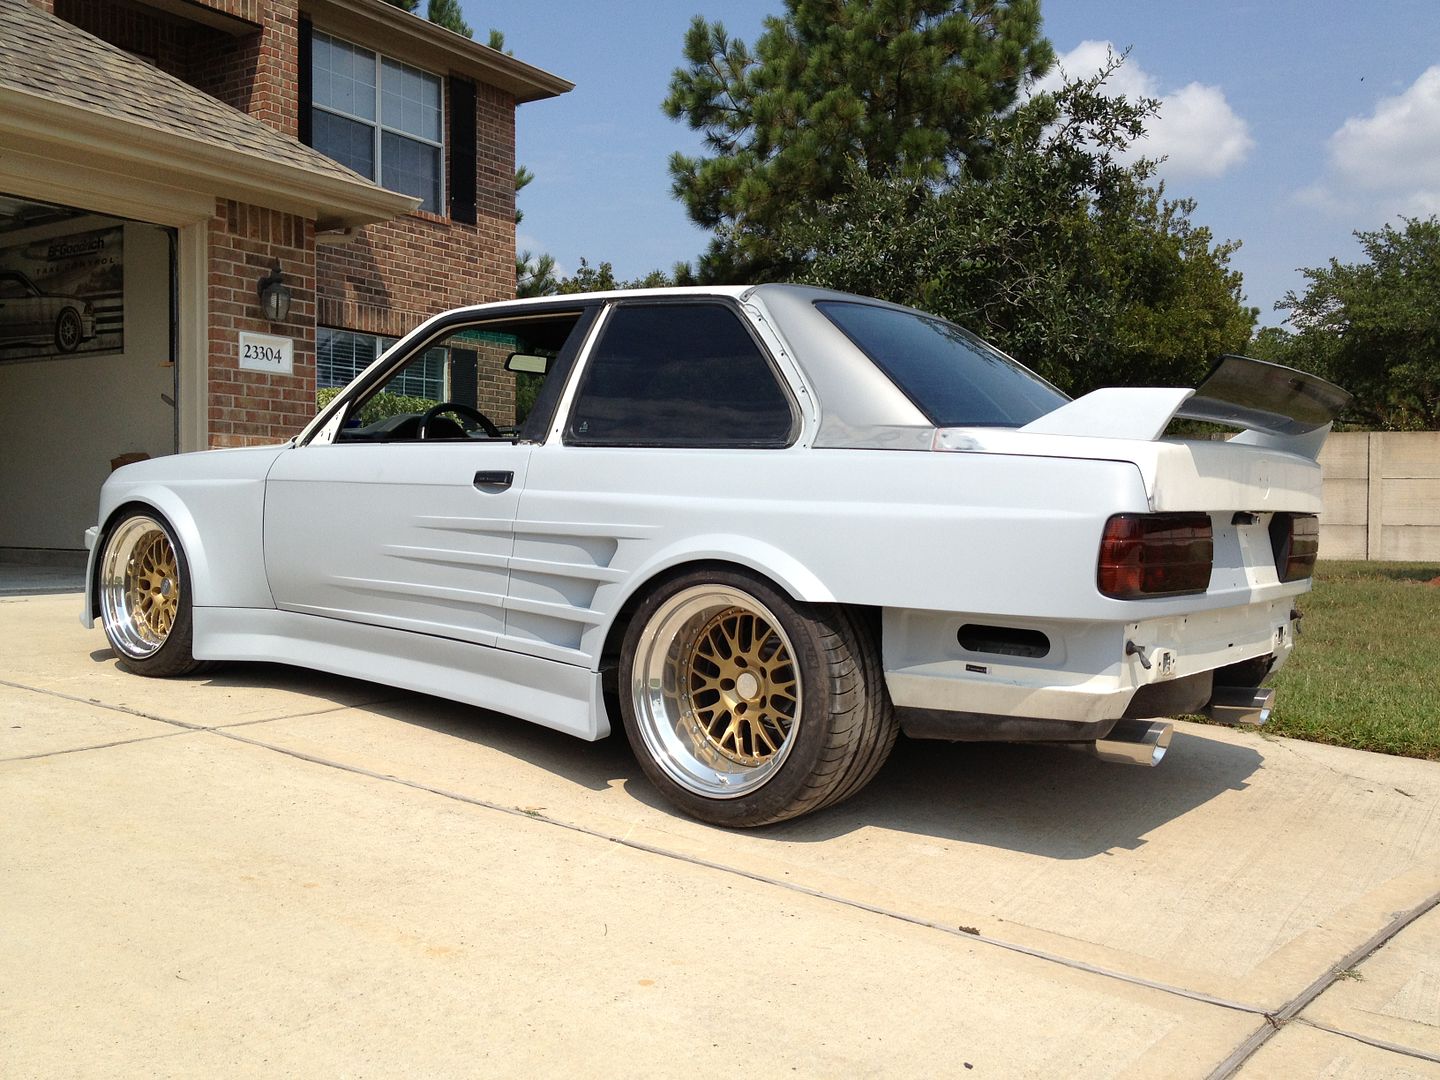
The rear bumper was a little boring to my taste. I had already modified it for the dual exhaust I'd built, from the single drivers side exit. But it was just too much of an open expanse and well.. boring.

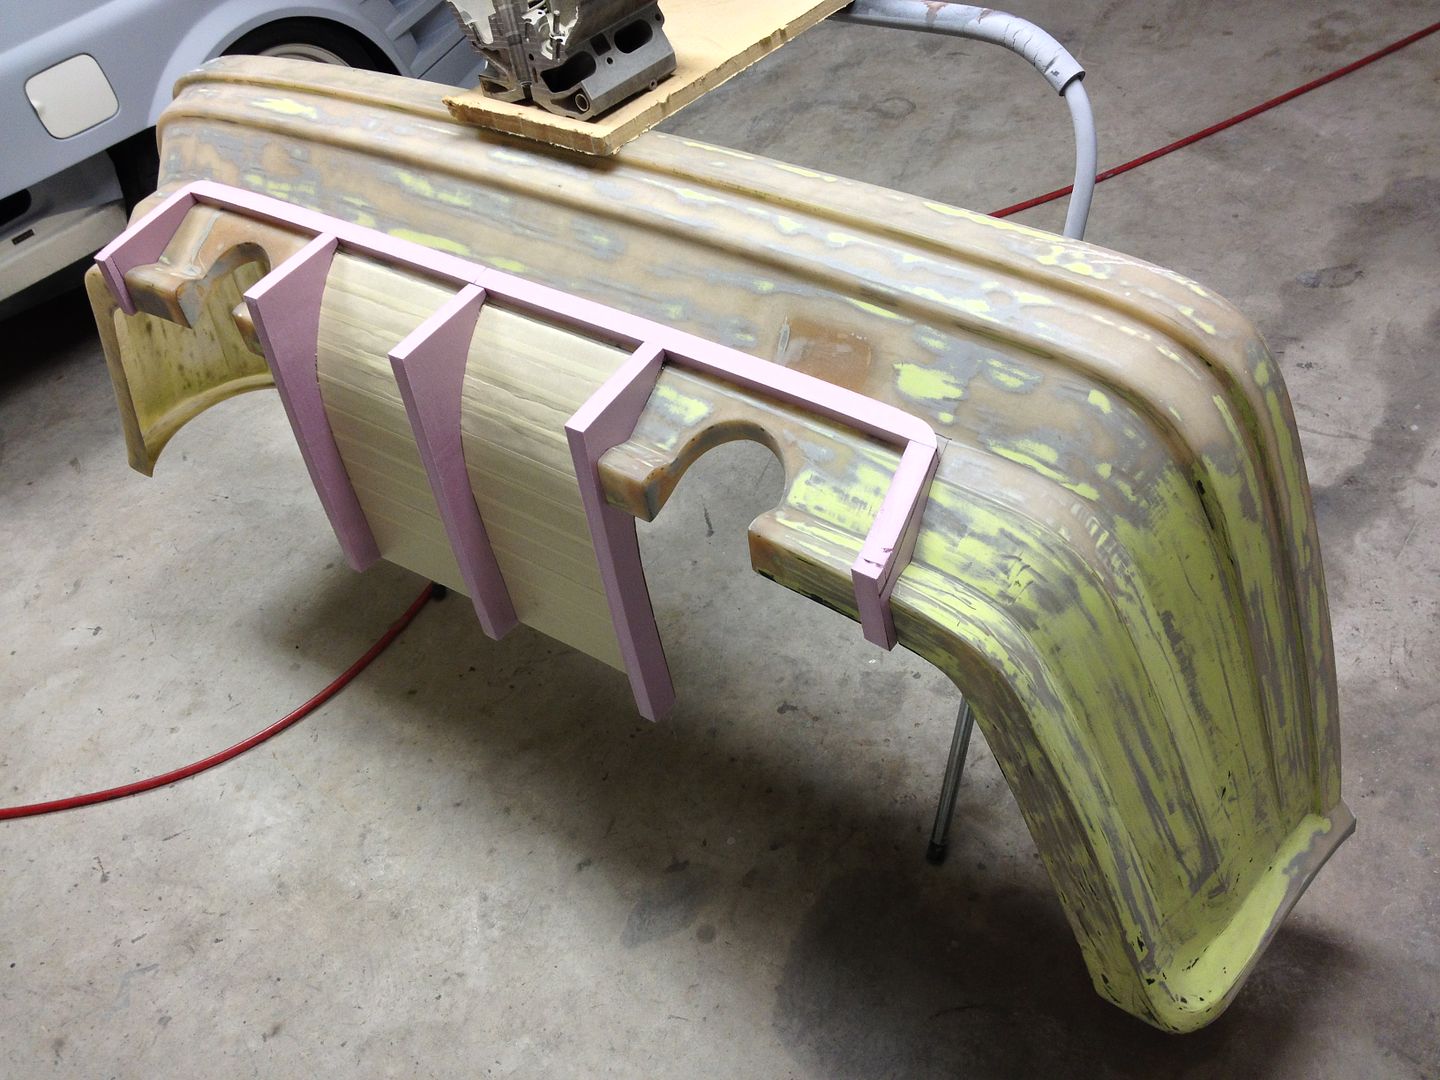
I decided to hack out the center of it between the dual exhaust and fabricate a cosmetic and functional diffuser element into it. I played around with sketches and photoshop until I figured out what played well off the other lines and features on the car.

I took the air saw to the bumper and started shaping the diffuser out of foam and cardboard.

Image


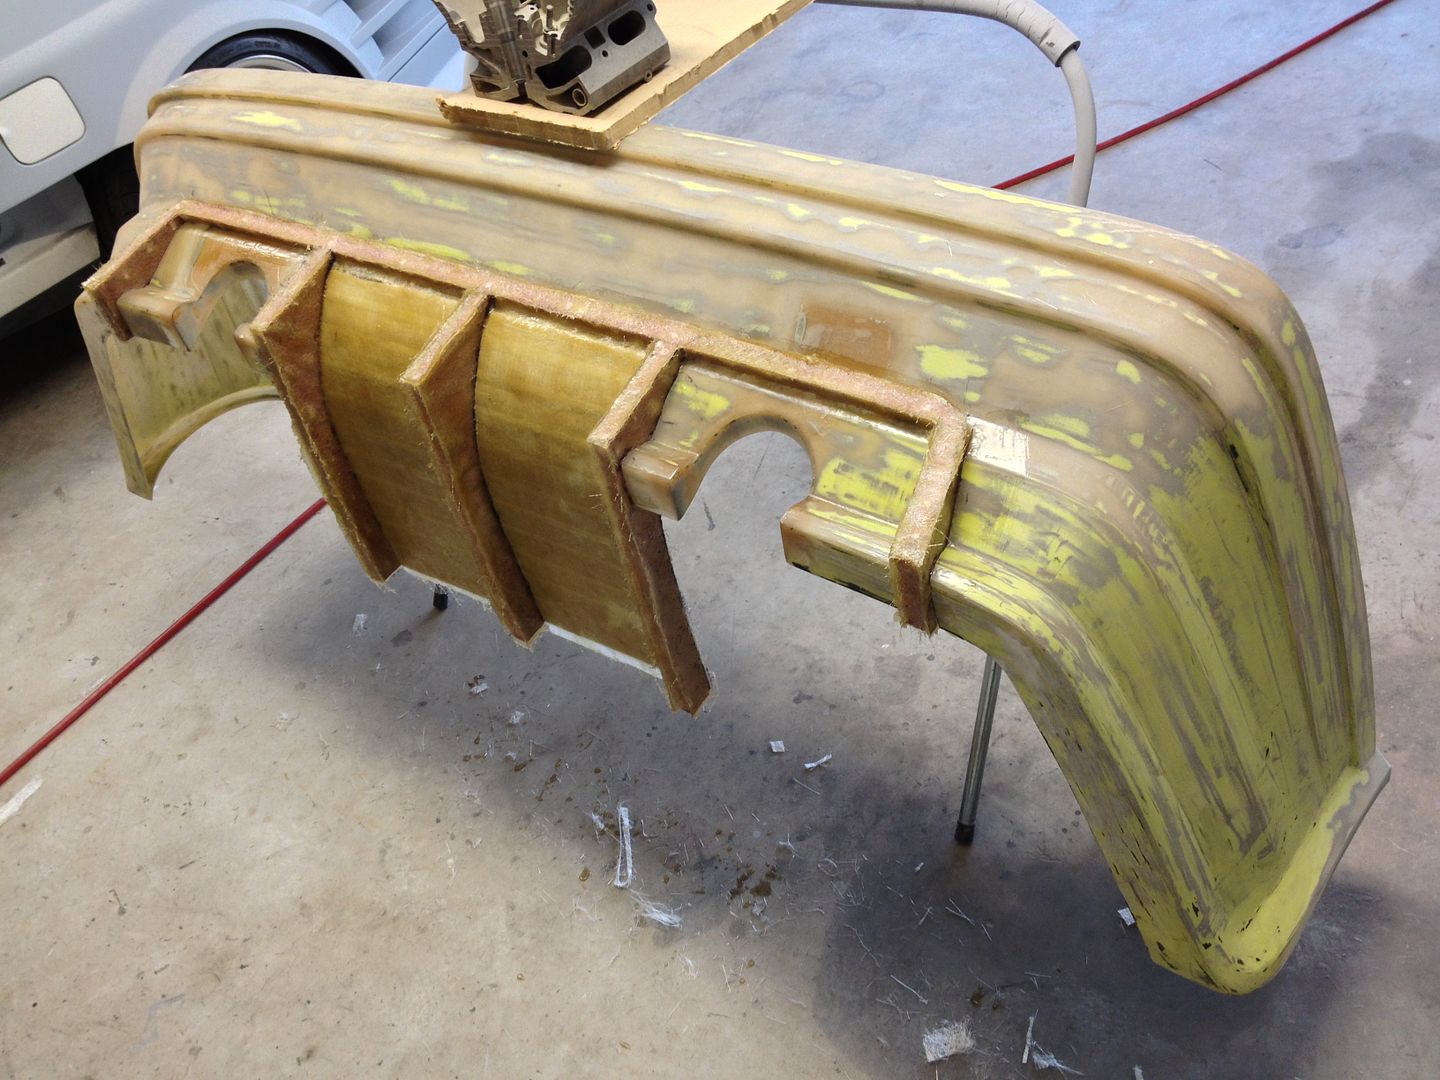
Pleased with the layout I started to lay fiberglass on top of the foam.

Image


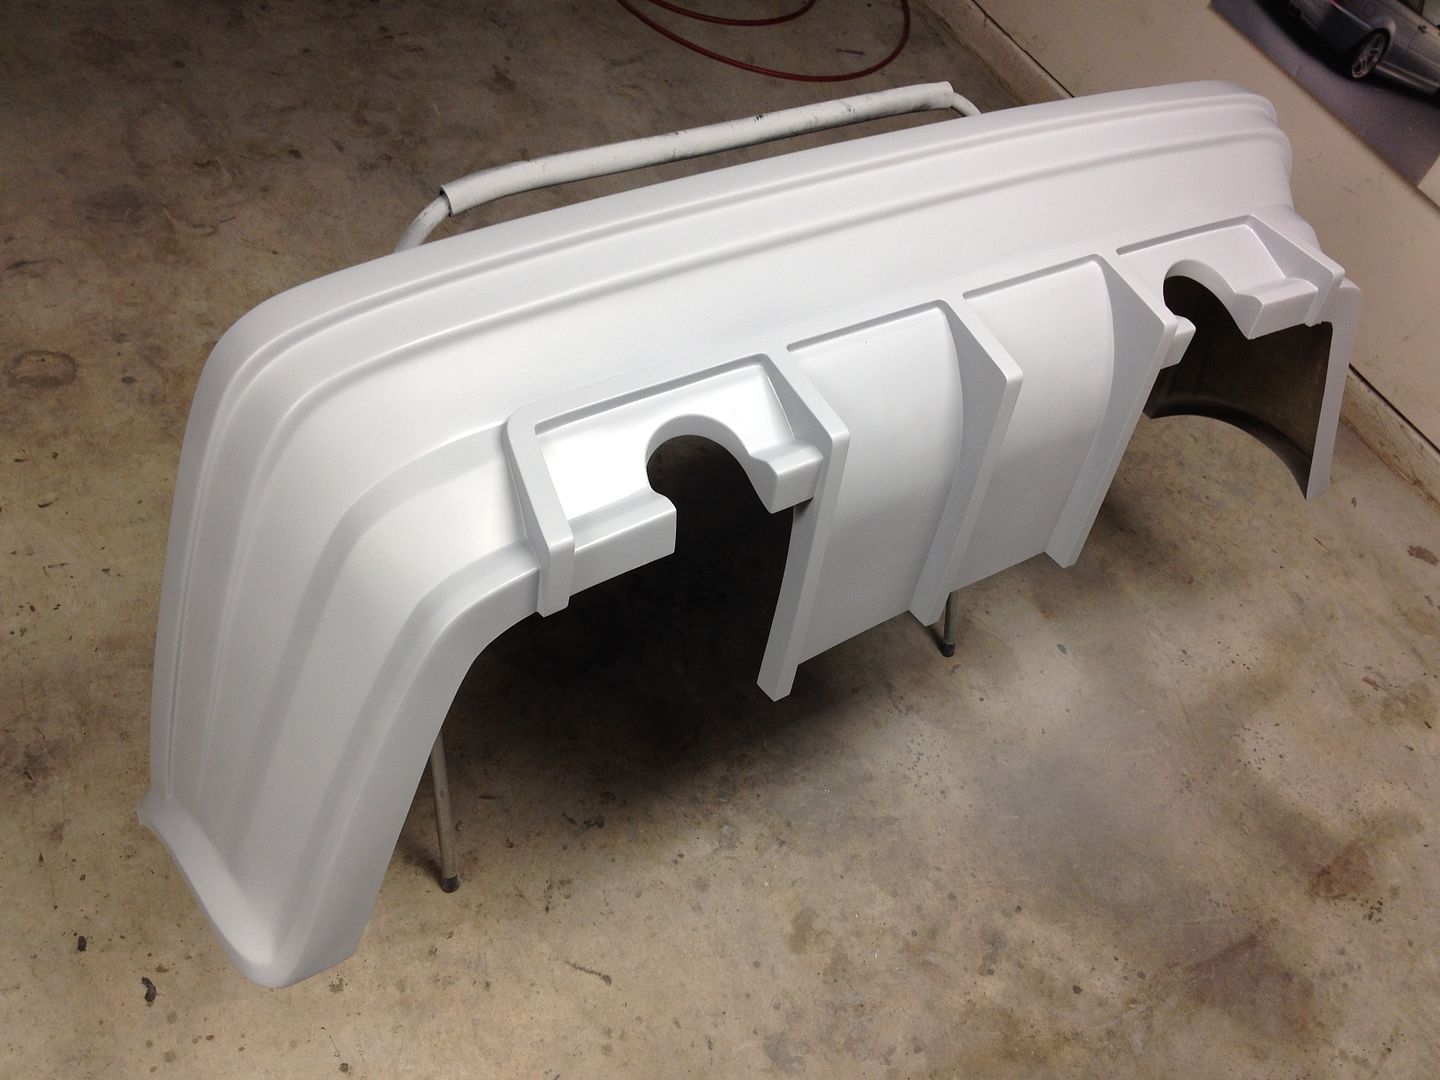
When it was cured I trim and finished the front side of it to perfection, and ate all the foam out of the cavity with acetone.

Image


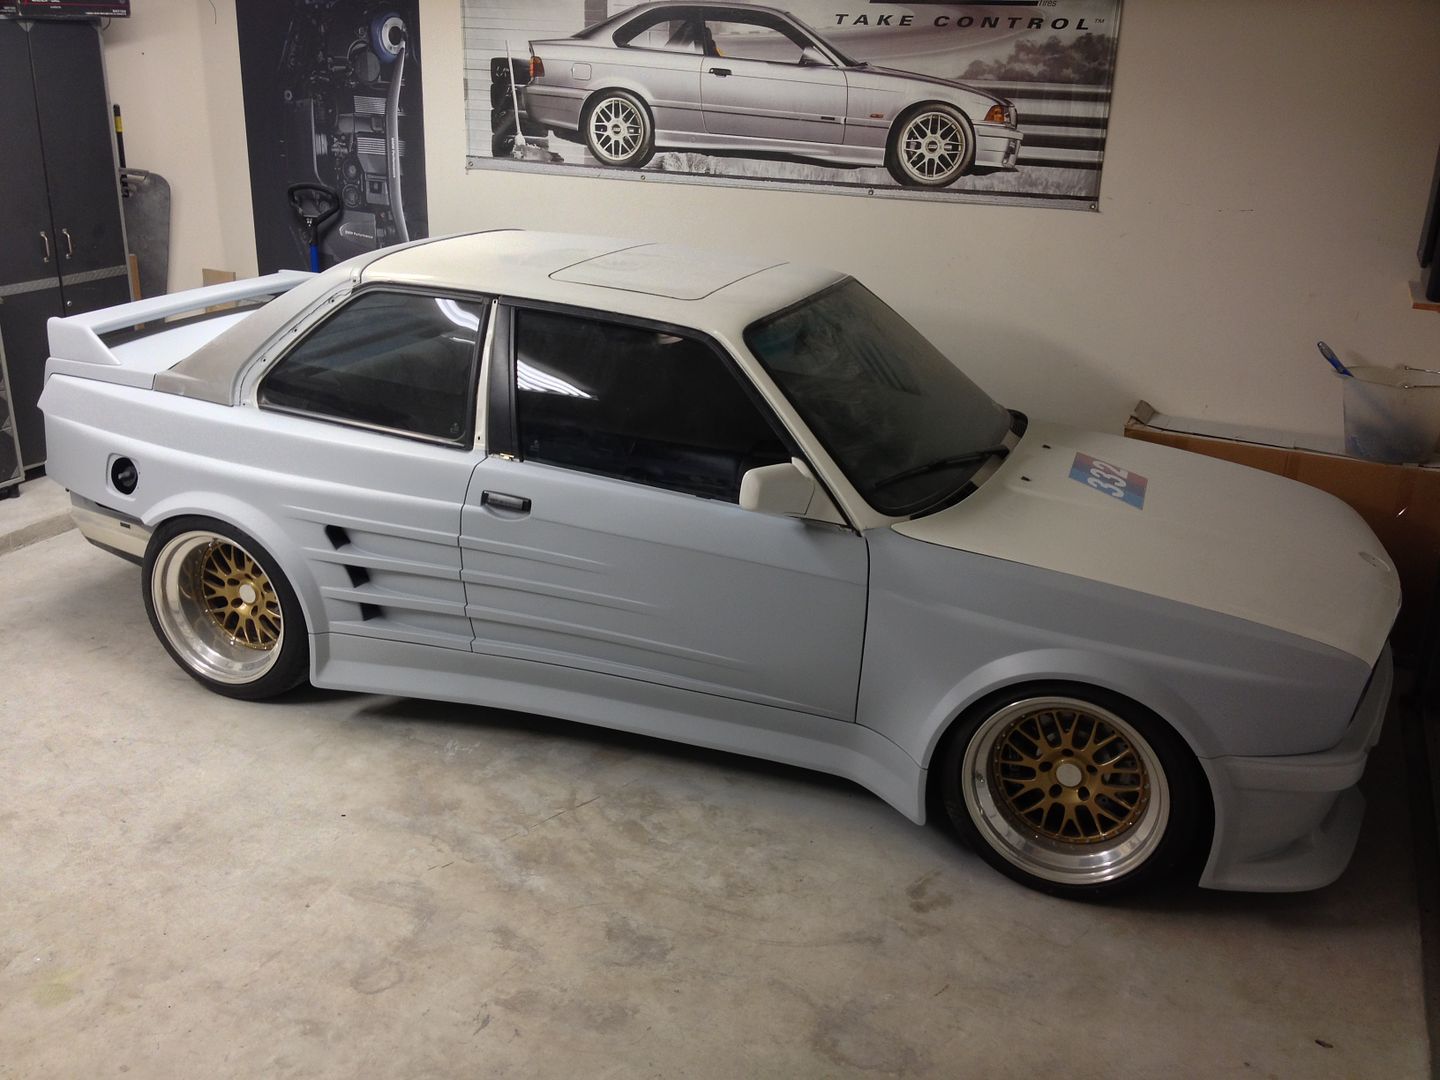
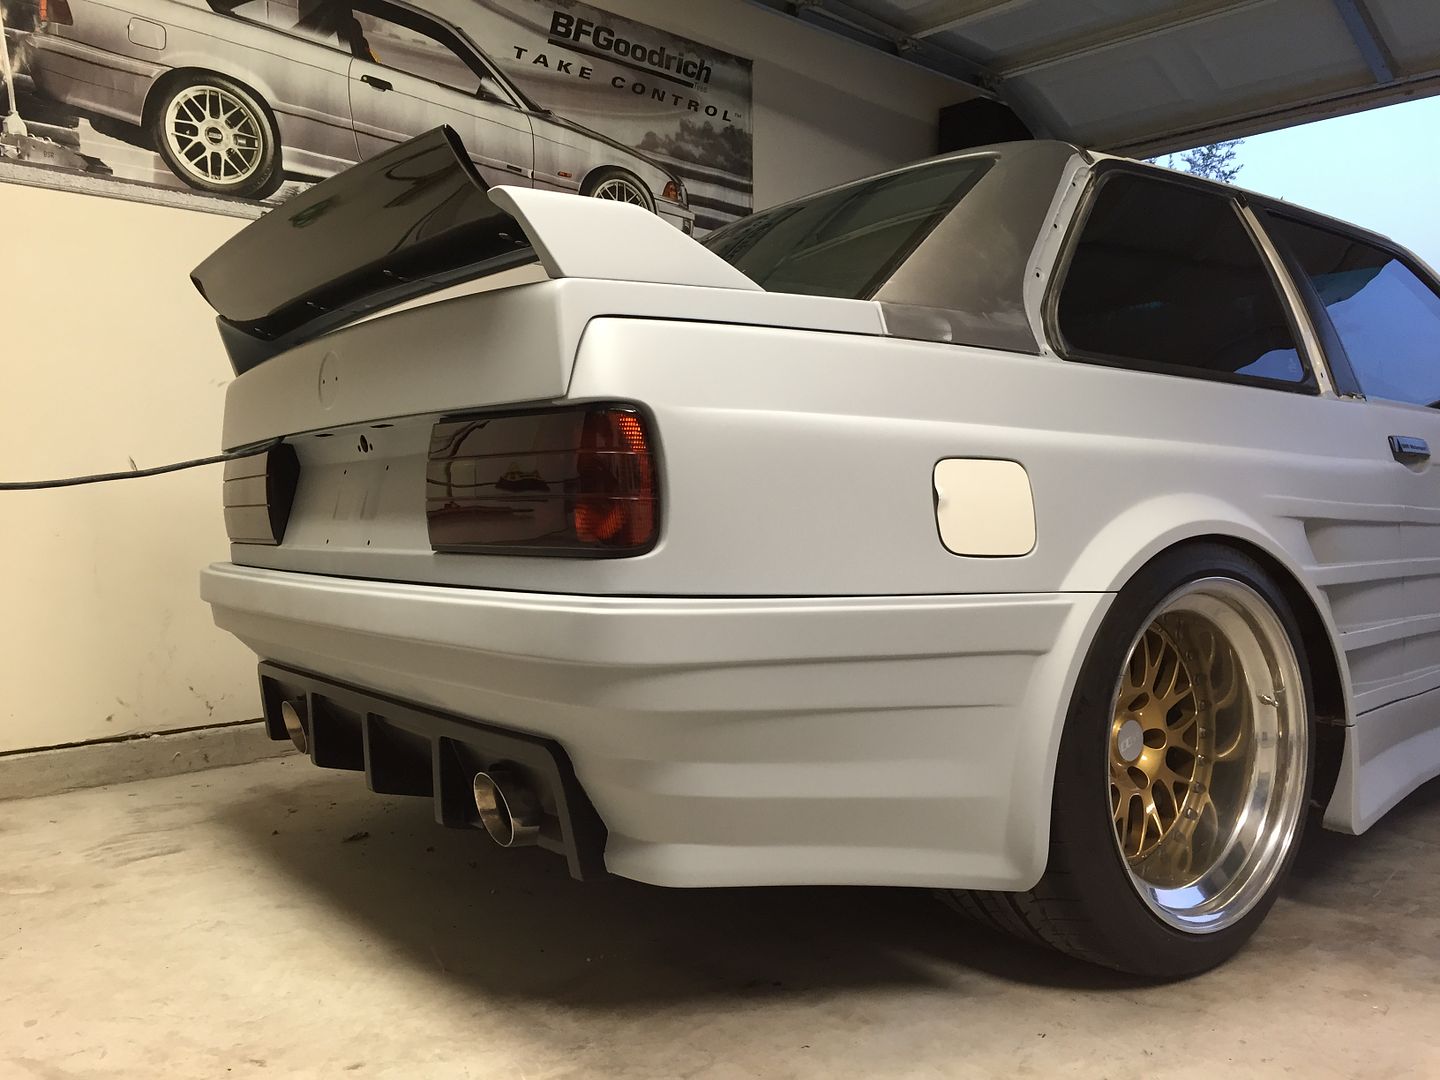
These last two pictures show the car as it sits today.
Image


Image

User avatar

Settled In
Posts: 28
Joined: Tue Aug 06, 2013 5:40 pm
Location: Houston, TX
Country:
USA
PostPosted: Tue Sep 23, 2014 8:31 am
Took her for a little joy ride last night and scared the heck out of one of my customers when I let it step out to about 60degrees pointed right at a curb at about 60mph. What a riot.

Took these on my way out the door to work this morning.

Image

Image

Image


Settled In
Posts: 26
Joined: Fri Sep 26, 2014 2:16 pm
Location: New Mexico
Country:
USA
PostPosted: Fri Sep 26, 2014 3:50 pm
Stuck, funny running into you here.
I just joined today.
Nice build pics and work.


Top Contributor
Posts: 6234
Joined: Tue Sep 16, 2008 1:17 pm
Location: Pahrump NV.
Country:
USA
PostPosted: Sat Sep 27, 2014 11:54 am
Put some Color on that beast and go win some car shows!
Dennis B.
A&P Mechanic, FCC General radio Telephone Operator
Line Maintenance A&P Mechanic and MOC Tech specialist.

User avatar

Fully Engaged
Posts: 423
Joined: Thu Jan 21, 2010 7:49 pm
Location: Brandenburg, KY
PostPosted: Sat Sep 27, 2014 8:19 pm
Awesome talent! Nice work!
PreviousNext

Return to Completed & In Progress Member Projects

Who is online

Users browsing this forum: No registered users and 145 guests