WOW! Great work! I am very impressed with your work and attention to detail. Keep it up and keep posting pic's. It's a learning experience every time I see your progress.
thanks,
Bob
55/58 Chevy Truck Project.
|
|
|
|
I stumbled across this site by accident but I'm glad I found it. I have to say BAM that it is because of your thread that I registered just to tell you how impressed I am with the work you have done. This is my first post. I would love to see a video of you using that "slapper" to straighten metal. I consider myself a pretty good painter, and my favorite thing to paint is flames, but I would like to expand my skills. Amazing work and a beautiful truck, thank you for sharing.
|
|
 Fully Engaged
Posts: 211
Joined: Thu Jul 28, 2011 1:30 pm Location: Inglewood, CA Country: USA |
Hey Bob and Wardf, I just wanted to say thanks so much for all the compliments and I will continue to post when I have anything of note. As of right now I was finally able to get the cab back on the frame (I had to do it all by myself, its funny that when you put out the call for help you get excuses and echoes.lol Anyway its a mile stone for me because its on the frame for good and I can move on to bigger and better things hopefully. Once again thanks guys, kind words such as yours help me to get a second wind and provide much needed motivation to continue the work on this thing. BAM |
 Settled In
Posts: 52
Joined: Thu Feb 03, 2011 11:45 am Location: Satsop WA Country: USA |
Very nice project keep up the progress pics.
|
Settled In
Posts: 20
Joined: Wed Nov 30, 2011 10:03 pm Country: USA |
Bam - I dont post much, but I do like looking at the great projects here. Had to chime in and tell you the truck looks awesome! Like you - I basically learned everything from doing it myself - for the same reason, the $$ isnt there to have things done by others. 54 this year and still learning. Keep up the great work!!
Dave |
 Board Moderator
Posts: 9893
Joined: Fri Oct 20, 2006 12:40 pm Location: ARIZONA |
Hey Bam55,
Miss seeing pictures of your progress. Come on bro, its time to satisfy the peanut gallery. 
1968 Coronet R/T
ACTS 16:31 |
Fully Engaged
Posts: 211
Joined: Thu Jul 28, 2011 1:30 pm Location: Inglewood, CA Country: USA |
I been a very busy over the last year. I remodeled the entire house with an addition. The wife told me while we are at it to build a workshop for my tools that way only my cars where in the garage. We also added a driveway between the garage and the new workshop, a fence that sections off my part of the yard from hers.lol I been a very busy over the last year. I remodeled the entire house with an addition. The wife told me while we are at it to build a workshop for my tools that way only my cars where in the garage. We also added a driveway between the garage and the new workshop, a fence that sections off my part of the yard from hers.lol 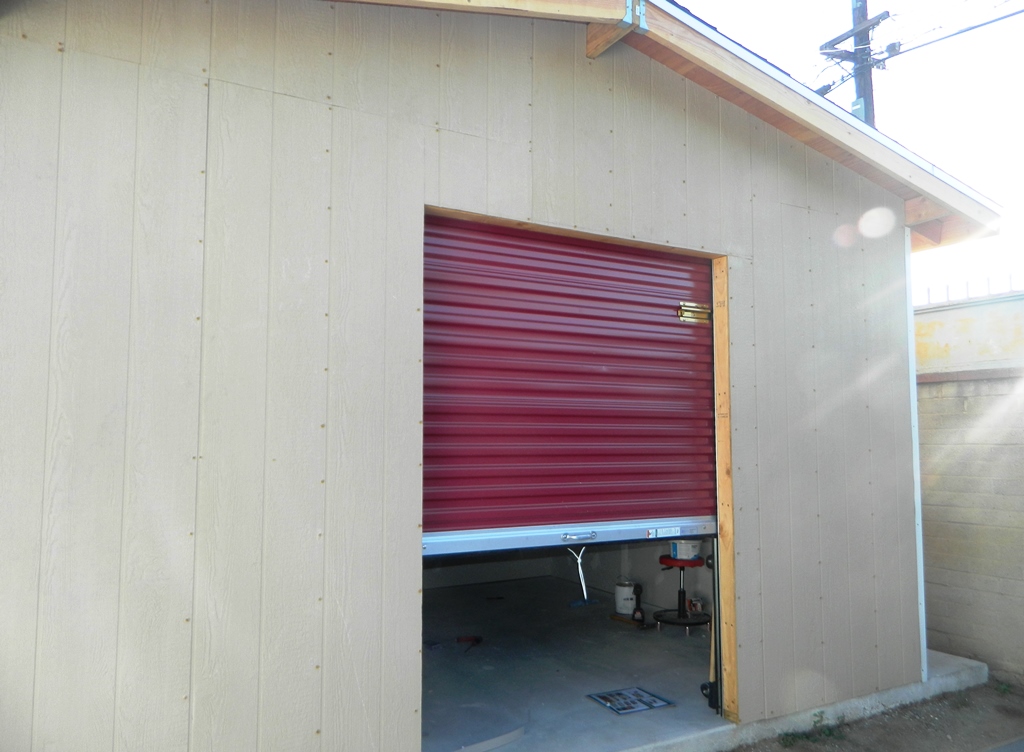 I had my handy man build the structure and I did all the electrical and drywall. 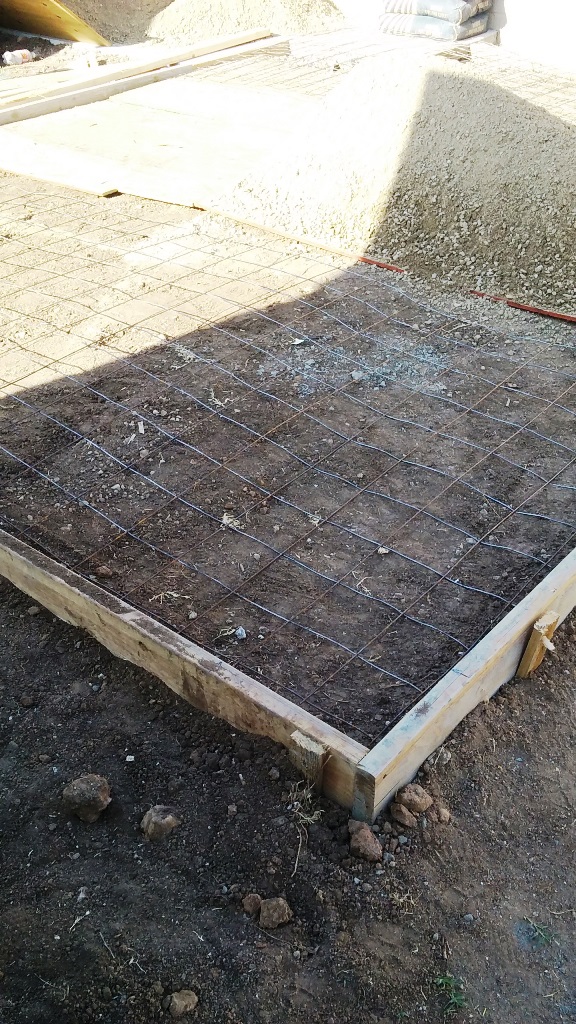 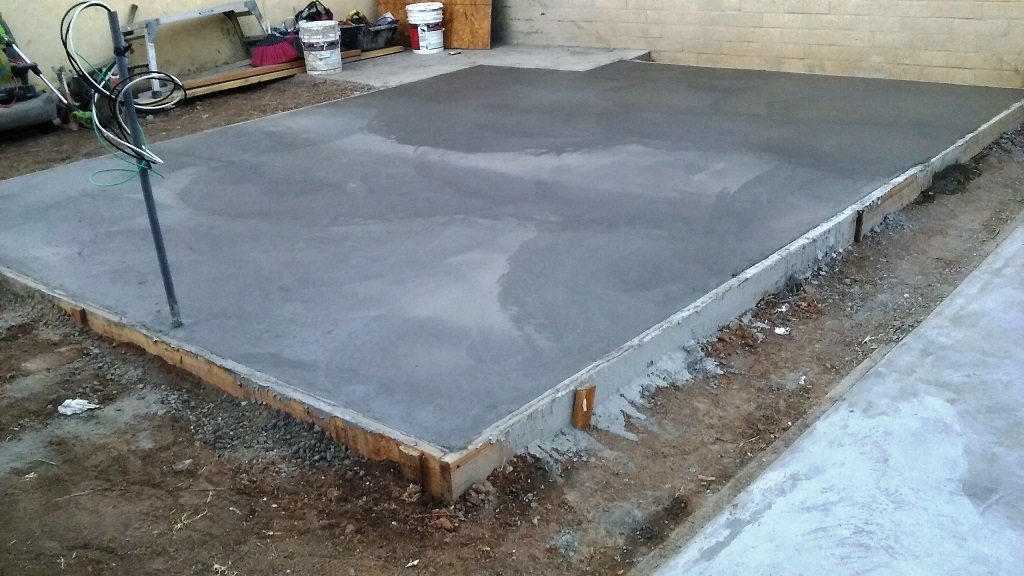 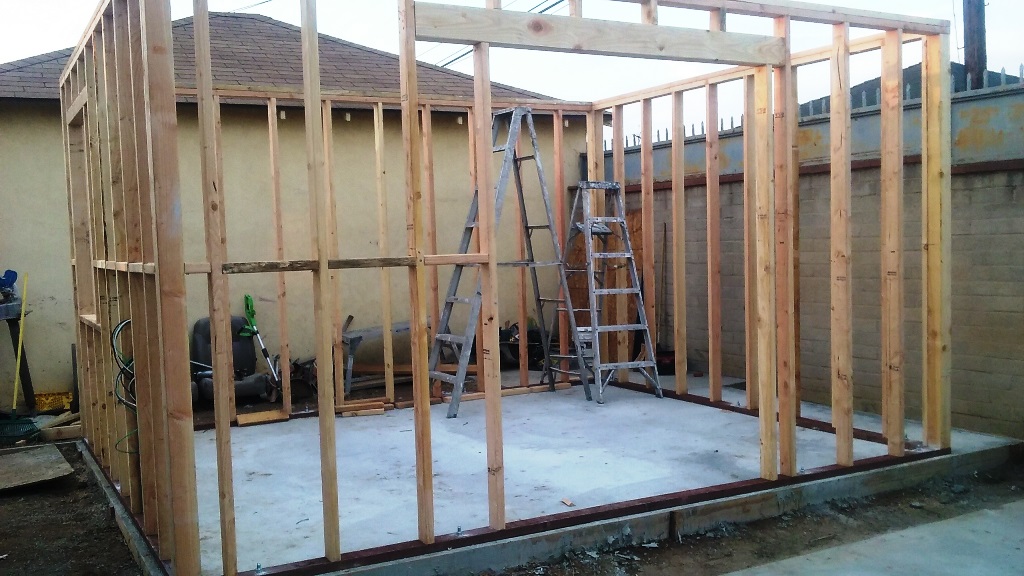 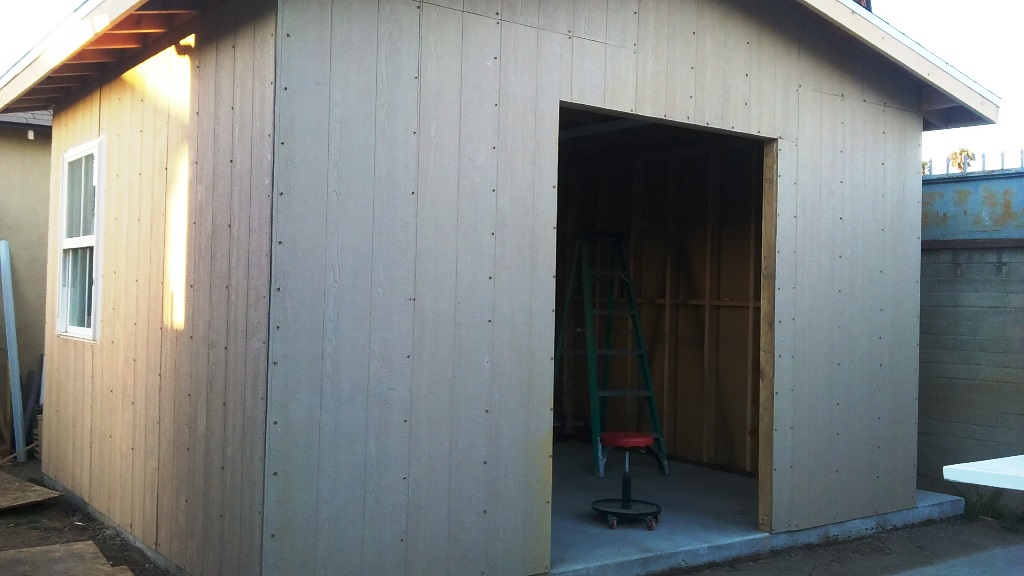 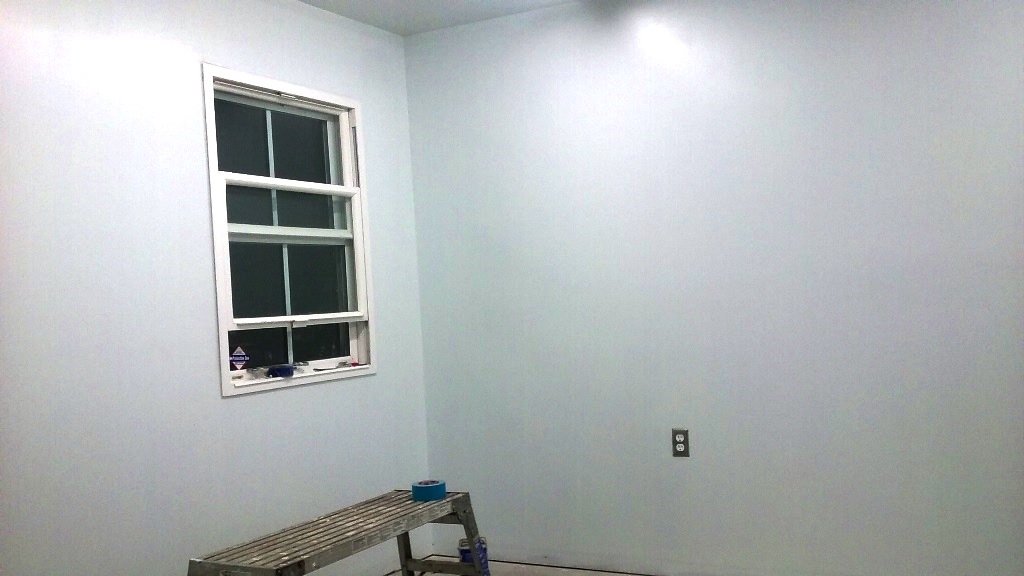 I used Gladiator rails and cabinets. I love the rail system for storing my tools and misc. 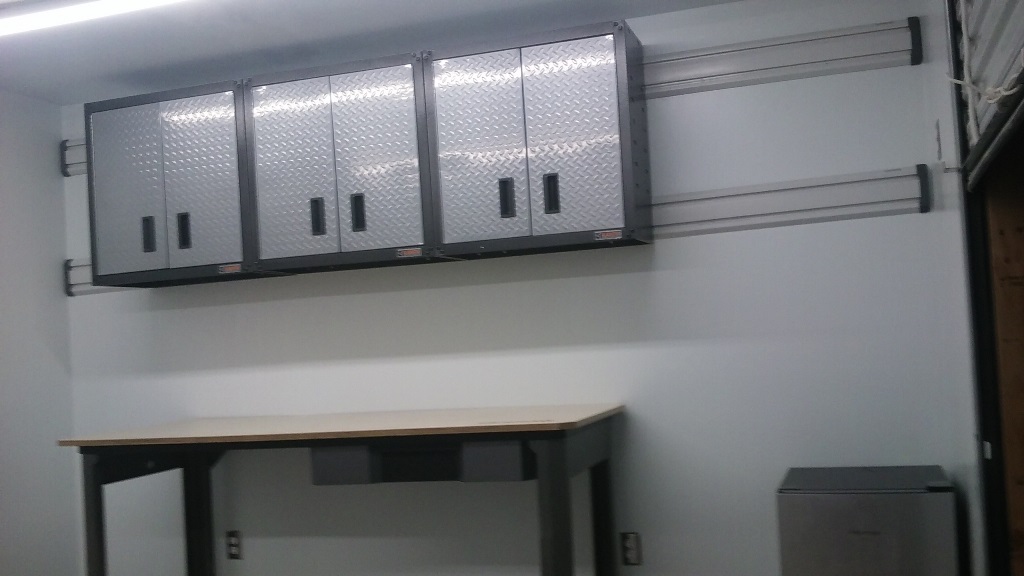 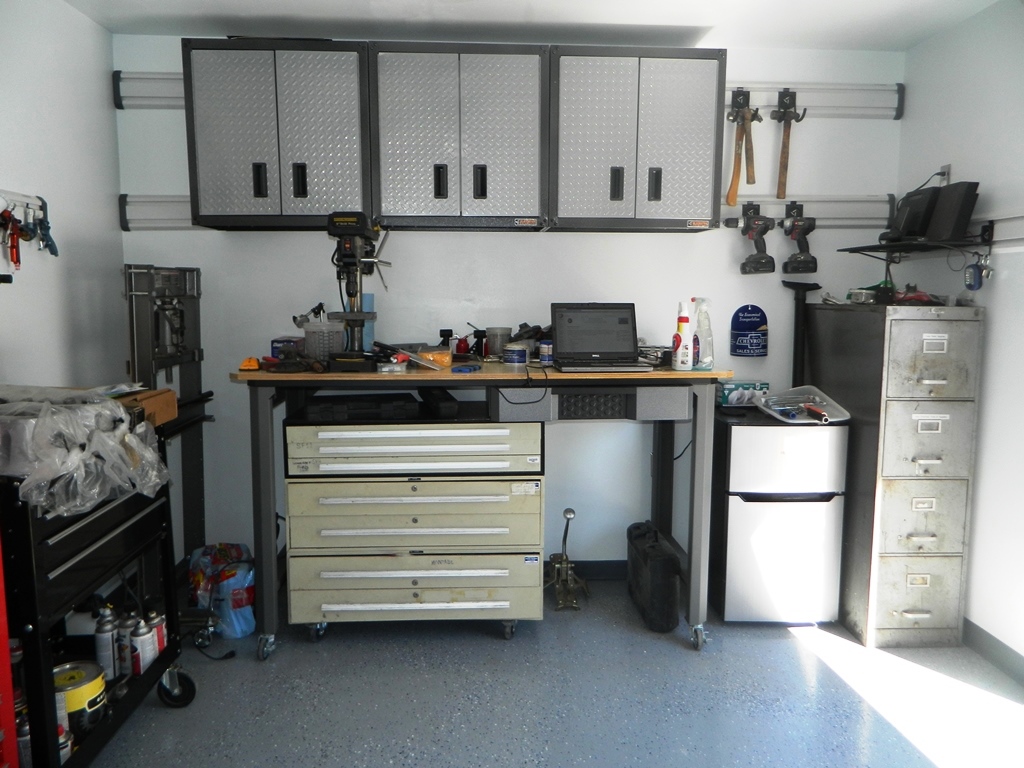 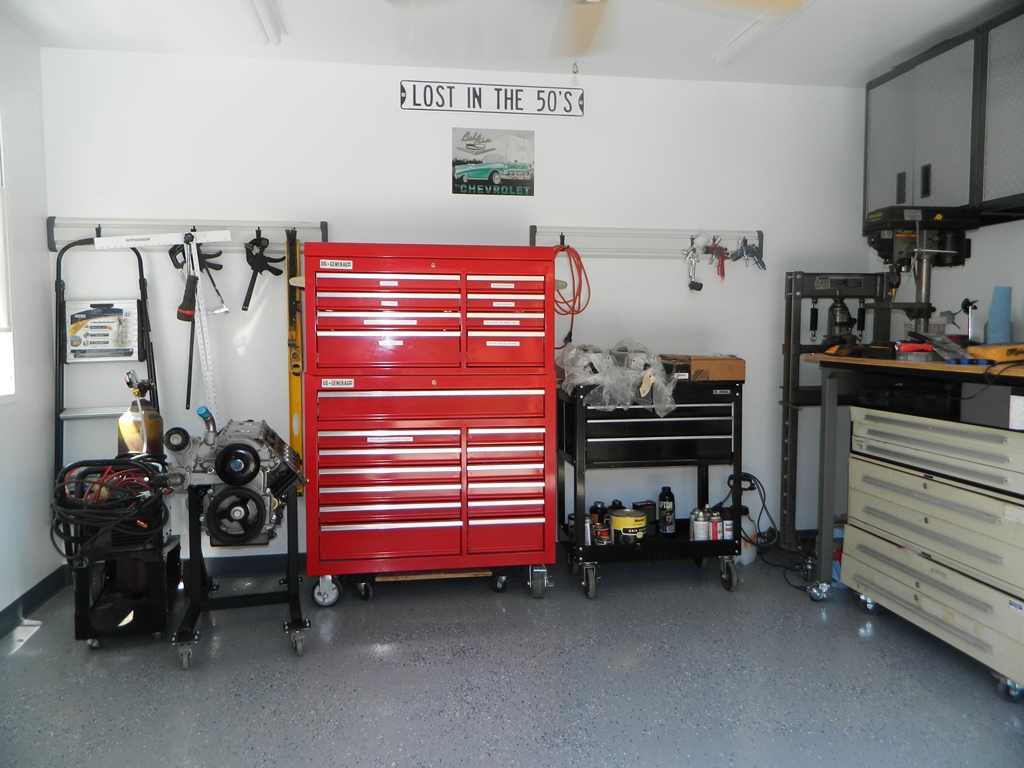 I also could not resist buying a new toy I caught on sell, a new miller mig. 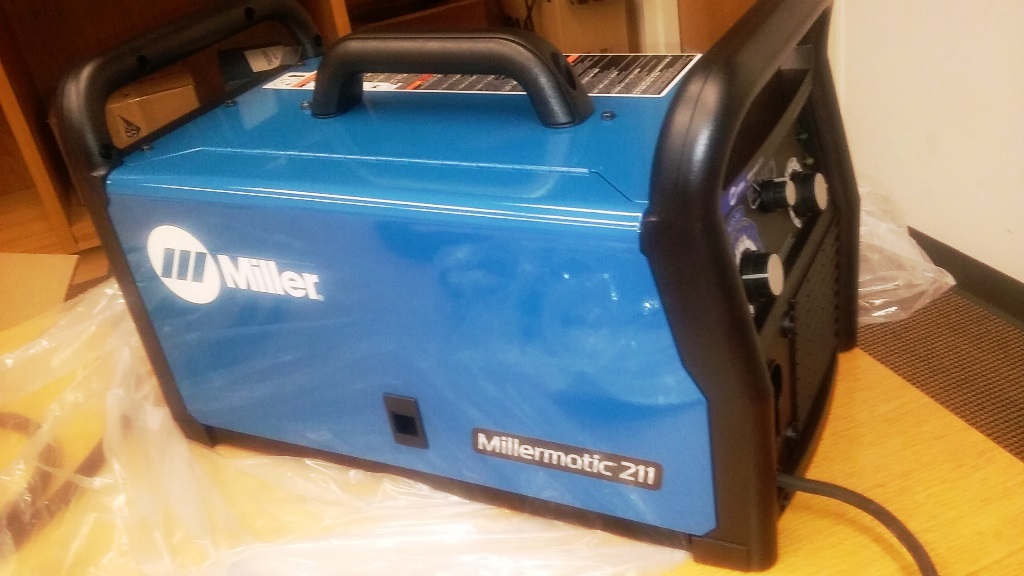 |
Fully Engaged
Posts: 211
Joined: Thu Jul 28, 2011 1:30 pm Location: Inglewood, CA Country: USA |
I after doing the shed I was tired of sanding due to installing all the drywall and stuff. So I decided to focus my attention on the LS engine. It was sitting so long that I just want to rebuild it. I bored it to a 5.7 and added 5.7 flattop pistons, and TSP 228r cam, and ARP rod bolts, other than that the rotating assembly is stocked.
Bare block when it came back from the machine shop 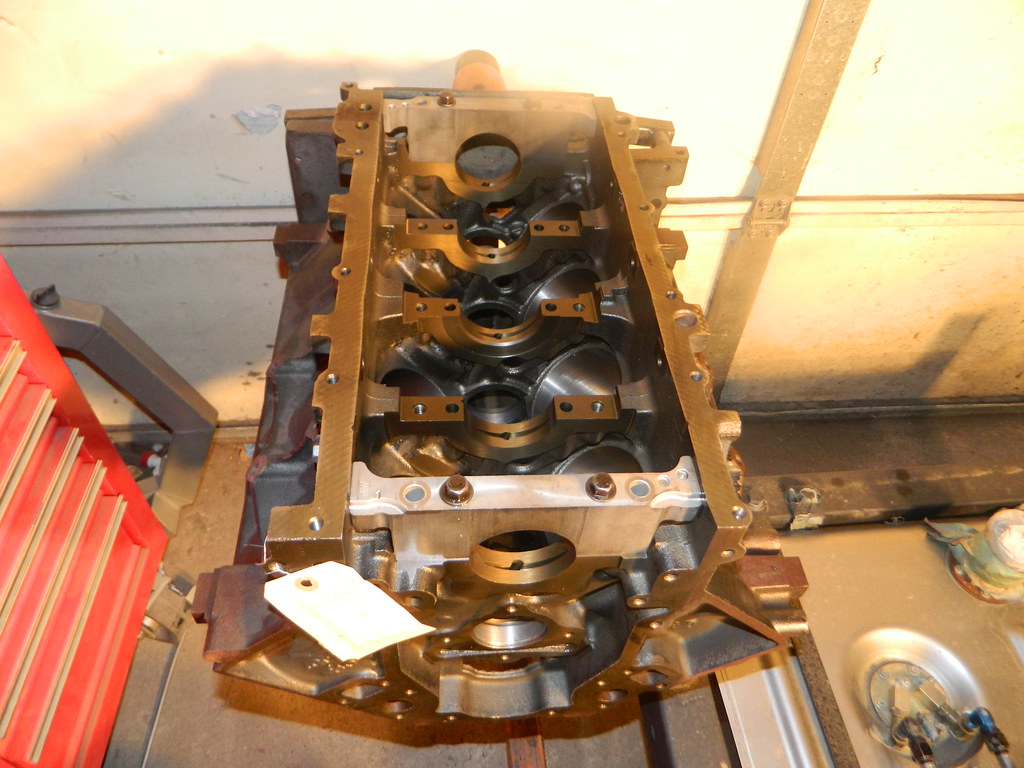 Machine shop check list. 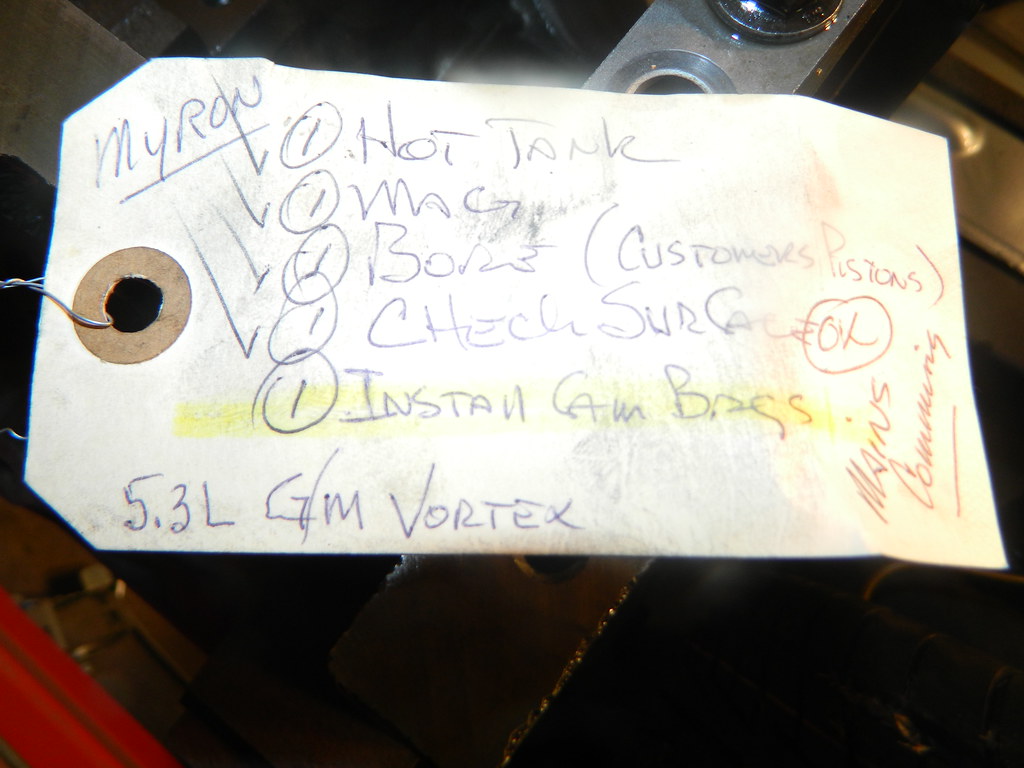 Rotating Assembly 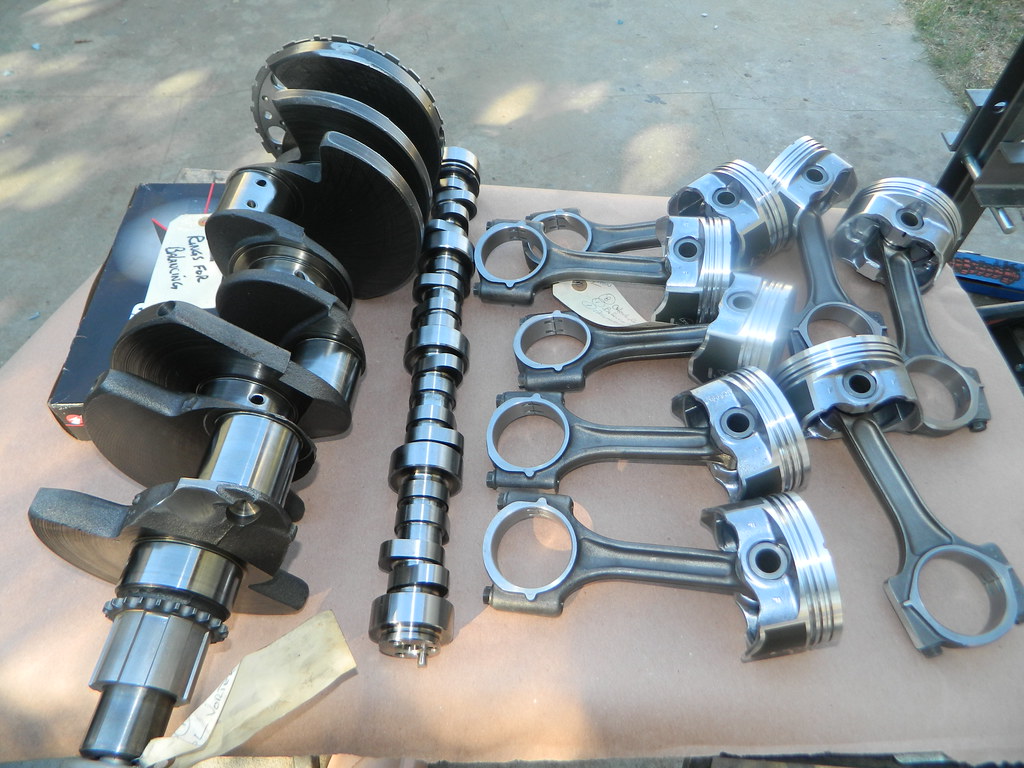 Engine back together. Oh I also brought some used 243 heads of ebay and had them rebuilt also. 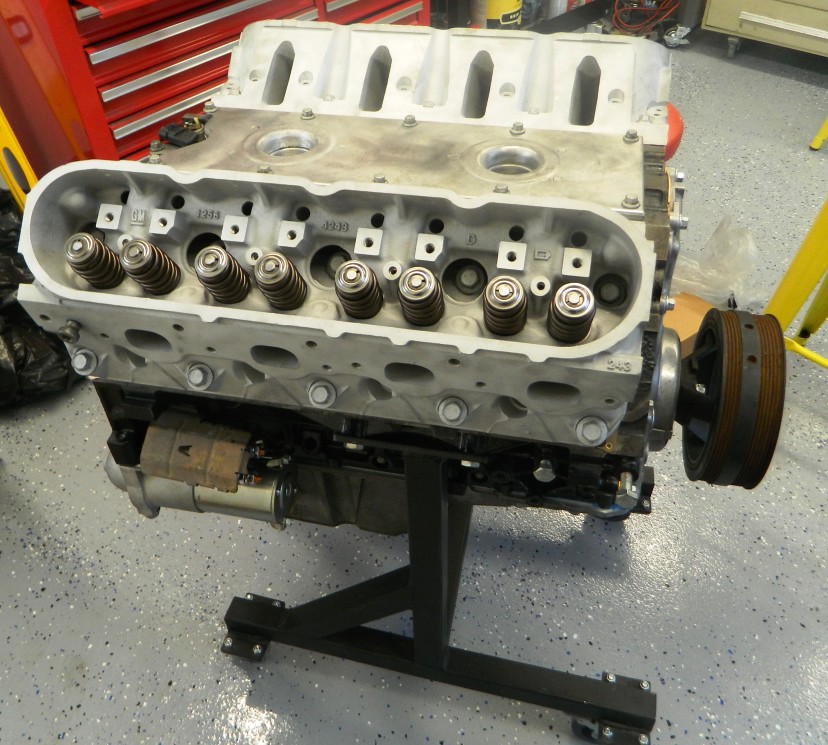 Other I have aftermarket coil brackets and headers. 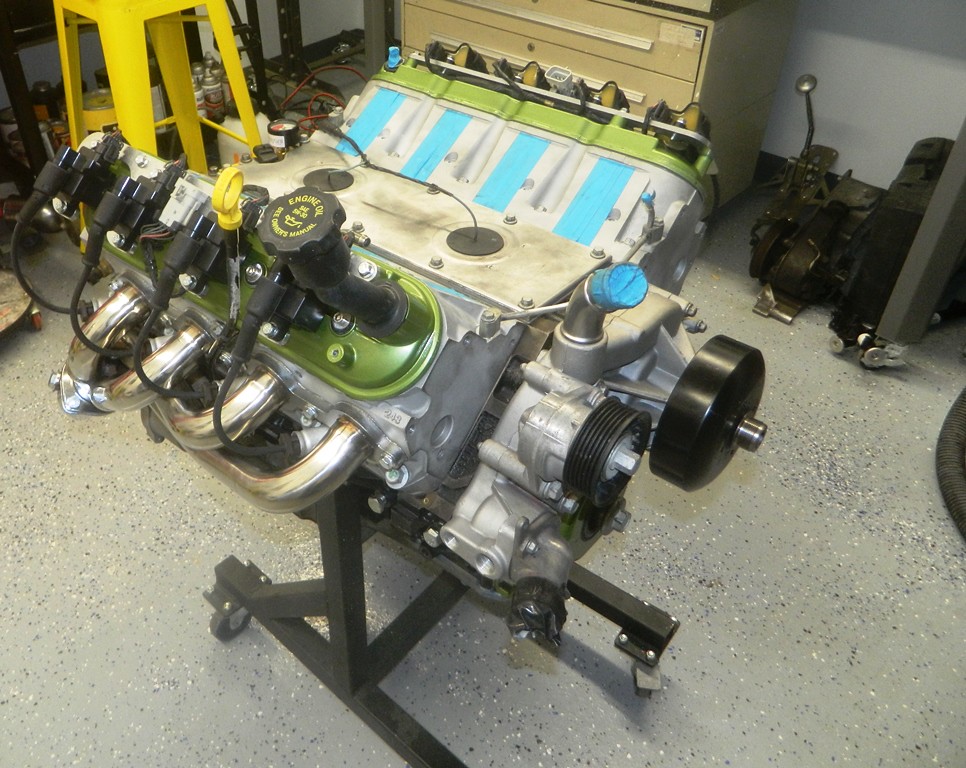 Ready to fire it up for the first time. I only let it run a little while due to no radiator. My setup is a engine dolly I made, along with a front that is removable. It just slides into the legs of the dolly. For gas I used Lawn Mower gas tank that I modified for a return line, PSI wiring harness and basic tune (still have to have it tuned for the cam), external fuel pump, corvette filter regulator, and drive by wire.  Here is a short video of it running. No radiator so I only let it run for a short time. https://www.flickr.com/photos/bam55/295 ... 272808501/ |
Fully Engaged
Posts: 211
Joined: Thu Jul 28, 2011 1:30 pm Location: Inglewood, CA Country: USA |
Next up is rebuilding that 4L60e. I have it torn apart, I just need to inspect the parts to see what I will reuse.
|
Board Moderator
Posts: 9893
Joined: Fri Oct 20, 2006 12:40 pm Location: ARIZONA |
Nice job on that motor. Shed looks great too.
1968 Coronet R/T
ACTS 16:31 |
Return to Completed & In Progress Member Projects
Who is online
Users browsing this forum: No registered users and 121 guests
Powered by phpBB© 2000, 2002, 2005, 2007 phpBB Group
Advertisements by Advertisement Management