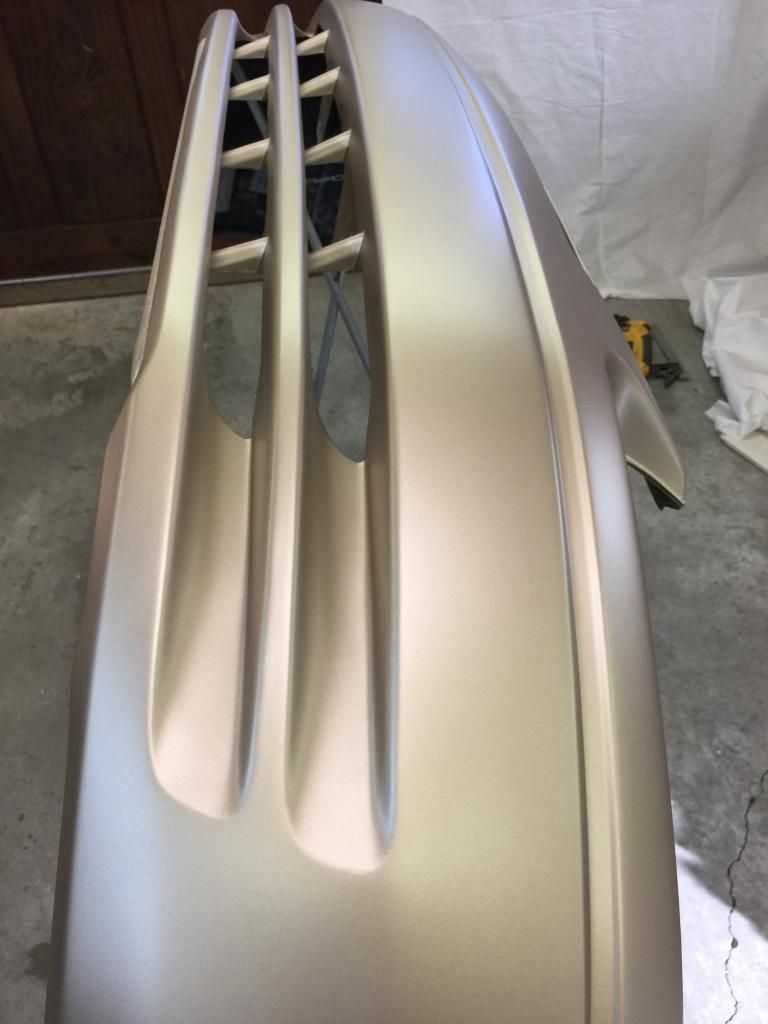
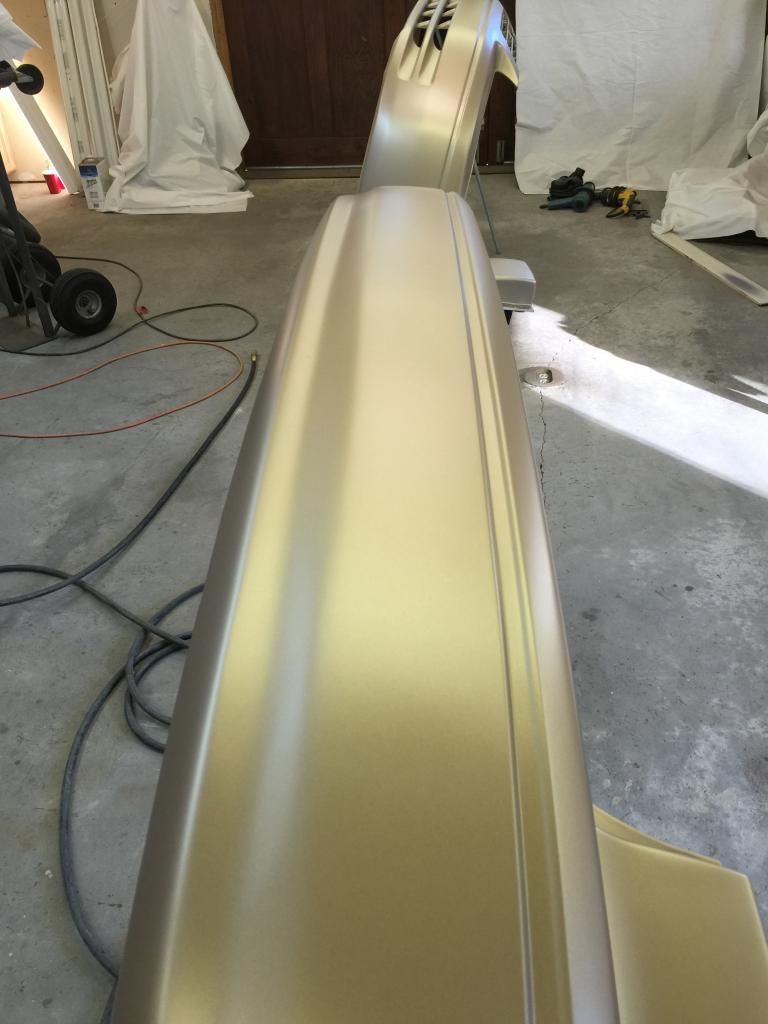
Looks like I have my next project

Show off your work! Anything from final results to full start-to-finish project journals.

User avatar

Fully Engaged
Posts: 355
Joined: Sun Aug 17, 2014 6:04 pm
Location: Gulf Breeze, FL, USA
Country:
USA
PostPosted: Tue Jan 06, 2015 4:44 pm
Took both bumpers out under the sun. They look good to me. Clear coating next.

Image


Image
We hold these truths to be self-evident, that all men are created equal, that they are endowed by their Creator with certain unalienable Rights, that among these are Life, Liberty and the pursuit of Happiness.

User avatar

Fully Engaged
Posts: 355
Joined: Sun Aug 17, 2014 6:04 pm
Location: Gulf Breeze, FL, USA
Country:
USA
PostPosted: Tue Jan 06, 2015 6:14 pm
Clear coating went fine, except I got a three runs. One I tried to take off with the sticky side of some tape, but it was making it worse. So, I'll have to do a little wet sanding and buffing. No biggie.

Image


Image


Image


Image


I think it will be easier to wet sand and buff with the bumper covers on the car. Folding work stands are pretty wobbly.
We hold these truths to be self-evident, that all men are created equal, that they are endowed by their Creator with certain unalienable Rights, that among these are Life, Liberty and the pursuit of Happiness.

User avatar

Site Admin
Posts: 3450
Joined: Tue Jun 17, 2003 3:02 am
Location: New York
Country:
USA
PostPosted: Wed Jan 07, 2015 8:03 am
Looks great! Glad it worked out for you.

User avatar

Fully Engaged
Posts: 355
Joined: Sun Aug 17, 2014 6:04 pm
Location: Gulf Breeze, FL, USA
Country:
USA
PostPosted: Wed Jan 07, 2015 2:15 pm
I got the front and rear bumper covers installed. The new front styrofoam energy absorber had the "up" arrow pointing in the wrong direction, and while I was struggling with it, I chipped off some paint on the edge right below the right headlight. I'll get some touch up paint for that. It's not too visible. Rear bumper cover was quick and easy.

Image


Image


I wet sanded the runs out with 1500 and a small block, then did a light, careful buff. There's something strange about how they look after I got finished. There is a telltale sign of where the drip was, almost as if the drip disturbed the metallic underneath.

Not worth worrying over, but this could be a learning experience for me. I used Sherwin Williams 4th Dimensions base coat and Tamco 2100 clear coat.

Image


Image


There were no runs in the base coat. I'm sure of that. Any ideas?
We hold these truths to be self-evident, that all men are created equal, that they are endowed by their Creator with certain unalienable Rights, that among these are Life, Liberty and the pursuit of Happiness.

User avatar

Site Admin
Posts: 3450
Joined: Tue Jun 17, 2003 3:02 am
Location: New York
Country:
USA
PostPosted: Wed Jan 07, 2015 8:56 pm
It's hard to tell from the photo if you really got the run totally eradicated but assuming you did - what might have happened is that the clear inside the run will take a lot longer to dry obviously, so might have disturbed the metallic paint underneath.

User avatar

Fully Engaged
Posts: 355
Joined: Sun Aug 17, 2014 6:04 pm
Location: Gulf Breeze, FL, USA
Country:
USA
PostPosted: Thu Jan 08, 2015 7:40 am
chris wrote:It's hard to tell from the photo if you really got the run totally eradicated but assuming you did - what might have happened is that the clear inside the run will take a lot longer to dry obviously, so might have disturbed the metallic paint underneath.


The run in the first picture is by the inside corner of the headlight. Looks like a tear. :cry: Gives the car some personality.

I'll have to be really careful about runs with this base coat/clear combo. I didn't have any runs to deal with when I painted my Tundra, so it can be done. :)
We hold these truths to be self-evident, that all men are created equal, that they are endowed by their Creator with certain unalienable Rights, that among these are Life, Liberty and the pursuit of Happiness.

User avatar

Board Moderator
Posts: 9889
Joined: Fri Oct 20, 2006 12:40 pm
Location: ARIZONA
PostPosted: Thu Jan 08, 2015 10:13 am
There is a fine line between laying clear on heavy enough to flow out like glass and having it start running. I find most of my runs come when I am not careful to keep the gun the same distance from the panel. Just a nano second of moving it an inch too close is all it takes.
1968 Coronet R/T


ACTS 16:31
Previous

Return to Completed & In Progress Member Projects

Who is online

Users browsing this forum: No registered users and 76 guests