
 Settled In
Posts: 44
Joined: Sun Jul 12, 2015 2:50 pm Country: USA |
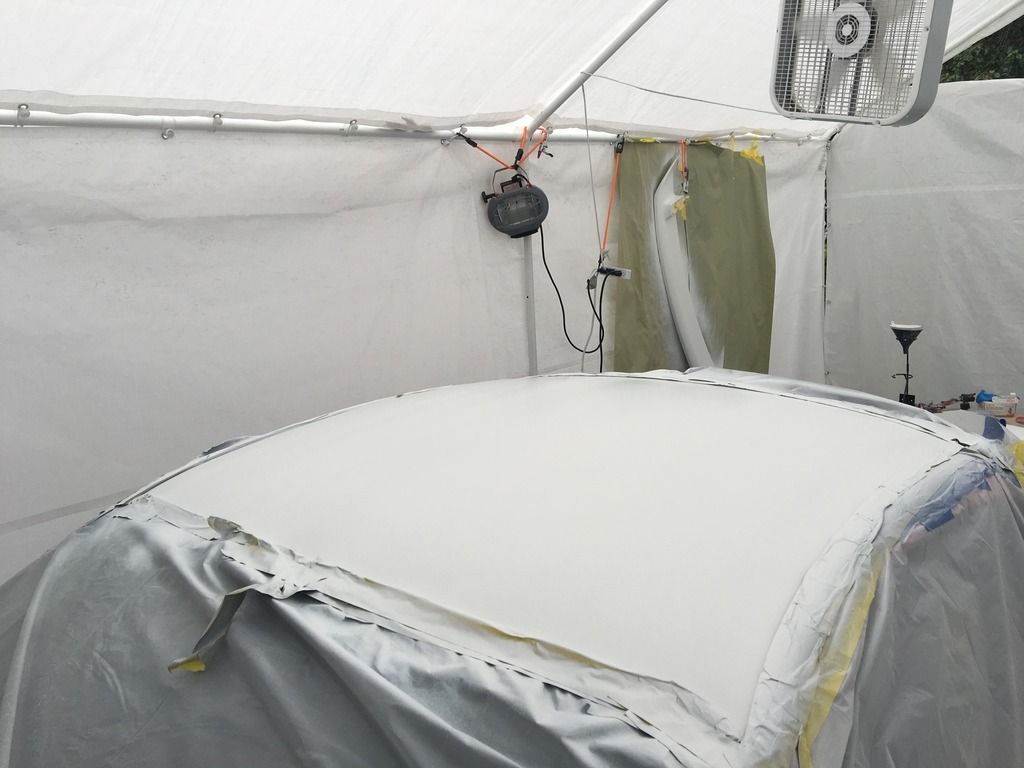
Roof, door jambs and starting on the A and C posts
|
Settled In
Posts: 44
Joined: Sun Jul 12, 2015 2:50 pm Country: USA |
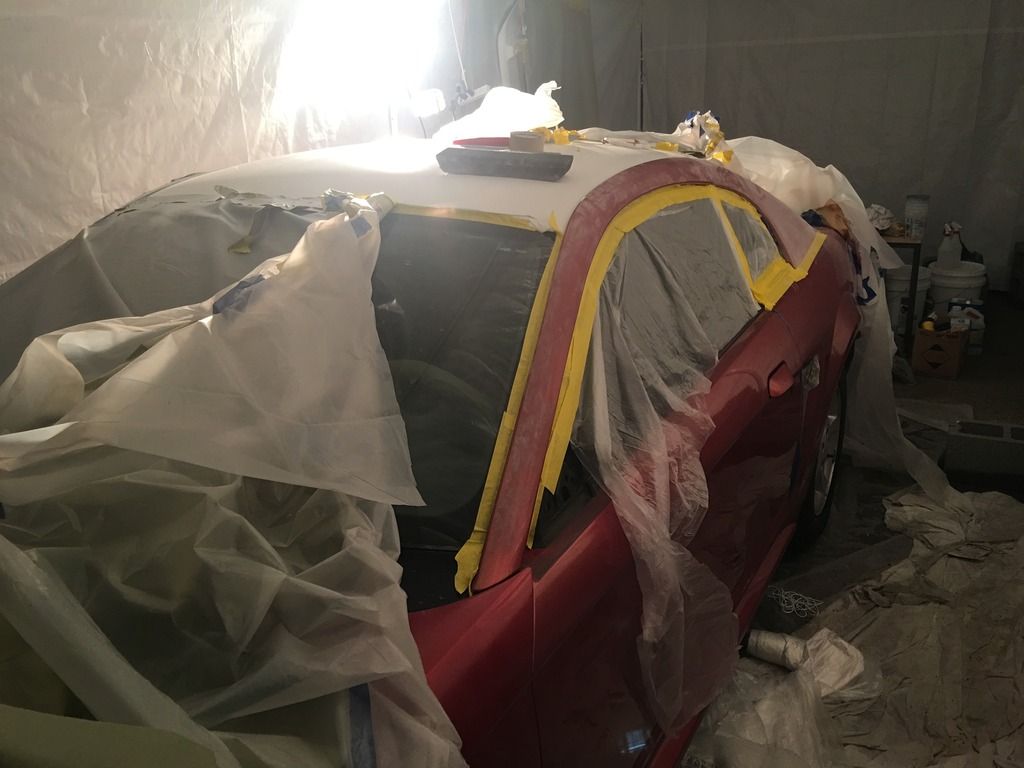
A posts with sealer
 |
 Board Moderator
Posts: 9890
Joined: Fri Oct 20, 2006 12:40 pm Location: ARIZONA |
Its a lot more involved than people think.
I get them all the time saying, how much for just a quick spray job? LOL 1968 Coronet R/T
ACTS 16:31 |
Settled In
Posts: 44
Joined: Sun Jul 12, 2015 2:50 pm Country: USA |
Sure is .... everything I'm doing is for the first time so it's taking me a lot longer, am enjoying the process. Lots of respect for those who do this for a living I have the sides left to do now, and the bumpers. The rain is slowing me down somewhat, but am aiming to have it ready to paint by the end of next week, working every day that's not pouring with rain here in Nashville. |
Settled In
Posts: 44
Joined: Sun Jul 12, 2015 2:50 pm Country: USA |
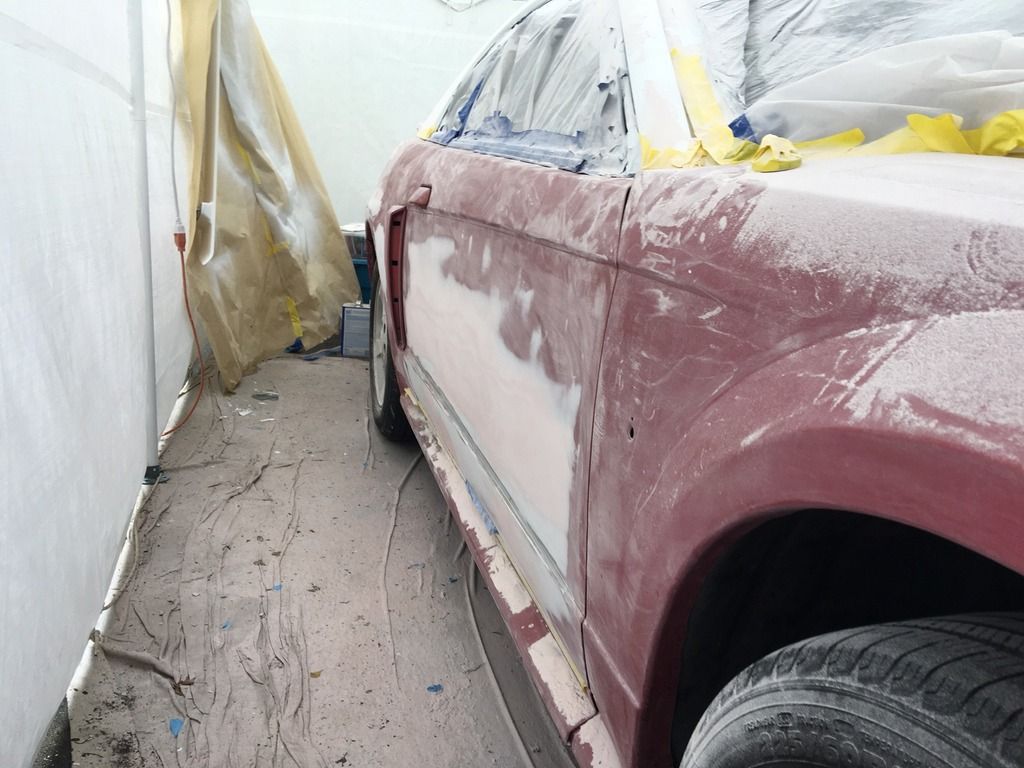
Am currently block sanding the doors.... man what a pain in the.
Have applied filler about 5 times now, and block sanded ... getting close but still a bit to go. Fortunately, it's the passenger side only, there were some deep scratches but looks like it created a gigantic low spot (about 1/8") in the lower door panels, along with some oil canning. I thing trying to hit the low spots out from behind would only create more ripples elsewhere.... USC Halftime filler is great filler.... I'd only used Bondo before, the difference is amazing |
Board Moderator
Posts: 9890
Joined: Fri Oct 20, 2006 12:40 pm Location: ARIZONA |
You will want to get rid of the oil canning.
This could be causing you a ton of extra sanding as the metal is weak and flexing under the pressure of your sanding block. 1968 Coronet R/T
ACTS 16:31 |
Settled In
Posts: 44
Joined: Sun Jul 12, 2015 2:50 pm Country: USA |
Well, another day applying filler and blocking. I misunderstood what oil canning is, I thought it just meant a high spot caused by a dent/low spot. The car door will flex slightly if I push hard enough, but not it has to be some pressure. I spent a good number of hours today wiping, blocking and applying more filler. I'm close.... but my neighbor/painter came by to have a look and ran his hand over the panels and pointed out three low spots. Is frustrating, but the straight finish will be worth it. Another round tomorrow Fortunately, the drivers side has only one low spot which shouldn't take to long to fill. So much dust, it's raining tonight so tomorrow the canvas dropcloth will be soaked. Good times. |
Settled In
Posts: 44
Joined: Sun Jul 12, 2015 2:50 pm Country: USA |
Believe it or not, after lots of hours of sanding, filler, sanding, filler and sanding..... this is a very straight door and is ready for primer
 Its amazing how much work is required to get a panel back to straight, even if the dents/scratches are in only one area, these were the scratches/small dents 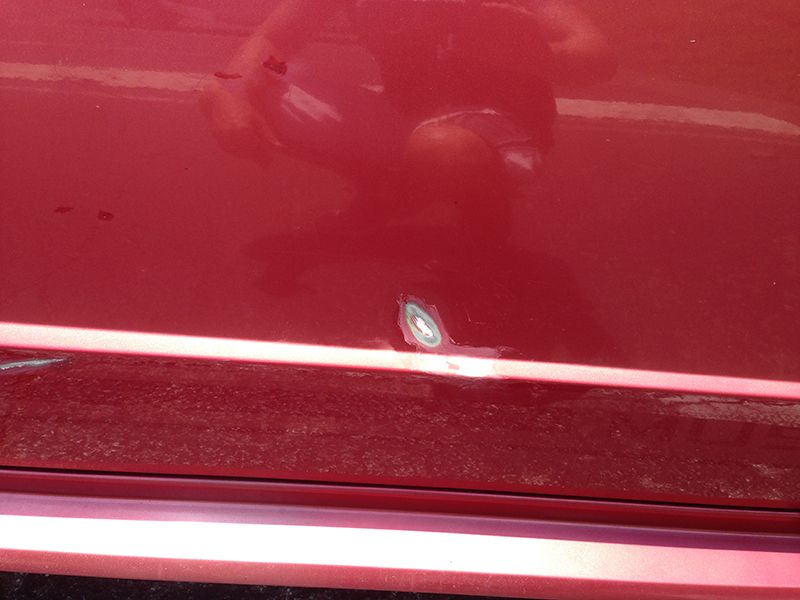 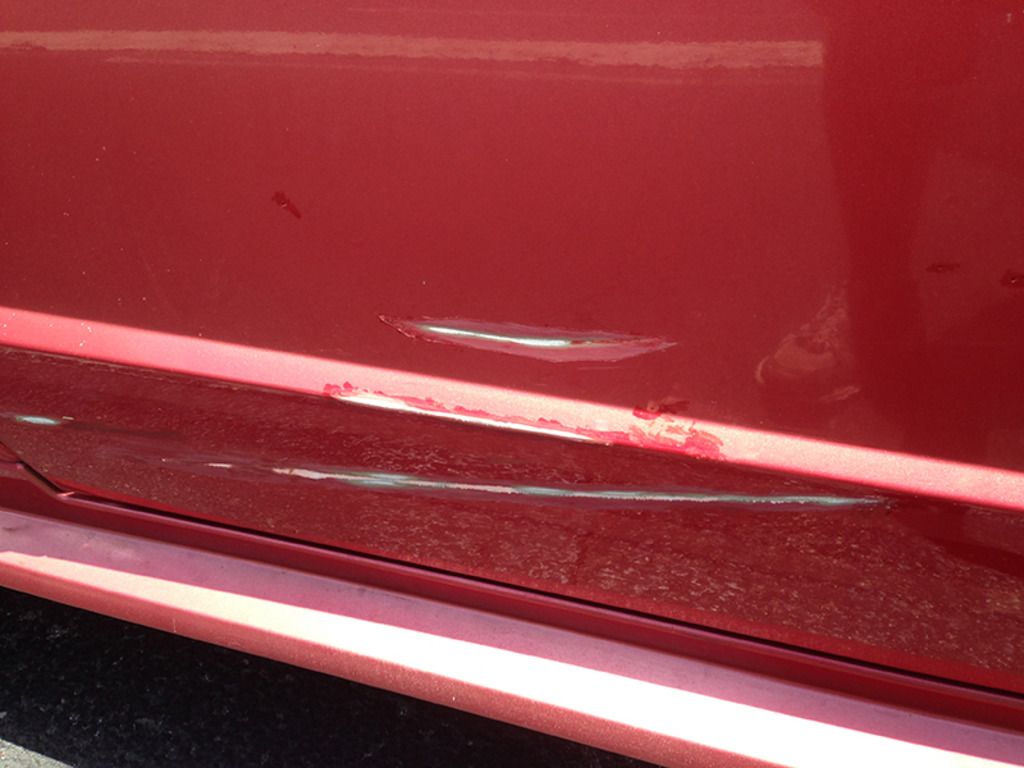 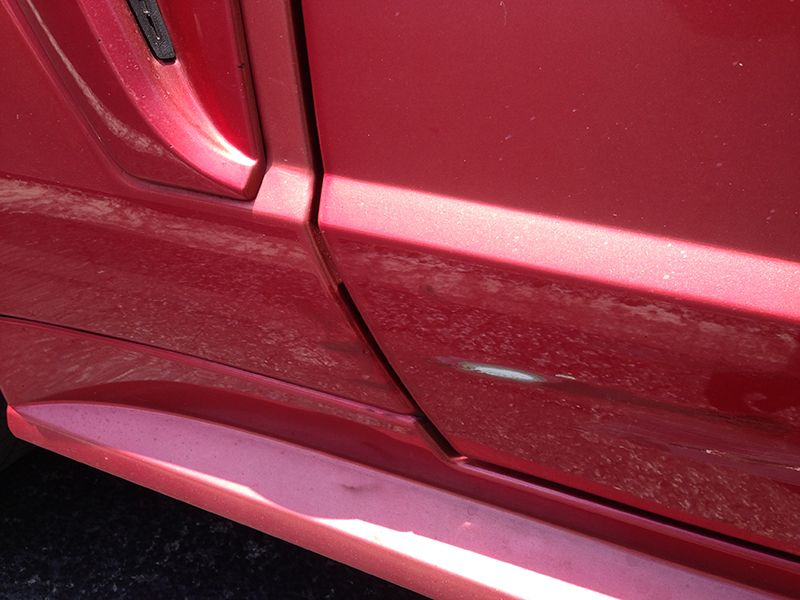 |
Top Contributor
Posts: 1397
Joined: Thu Jan 27, 2011 2:16 pm |
lookin good! all the work will be worth it when the paint goes on.
did ya get your bc figured out? my very 1st project ws my sons 95 raggtopp 'stang with same paint code and the paint looked just about identical. my local jobber carried shirwin williams. he was able to get me away from the tri coat( that was gonna be really costly). it wasnt an exact match, but the only way to tell(lookin at the door jambs)was if it was mentioned and to look at it in sunlight.that was 9 years ago so i dont recall the color code. |
Settled In
Posts: 44
Joined: Sun Jul 12, 2015 2:50 pm Country: USA |
Thanks - I have a really good quote for axalta chromabase from my local shop for the tricoat . My neighbor gets it at a discount and he's going to do the final tricoat shoot in his booth. His mowers been busted so I've been mowing is lawn all spring . That and a couple cases of beer will get me a nice looking final coat  Thing is , this is really addictive . I keep looking online for project cars to redo, but I would want a permanent weather proof working space .... one day |
Return to Completed & In Progress Member Projects
Users browsing this forum: No registered users and 21 guests