The BIG project thread

Show off your work! Anything from final results to full start-to-finish project journals.

User avatar

Top Contributor
Posts: 4925
Joined: Thu Jan 06, 2005 12:15 pm
Location: Canada
PostPosted: Wed Sep 10, 2014 10:04 am
Doug, where are those updates you were promising us? :wazzup:

I got the rear axle seals, bearings and brakes all done but one of the new drums don't fit over the new shoes and the other doesn't seem quite right? I decided to shove it to the side until my son has a chance to pop over and have a look. I moved on to assembling the front suspension and steering, if only I could remember how I took it apart :knockout: :knockout: It's pretty nice to be bolting new parts on though :happy: :happy:
Rob


Top Contributor
Posts: 1048
Joined: Tue Mar 09, 2004 4:19 pm
Location: Villa Park Ca.
Country:
USA
PostPosted: Fri Sep 12, 2014 3:16 pm
I'll try they have changed photobucket so much. :flatten: :flatten: :knockout: and yes I am very embarrassed with not posting and not following thru with me promise :whoops: :whoops: :whoops: No excuse but I'm not getting notices anymore :cry: :cry: :rotfl: :rotfl:

You guys have made sooooooooo much progress I am jealous :goodjob: :goodjob: :goodjob: :happy: :happy:
Last edited by Doug's 38 2dr sedan on Fri Sep 12, 2014 3:49 pm, edited 1 time in total.
it needs to be lowered with big and littles. .


Top Contributor
Posts: 1048
Joined: Tue Mar 09, 2004 4:19 pm
Location: Villa Park Ca.
Country:
USA
PostPosted: Fri Sep 12, 2014 3:47 pm
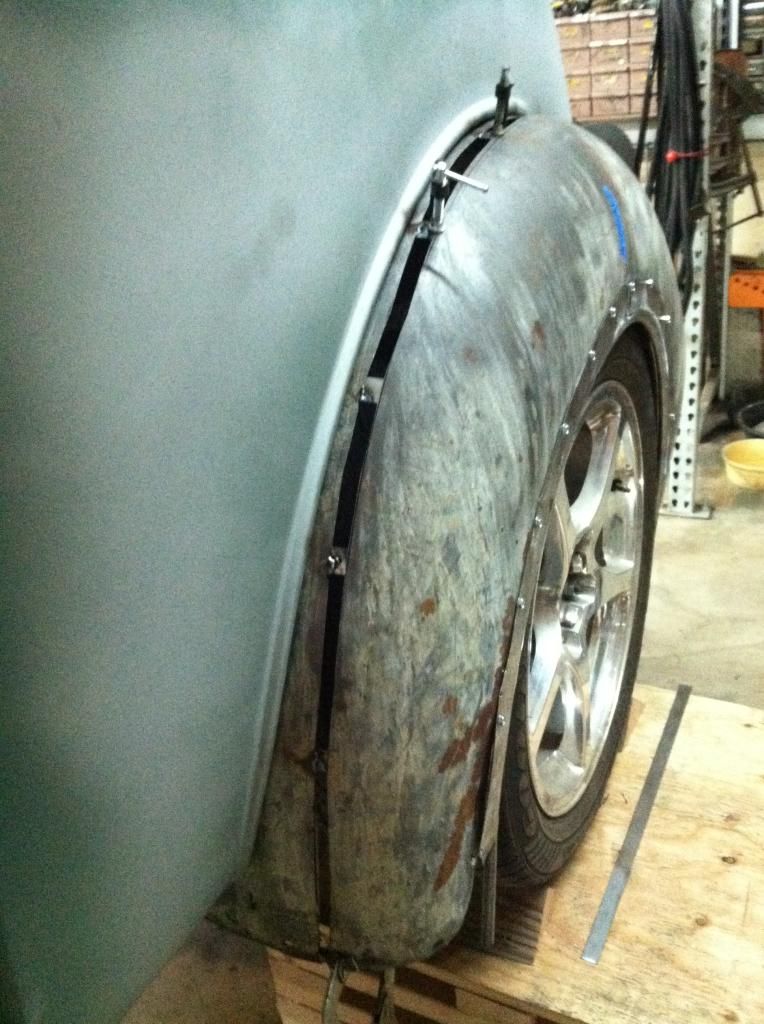
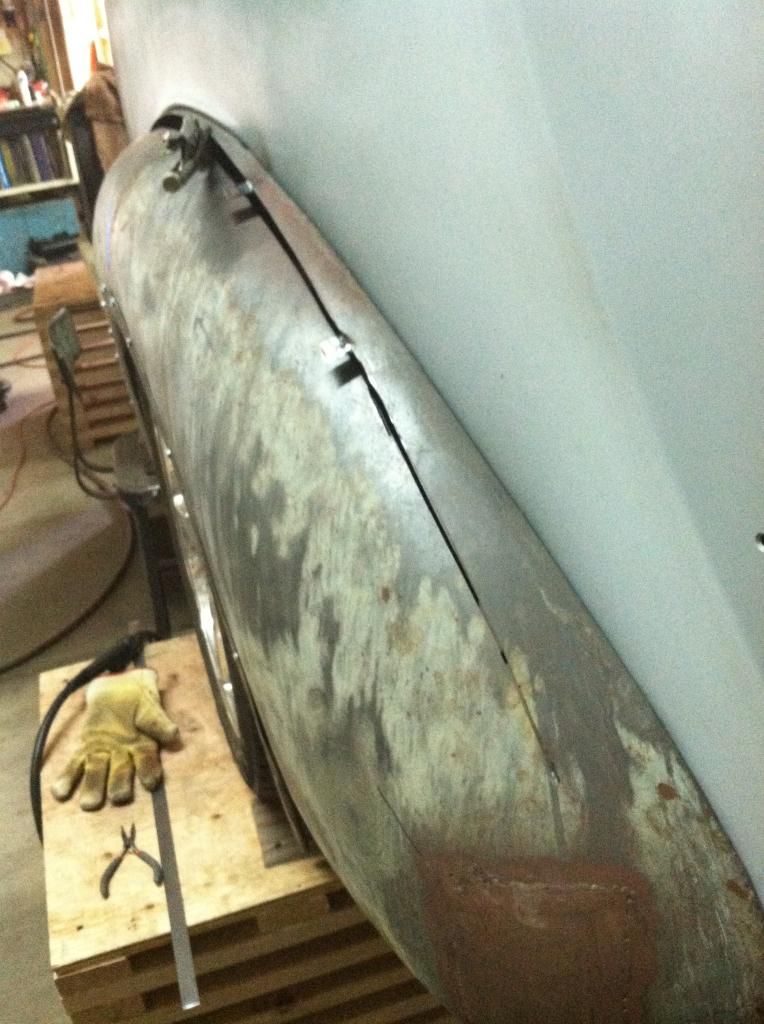
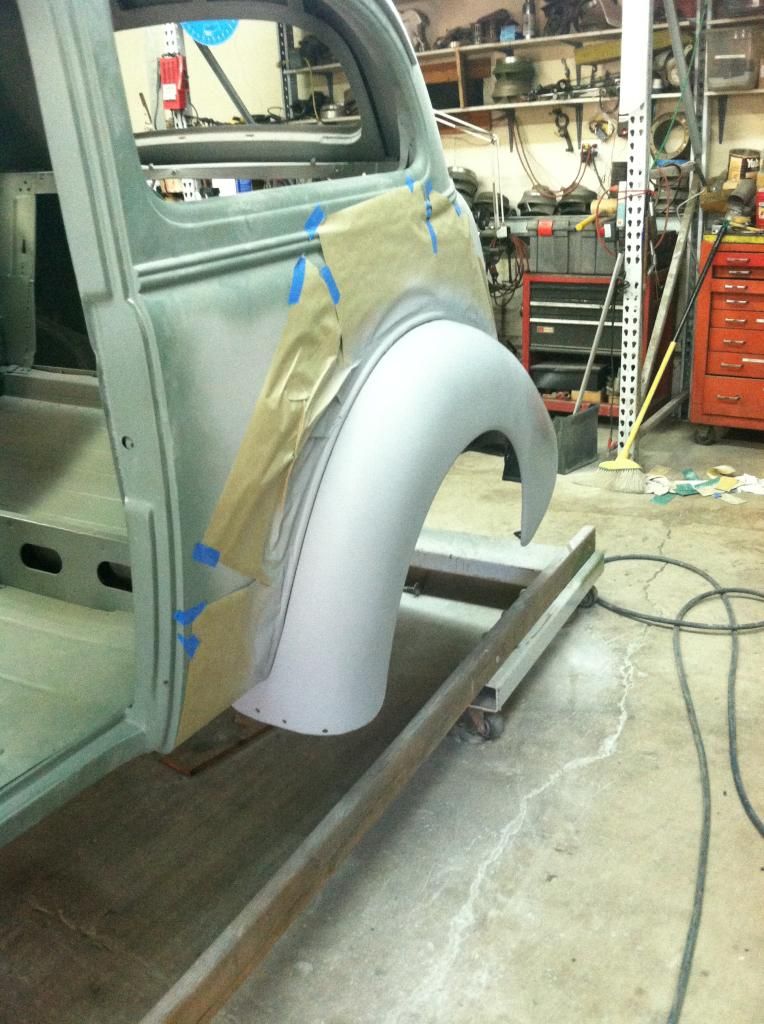
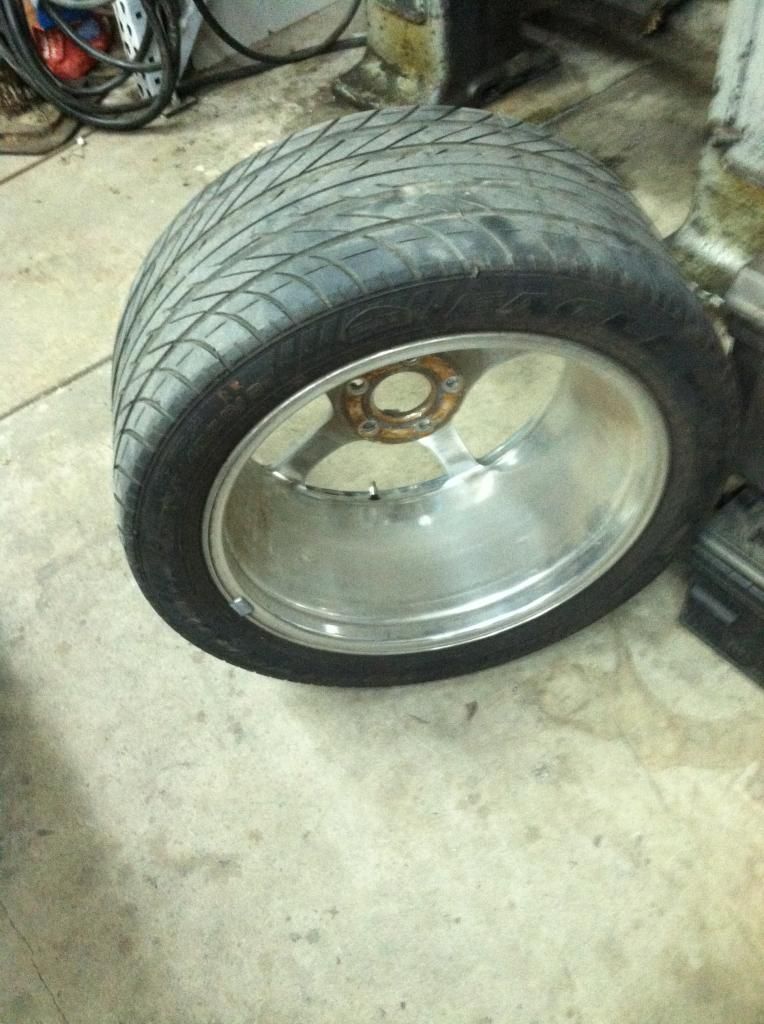
Ok here goes. I got the body back off the frame and now both are on rotisseries so Ill start with the rear fenders. :splat: :splat: :shocked: well the body is sitting on the frame 1/4" to the right side, not that I am working with those kind of clearances but I AM and the left tire was too close to the tires and rims are wide. :knockout: :knockout:
Lets see about photobucket
Image


seemed to work, so I had to widen the left rear fender 1/2 inch :flatten: :realmad:

I also need to add that I redid both rear fender openings using 1/2" so toe openings matched the center of the wheels, anyway

The cut! :shocked:
Image


Image


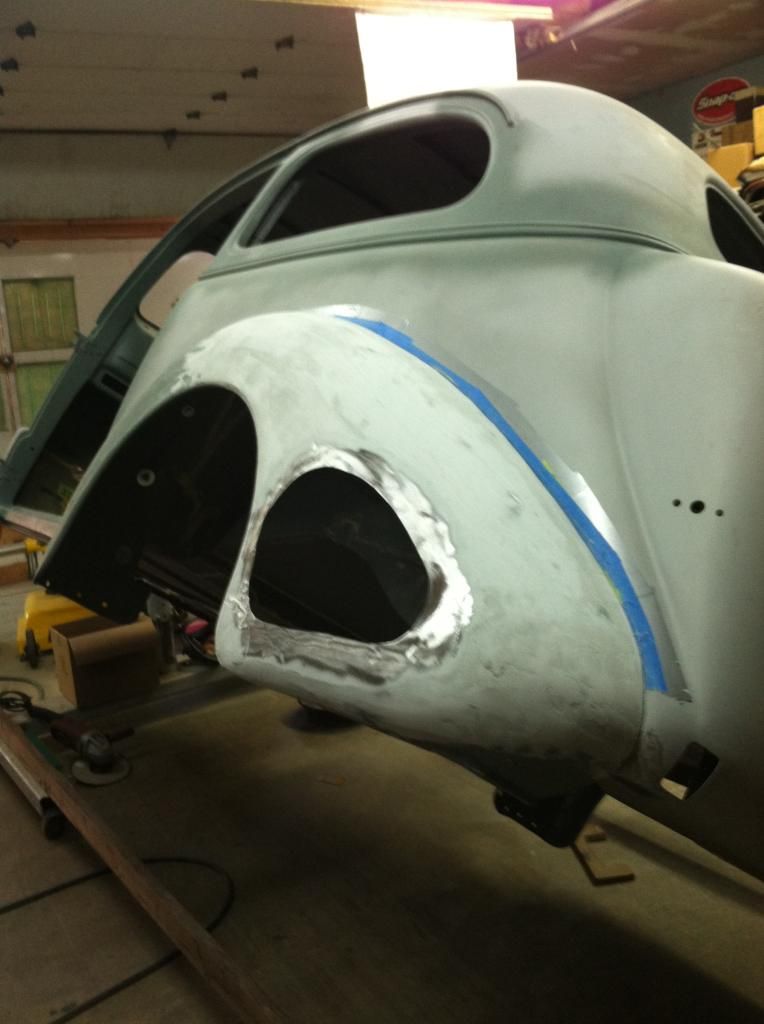
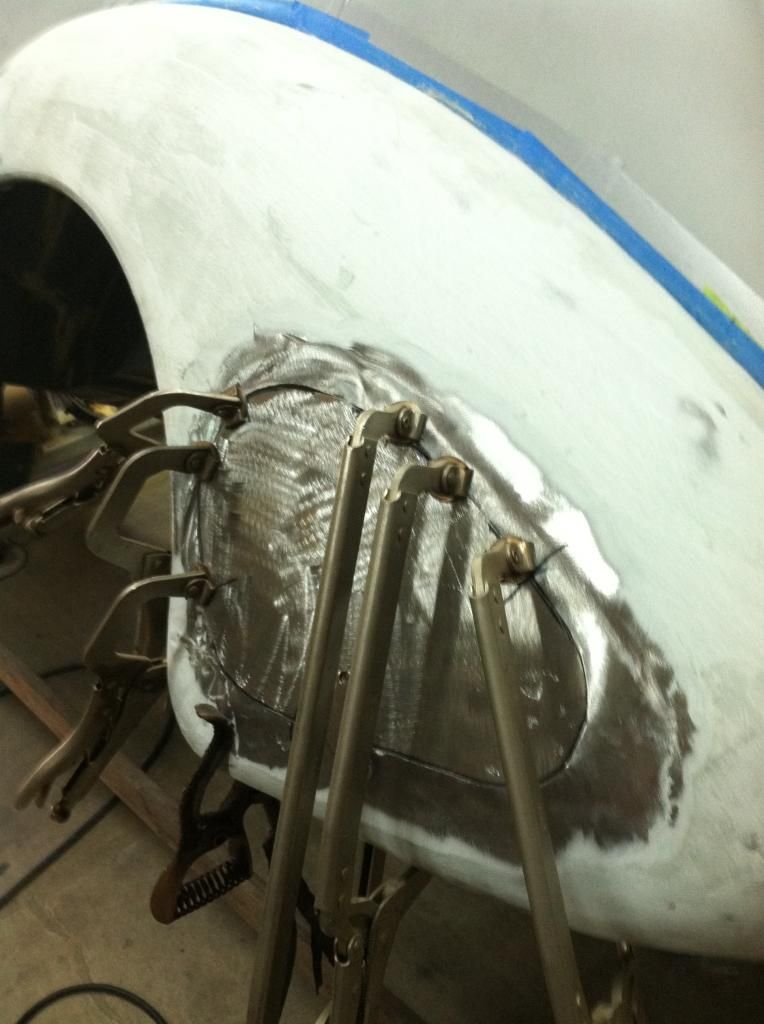
Then I wasn't happy with the bulge behind the wheel opening and tried to shrink it out, beat it out, final gave up and cut it out. :shocked: :realmad: :realmad: :knockout: :rolleyes:

Image


Image


Image


I'm happy now
Image


More to come
it needs to be lowered with big and littles. .


Top Contributor
Posts: 6233
Joined: Tue Sep 16, 2008 1:17 pm
Location: Pahrump NV.
Country:
USA
PostPosted: Sat Sep 13, 2014 9:21 am
Doug
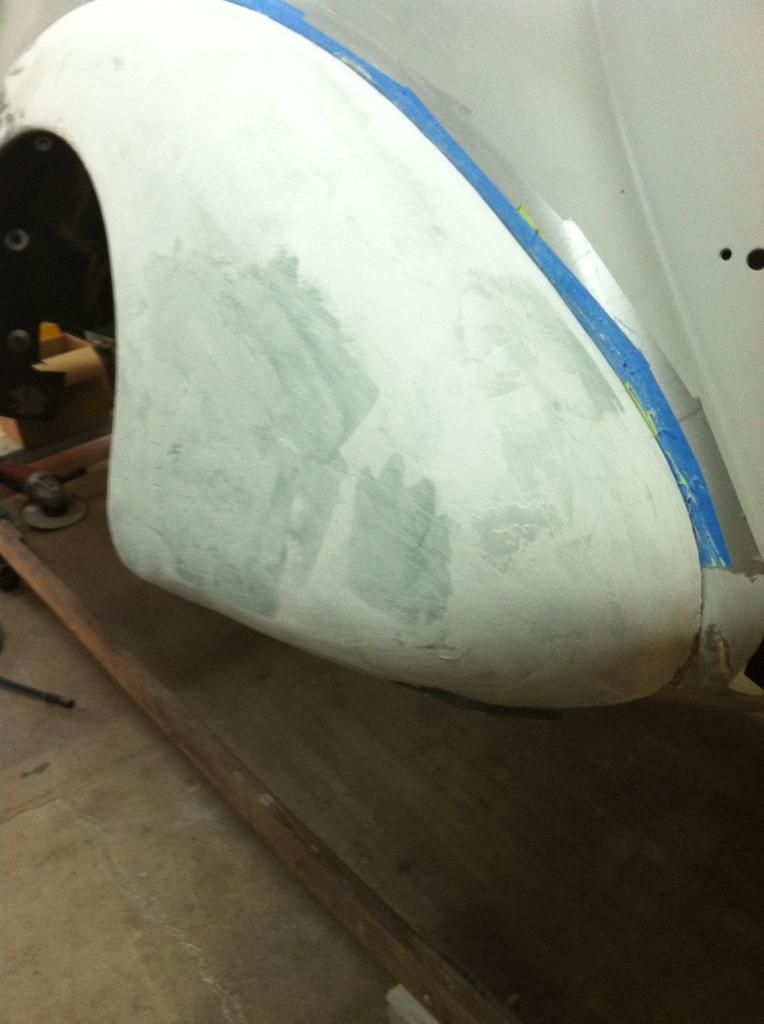
What filler is that that you used on that fender?
I had some of that stuff before
Dennis B.
A&P Mechanic, FCC General radio Telephone Operator
Line Maintenance A&P Mechanic and MOC Tech specialist.

User avatar

Top Contributor
Posts: 4925
Joined: Thu Jan 06, 2005 12:15 pm
Location: Canada
PostPosted: Sat Sep 13, 2014 9:55 am
Nicely done Doug! :clap: :clap: :clap: :clap:

You have a great eye for subtle improvements like that. A lot of extra work but worth it! :goodjob:

I'm cleaning and painting some of the suspension bits that are being reused like spindles and brackets. Most of the stuff is new, it's going to be a shame to cover it all up with a fender and wheel.
Rob


Top Contributor
Posts: 6233
Joined: Tue Sep 16, 2008 1:17 pm
Location: Pahrump NV.
Country:
USA
PostPosted: Sat Sep 13, 2014 10:10 am
rjuhasz wrote: Most of the stuff is new, it's going to be a shame to cover it all up with a fender and wheel.


Just Think theirs a Big Muddy Pot hole out their just waiting for you too :rotfl:
Dennis B.
A&P Mechanic, FCC General radio Telephone Operator
Line Maintenance A&P Mechanic and MOC Tech specialist.


Top Contributor
Posts: 1048
Joined: Tue Mar 09, 2004 4:19 pm
Location: Villa Park Ca.
Country:
USA
PostPosted: Sat Sep 13, 2014 11:03 am
Doright wrote:Doug
What filler is that that you used on that fender?
I had some of that stuff before


Image


its new. I just have a quart at home. it is really good stuff :happy: :happy: :happy:

Rob, I understand about putting all that work in things that really don't show but the reward is you know and it is done right :clap: :clap: :goodjob: :allgood:

Going to go watch grandkids soccer (football) games now its going to be 100f today :realmad: grief.
it needs to be lowered with big and littles. .


Top Contributor
Posts: 1048
Joined: Tue Mar 09, 2004 4:19 pm
Location: Villa Park Ca.
Country:
USA
PostPosted: Thu Sep 18, 2014 1:05 pm
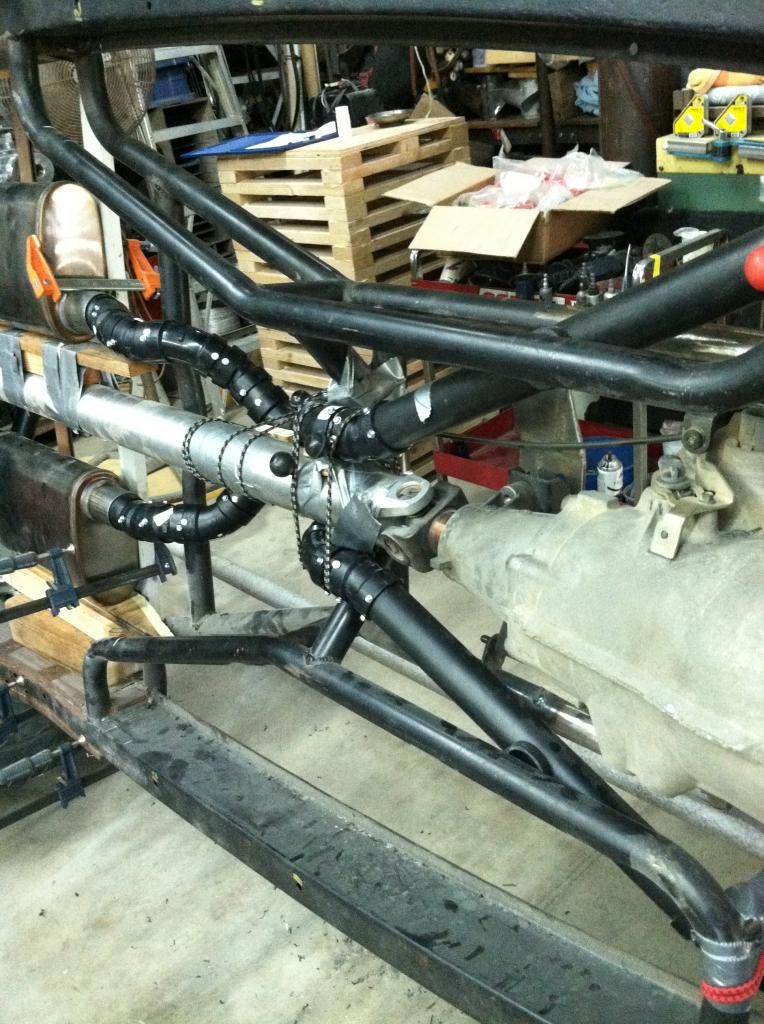
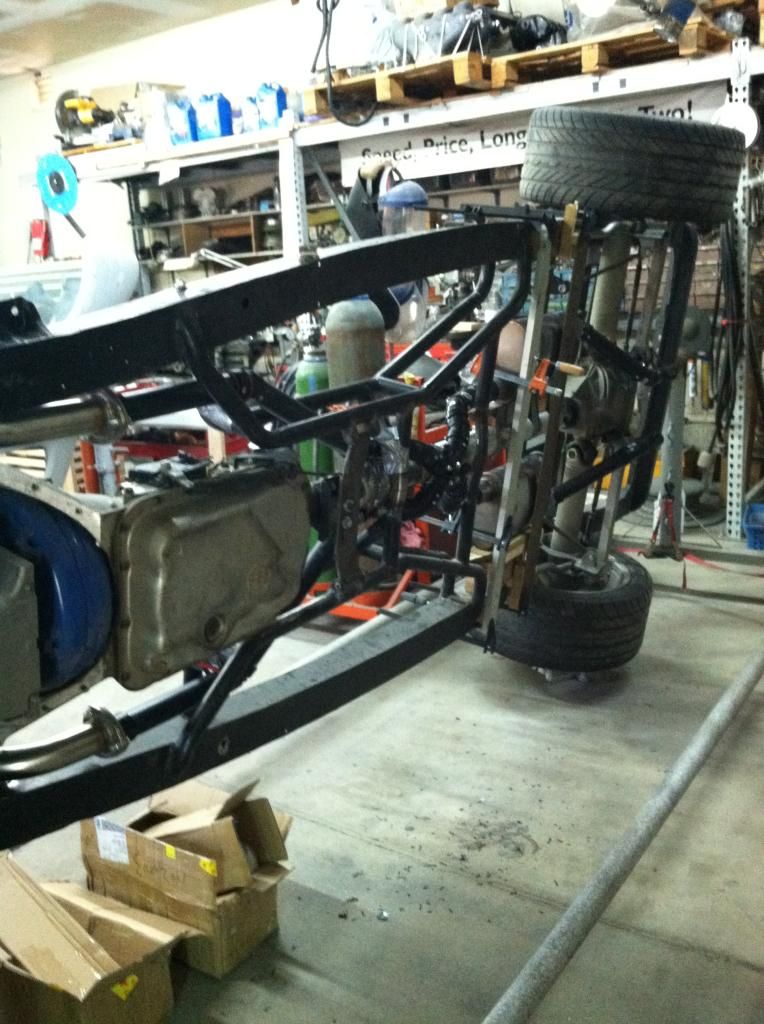
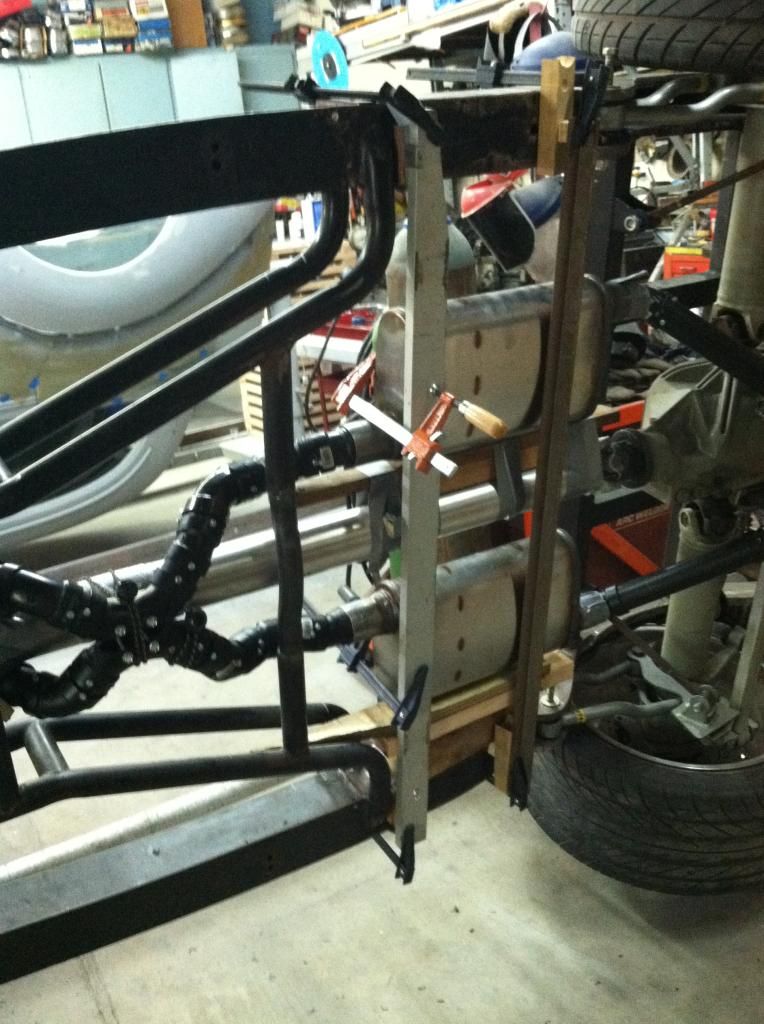
NEXT UPDATE - - - - I've been working on the exhaust from the headers back. I want a crossover rather than a H pipe and it will be all done in stainless so here is what I've come up with. :knockout: :knockout: the time I spent on this will save Adam a bunch of hours laying it out cutting and welding. :happy: :happy: :happy: I chose 2"abs pipe (sewer pipe) because of all the available angled of fitting and the OD of the fittings are 21/4" and that is the size of the stainless pipe and bends I am using.. :flatten: :flatten:

This is going aft to the mufflers
Image


This shows coming from the front. you are looking at the underside of the frame and running gear
Image


Crossover
Image


Image


Now I'm working the front fenders like I did the rear :splat: :splat: :knockout:

Image
it needs to be lowered with big and littles. .

User avatar

Top Contributor
Posts: 4925
Joined: Thu Jan 06, 2005 12:15 pm
Location: Canada
PostPosted: Fri Sep 19, 2014 10:03 am
What a great idea using the ABS for mock up Doug! :goodjob: :goodjob: Looking great.

Tell me more about the fenders, is that rod you're welding to the edge? Is that for added strength or rigidity? You did a great job shaping it to the fender opening, that must have taken some time on a bender.

I'm trying to find a mystery right side inner tie rod, it's making me crazy. I think I'll have to put it on a bunch of forums to see if someone may have seen one like that before. My Stang had the Grenada front disc brake conversion done to it a very long time ago, 20 years or so I would guess. The Grenada spindles are different so you need to do something with the tie rods. All of mine are from the Stang except for the one inner. I thought it was from a Cougar but apperently it isn't, we've looked through all the parts books and nothing has come up, seems like they're all pretty straight or way too long. It's 8.25 inch long. It's the bottom right curved piece attached to the adjusting sleeve and the centerlink.

Image
Rob


Top Contributor
Posts: 1048
Joined: Tue Mar 09, 2004 4:19 pm
Location: Villa Park Ca.
Country:
USA
PostPosted: Sat Sep 20, 2014 11:22 am
rjuhasz wrote:What a great idea using the ABS for mock up Doug! :goodjob: :goodjob: Looking great.

Tell me more about the fenders, is that rod you're welding to the edge? Is that for added strength or rigidity? You did a great job shaping it to the fender opening, that must have taken some time on a bender.

I'm trying to find a mystery right side inner tie rod, it's making me crazy. I think I'll have to put it on a bunch of forums to see if someone may have seen one like that before. My Stang had the Grenada front disc brake conversion done to it a very long time ago, 20 years or so I would guess. The Grenada spindles are different so you need to do something with the tie rods. All of mine are from the Stang except for the one inner. I thought it was from a Cougar but apperently it isn't, we've looked through all the parts books and nothing has come up, seems like they're all pretty straight or way too long. It's 8.25 inch long. It's the bottom right curved piece attached to the adjusting sleeve and the center link.


Rob, I am not any help on that 8.25 but there are many people reading this so maybe someone might help. Have you tried a Granada board if one exists? Looks like you are getting it on its wheels :happy: :happy: :happy: :happy: :happy: :happy:

the hoops are 1/2" tubing. they were easy to roll on Dave's tubing bender after I made a pattern (he has all kinds of neat tools) :happy: :happy: :happy: :happy: I did it for two reasons #1 the fender edges were screwed up and in the rear didn't match the wheel placement. #2 it does make them very strong so I wont ever have front finders with splits in them. BTW the fronts were both split to the middle of the fender. :realmad: :realmad:
it needs to be lowered with big and littles. .
PreviousNext

Return to Completed & In Progress Member Projects

Who is online

Users browsing this forum: No registered users and 39 guests