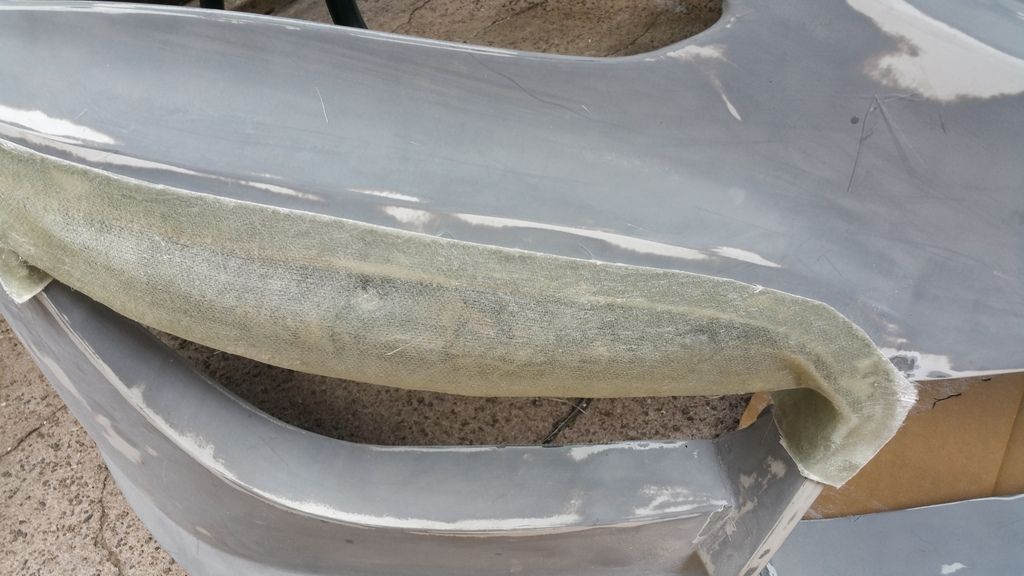
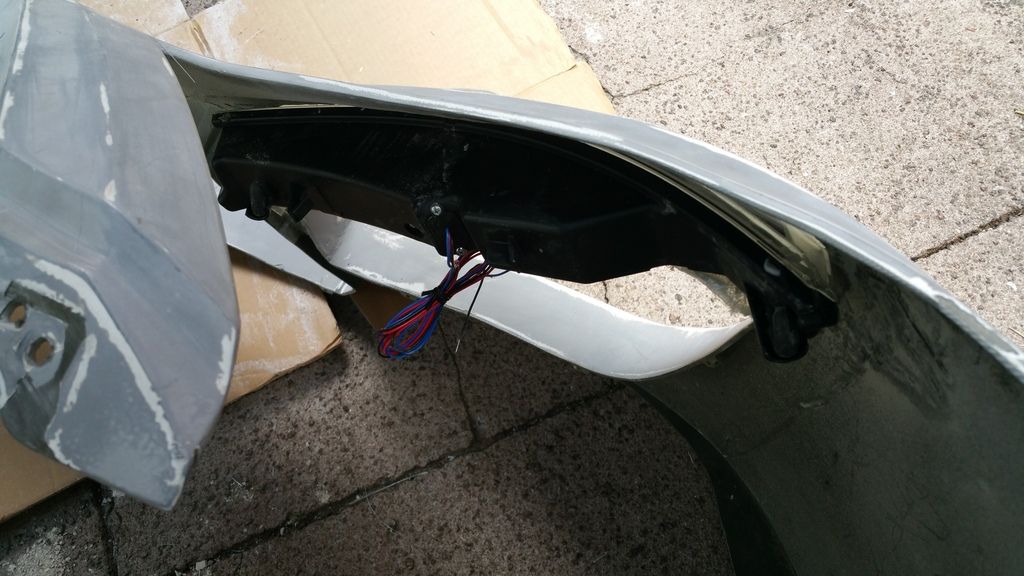
Need info please help

Anything goes in the world of fiberglass and plastic


Settled In
Posts: 13
Joined: Thu May 28, 2015 3:07 pm

Country:
USA
PostPosted: Tue Jun 02, 2015 1:08 pm
DarrelK wrote:There used to be one specific video with a guy using both plaster of paris and just plain old drywall mud for casting on Youtube but it looks like it isn't on there anymore. It's been about 7 years back or so that 80-Grit Guy on this forum was describing how he used drywall mud to make his larger molds. Try and look up posts by him on here. I do mostly fiberglass molding of parts and don't get into these large molds too often. Most of my stuff is "lost foam" casting of original parts that I make, entirely different than what you need to do to replicate a bumper cover.


Ok besides the general mold how do you go about making the small connections that the bumper has to attach properly
User avatar

Board Moderator
Posts: 6683
Joined: Tue Feb 24, 2004 7:00 pm
Location: central Ohio
Country:
USA
PostPosted: Tue Jun 02, 2015 2:34 pm
Once you have actually made the new fiberglass bumper you can usually just make a simple metal sub-frame for attachments. L brackets can be fiberglassed into the back at points, then drilled and connected. Some guys will mold simple electrical conduit tube right into the back of the bumper giving them infinite points to drill into for attachment. With a lot of cheaper kit cars I've had no type of attachment points for the bumper and simply had to block it up in place and then figure out by looking up into it for attachment points.
Metal, wood, fiberglass, we work it all... www.furniturephysicians.com We can restore the irreplaceable!


Settled In
Posts: 13
Joined: Thu May 28, 2015 3:07 pm

Country:
USA
PostPosted: Tue Jun 02, 2015 3:10 pm
DarrelK wrote:Once you have actually made the new fiberglass bumper you can usually just make a simple metal sub-frame for attachments. L brackets can be fiberglassed into the back at points, then drilled and connected. Some guys will mold simple electrical conduit tube right into the back of the bumper giving them infinite points to drill into for attachment. With a lot of cheaper kit cars I've had no type of attachment points for the bumper and simply had to block it up in place and then figure out by looking up into it for attachment points.


Awesome. Great ideas. Thanks for the help on everything I appreciate it


Settled In
Posts: 13
Joined: Thu May 28, 2015 3:07 pm

Country:
USA
PostPosted: Wed Jun 03, 2015 4:56 am
Ok so I think I figured out how I'm gonna mold the bumper. It looks like in order for me to get the best results I'm gonna have to have the bumper smooth first. Right now its at a pre primer stage. Will priming it and taking it to 400 grit be smooth enough or should I prime it the go over it with an epoxy sealer to smooth it out further? What do you suggest?


Settled In
Posts: 13
Joined: Thu May 28, 2015 3:07 pm

Country:
USA
PostPosted: Wed Jun 03, 2015 6:19 am
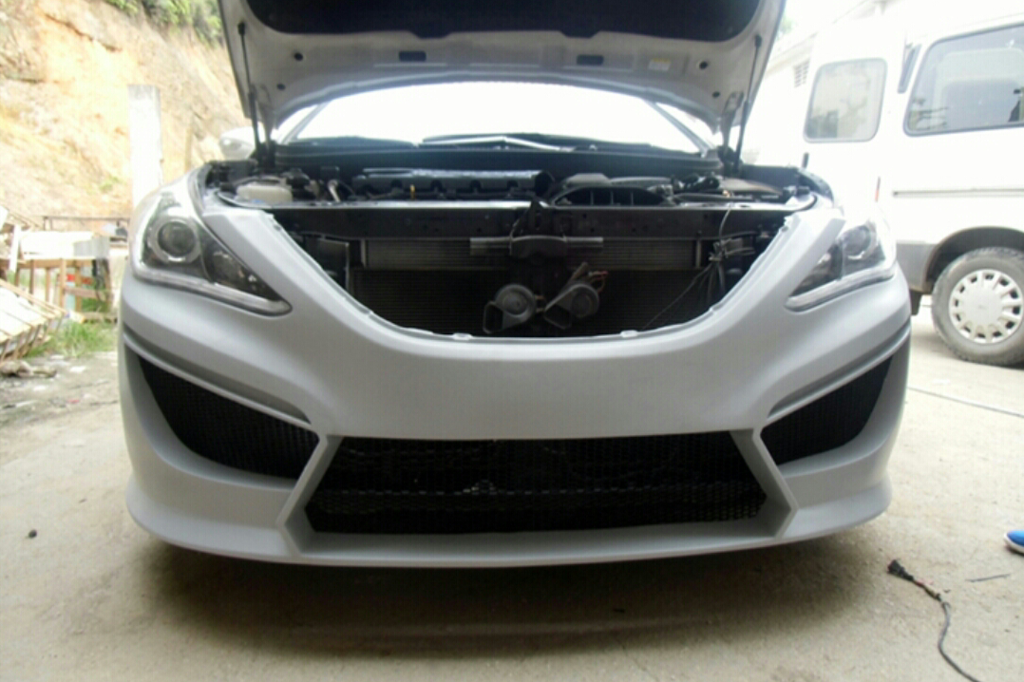
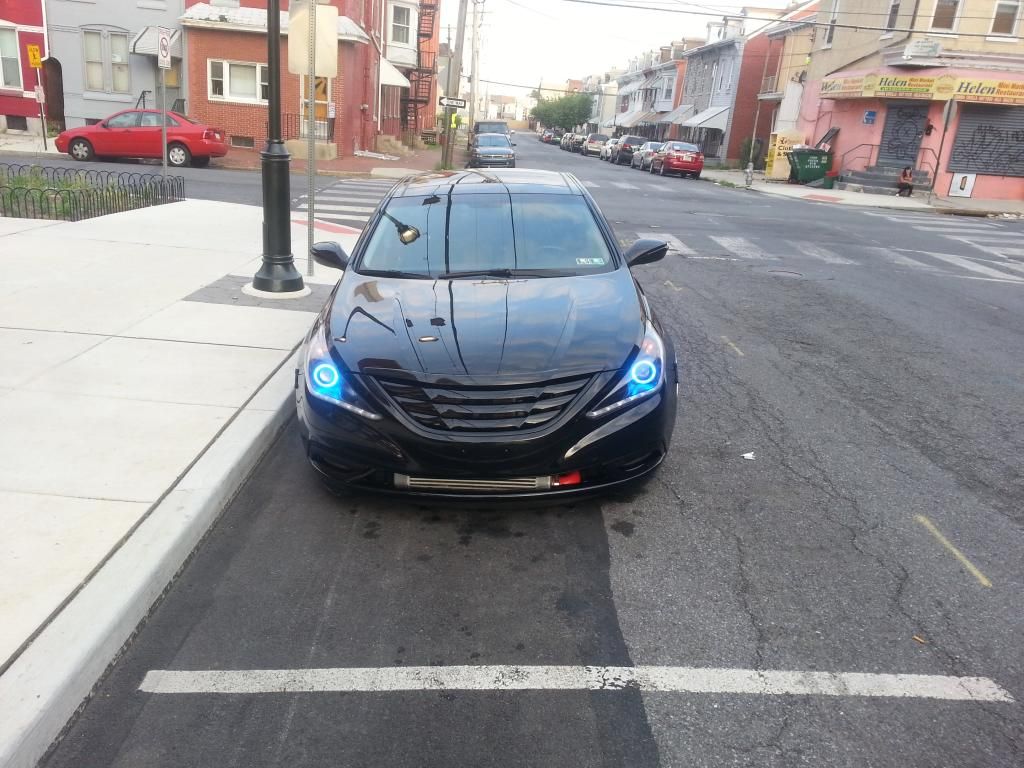
Also how about this idea? I dont like how the bumper lines up to the oem fenders. The only thing thats different between the 2 are the holes for the lights and the bottom portion of the bumper. Should I make 2 separate molds? One of the top portion of the oem bumper and one of the bottom portion of the aftermarket bumper and then just connect them? I think it would be a better bet cause the aftermarket bumper is so flexible I would hate to make a mold out of it and it be way off and not fit properly. I'll post pics of the 2


Settled In
Posts: 13
Joined: Thu May 28, 2015 3:07 pm

Country:
USA
PostPosted: Wed Jun 03, 2015 6:37 am
Image


Image


Settled In
Posts: 13
Joined: Thu May 28, 2015 3:07 pm

Country:
USA
PostPosted: Wed Jun 03, 2015 7:26 am
Or what if I cut the piece underneath the light make a housing for the light in fiberglass only making sure the tops flush and attaching it to the bumper? Sorry for the bombardment lol I'm just trying to exhaust all options

User avatar

Board Moderator
Posts: 6683
Joined: Tue Feb 24, 2004 7:00 pm
Location: central Ohio
Country:
USA
PostPosted: Wed Jun 03, 2015 9:44 am
Ok, let me catch up with you here.... any surface to be molded from needs to be as smooth as possible, taking epoxy out to even 1000 grit would be my minimum.
Ok, your last post is probably going to be the easiest thing to do based on what I am seeing. Looks like a fairly natural modular break in the lines and should work. Again, the goal is to not try and "graft" different plastics together but making sub-assemblies that bolt together works well.
Metal, wood, fiberglass, we work it all... www.furniturephysicians.com We can restore the irreplaceable!


Settled In
Posts: 13
Joined: Thu May 28, 2015 3:07 pm

Country:
USA
PostPosted: Wed Jun 03, 2015 11:05 am
DarrelK wrote:Ok, let me catch up with you here.... any surface to be molded from needs to be as smooth as possible, taking epoxy out to even 1000 grit would be my minimum.
Ok, your last post is probably going to be the easiest thing to do based on what I am seeing. Looks like a fairly natural modular break in the lines and should work. Again, the goal is to not try and "graft" different plastics together but making sub-assemblies that bolt together works well.


Noted for future molding. And yea that came to me over night. If I can make it work that way it will def be the easiest. I'll update you when I get the chance to work on it


Settled In
Posts: 13
Joined: Thu May 28, 2015 3:07 pm

Country:
USA
PostPosted: Mon Jun 08, 2015 9:01 pm
So here's where I'm at right now. I gotta cut out the portion for the light putty over and attach


Image


Image
Previous

Return to Fiberglass and Plastic

Who is online

Users browsing this forum: No registered users and 37 guests