First try at Body work. Comments? Suggestions?

General Discussion. Make yourself at home...read, ask and answer!

User avatar

Settled In
Posts: 83
Joined: Sun Dec 26, 2010 12:48 am
PostPosted: Tue Apr 26, 2011 6:36 pm
Well, this is my first attempt at body work.

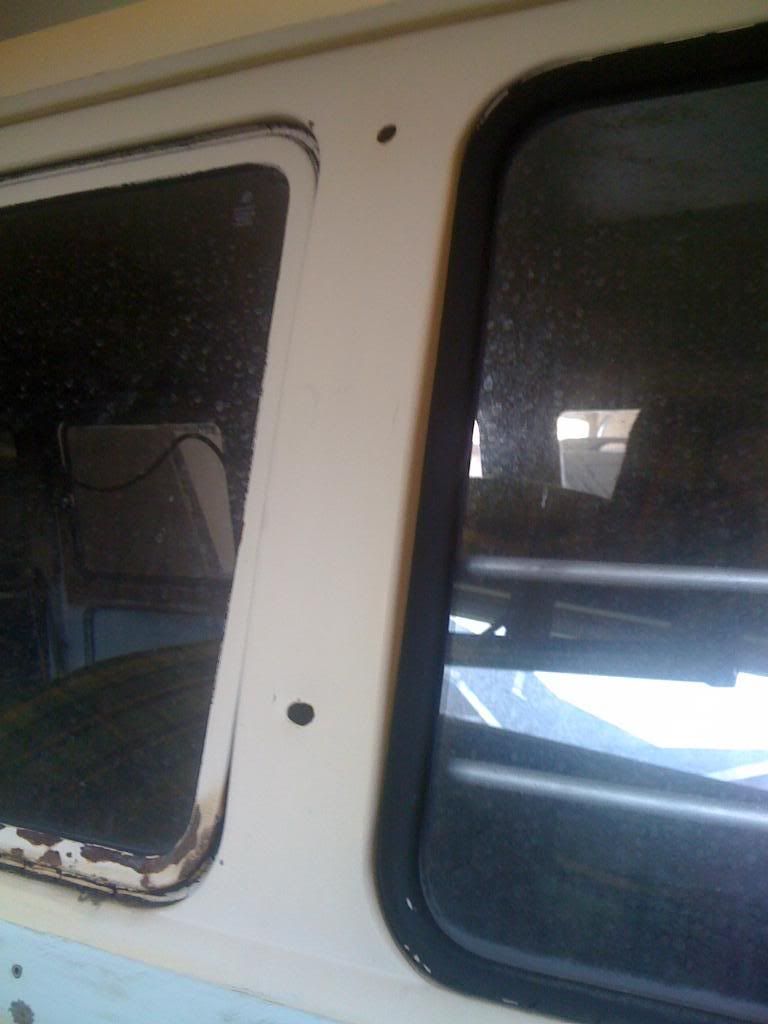
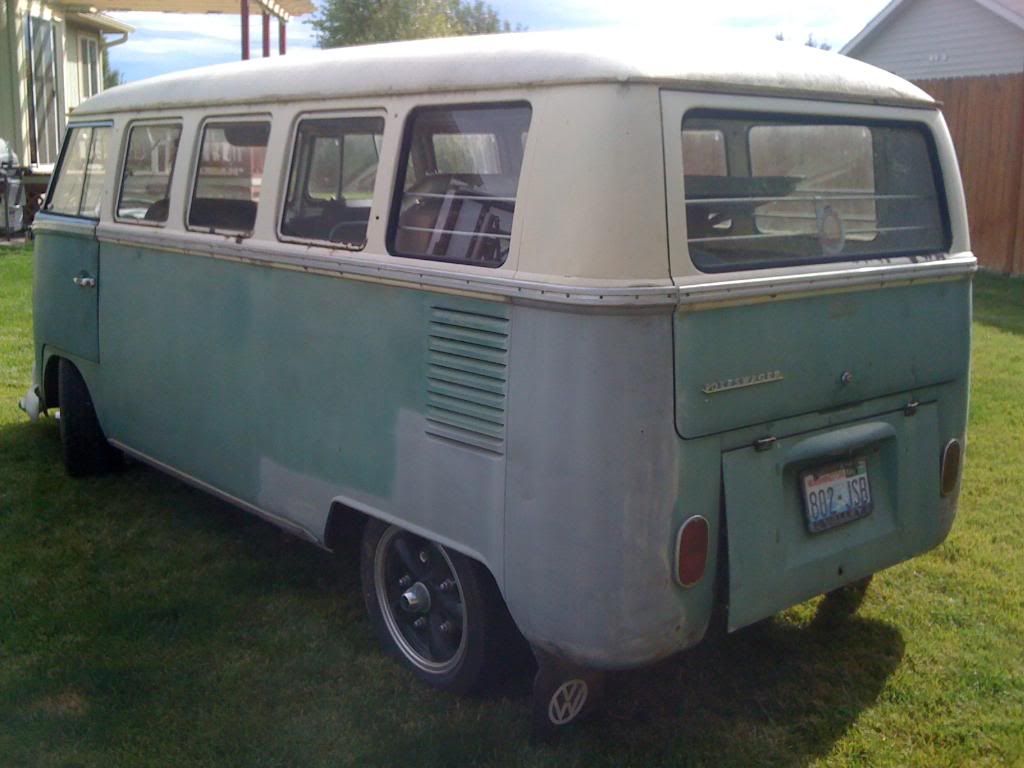
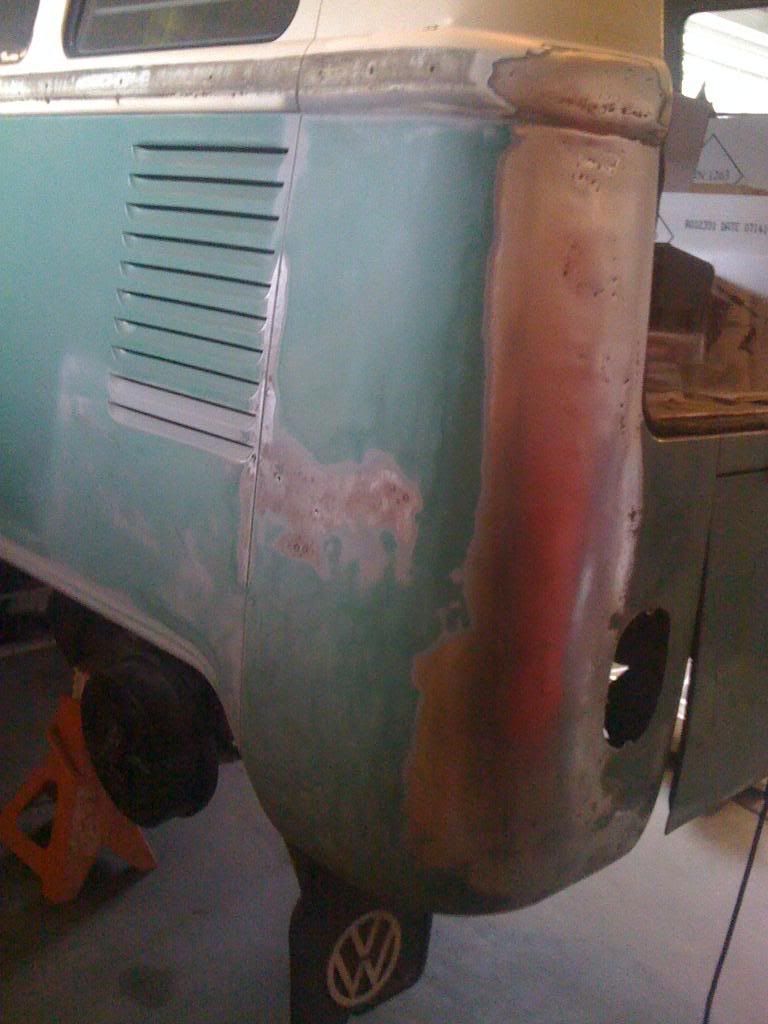
Here is what I started with. Dont know if you can see in the picture, but there is some serious bondo. I would soon find out that it was put on very thick right over the paint with not prep. Also covered were some holes that were drilled to use a slide hammer.
Image


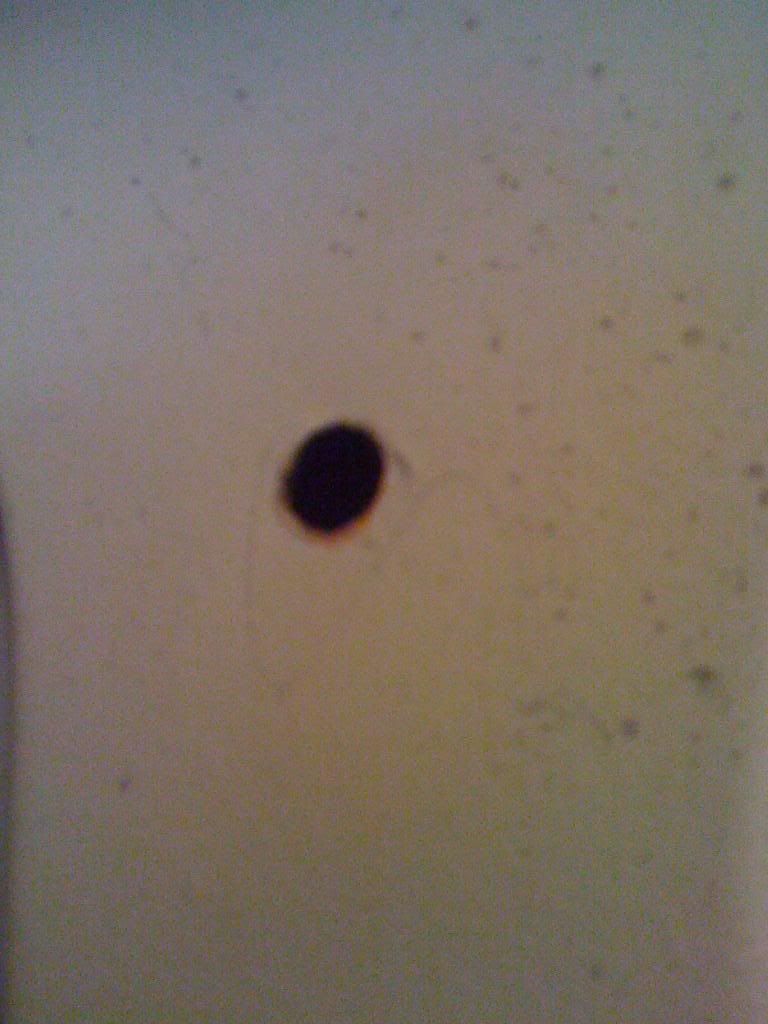
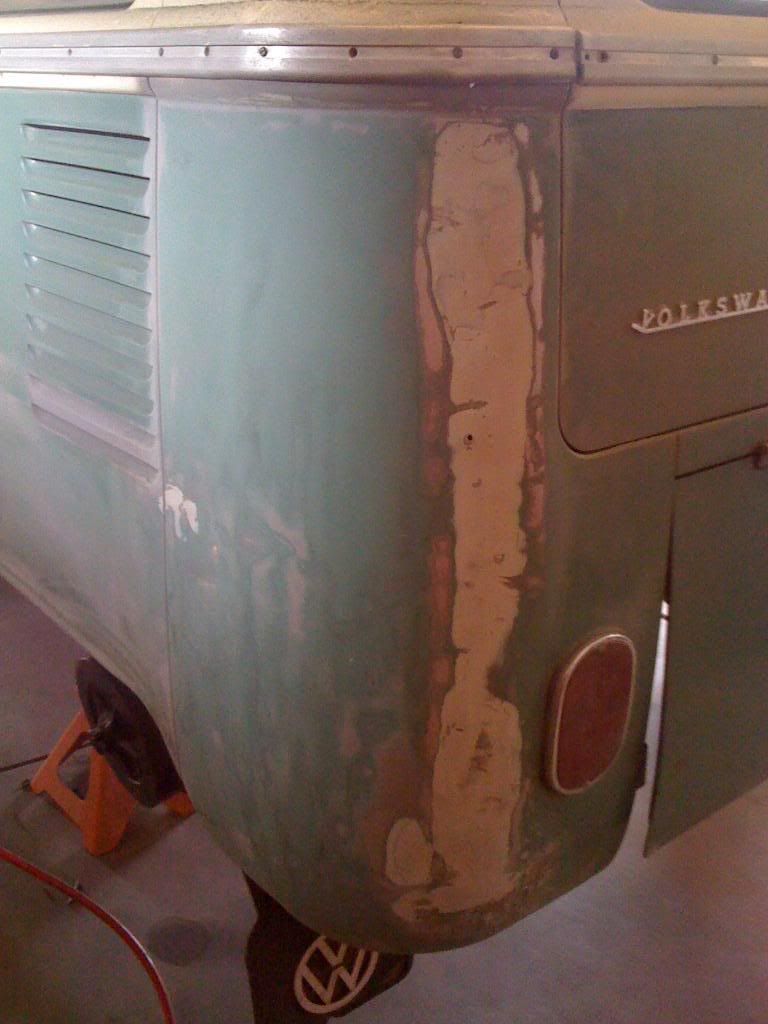
After about half the bondo was removed

Image


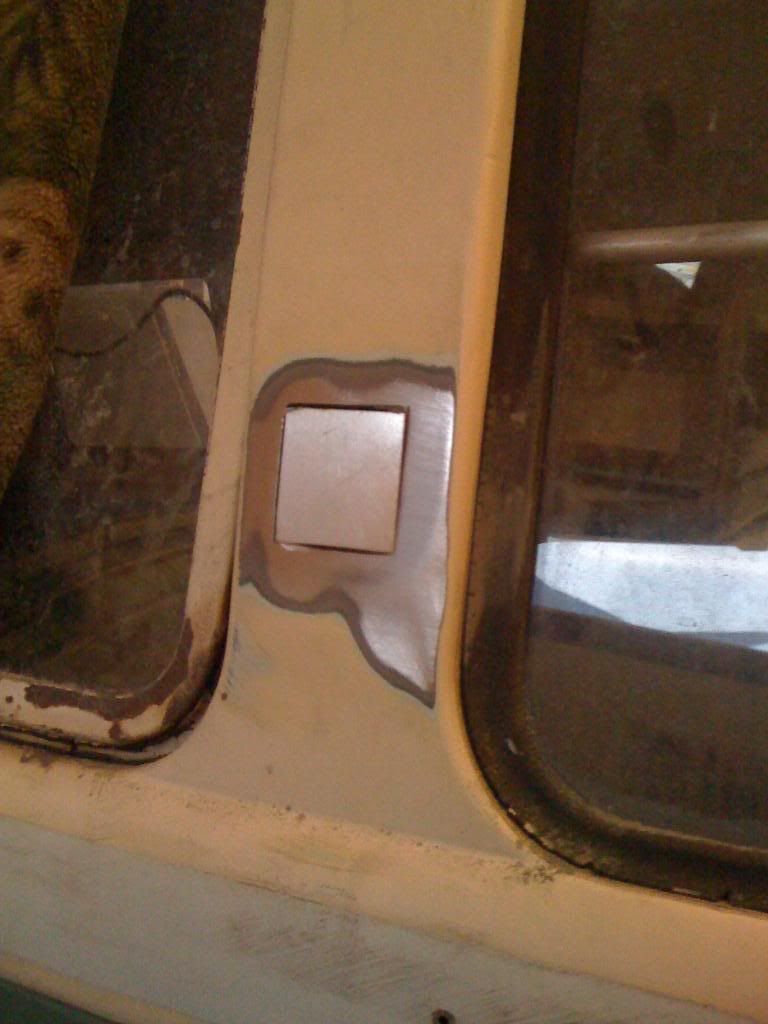
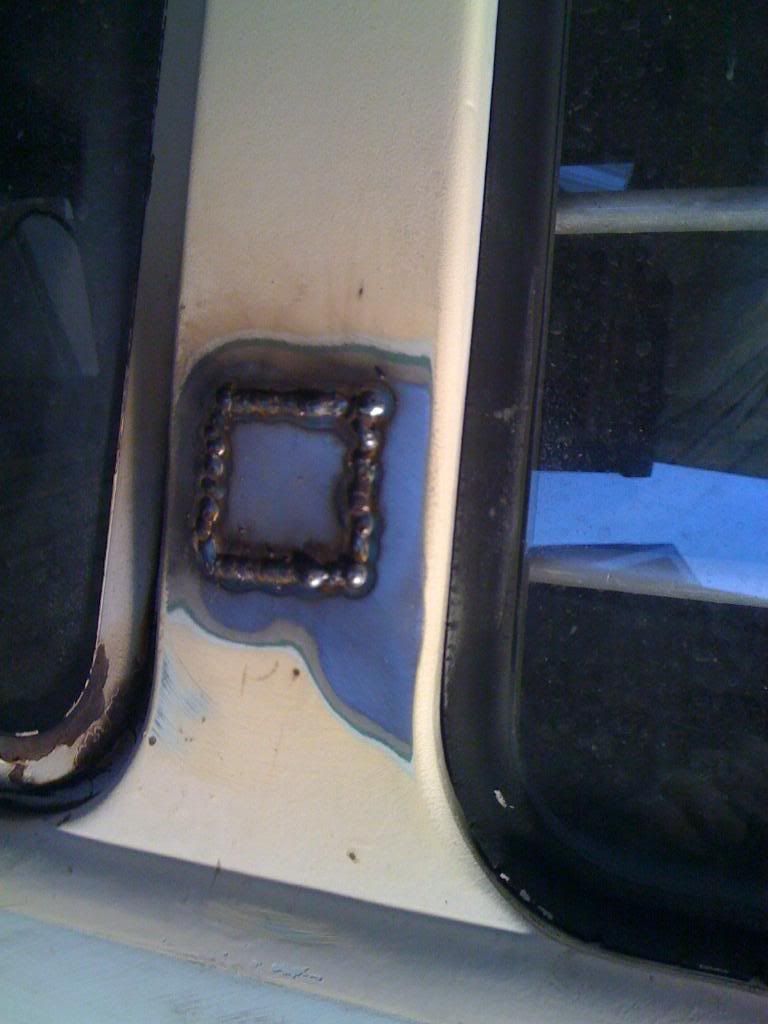
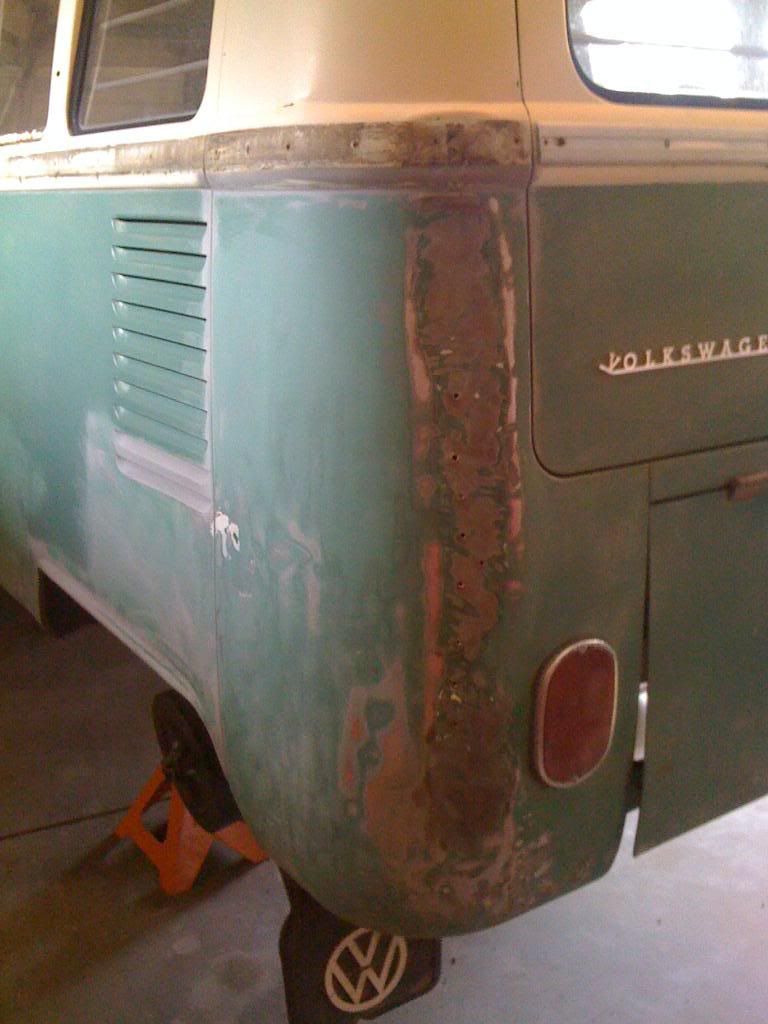
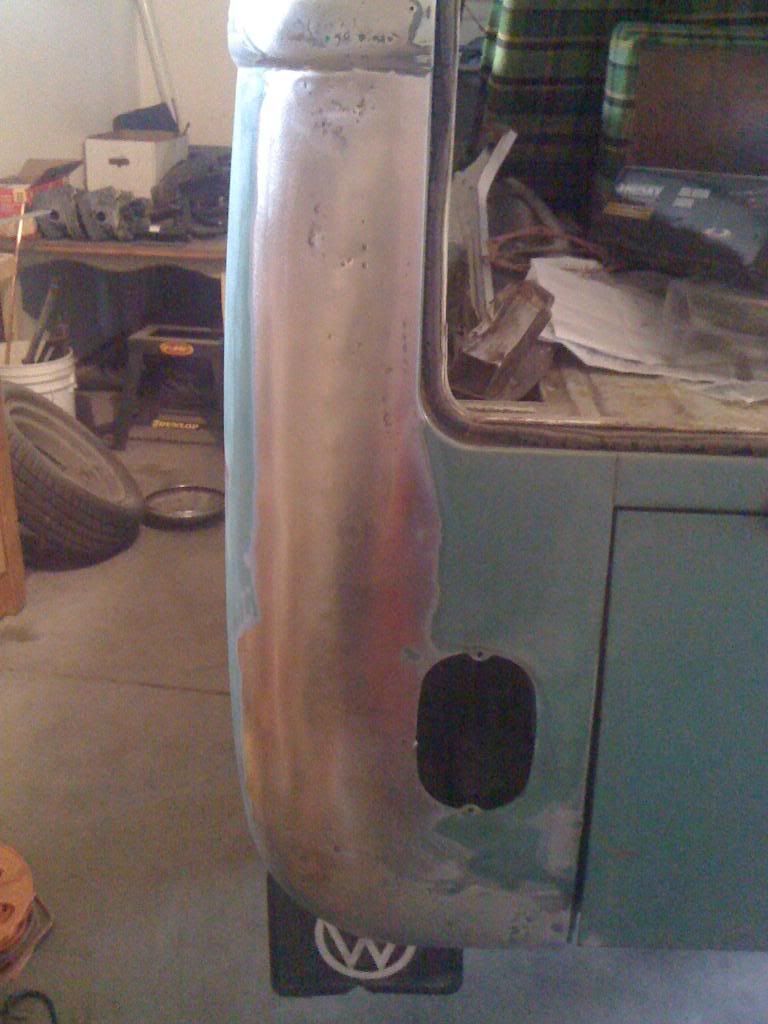
Removed all the bondo and found the holes.

Image


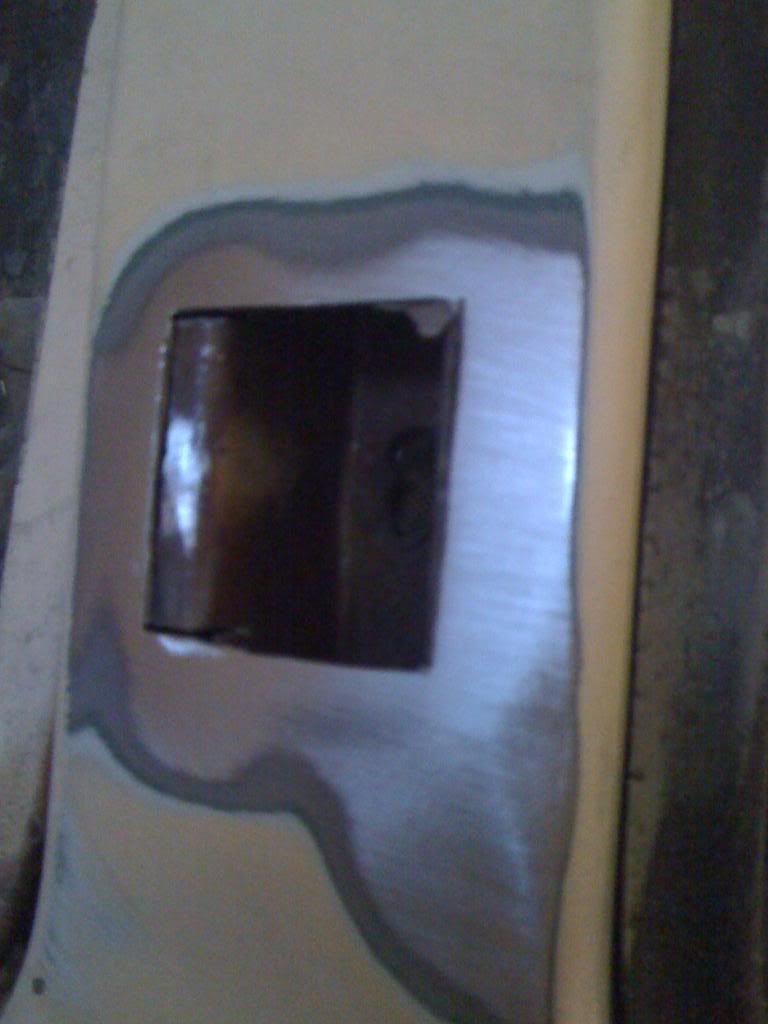
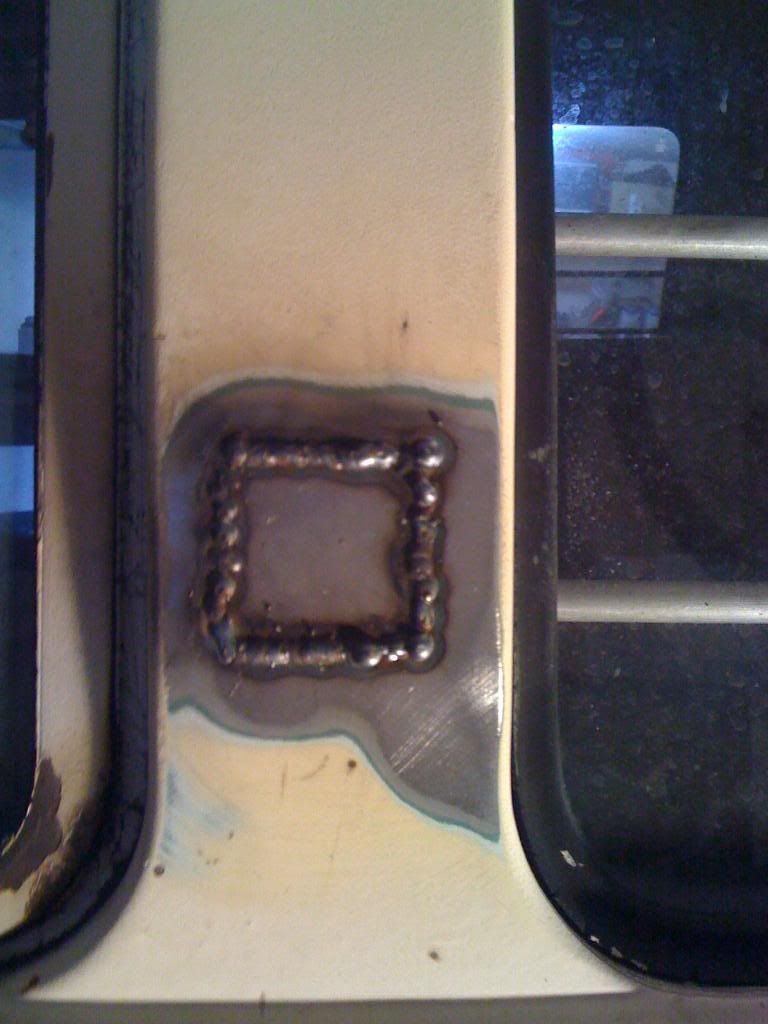
Was able to work the metal back pretty good.

Image

Image

Image


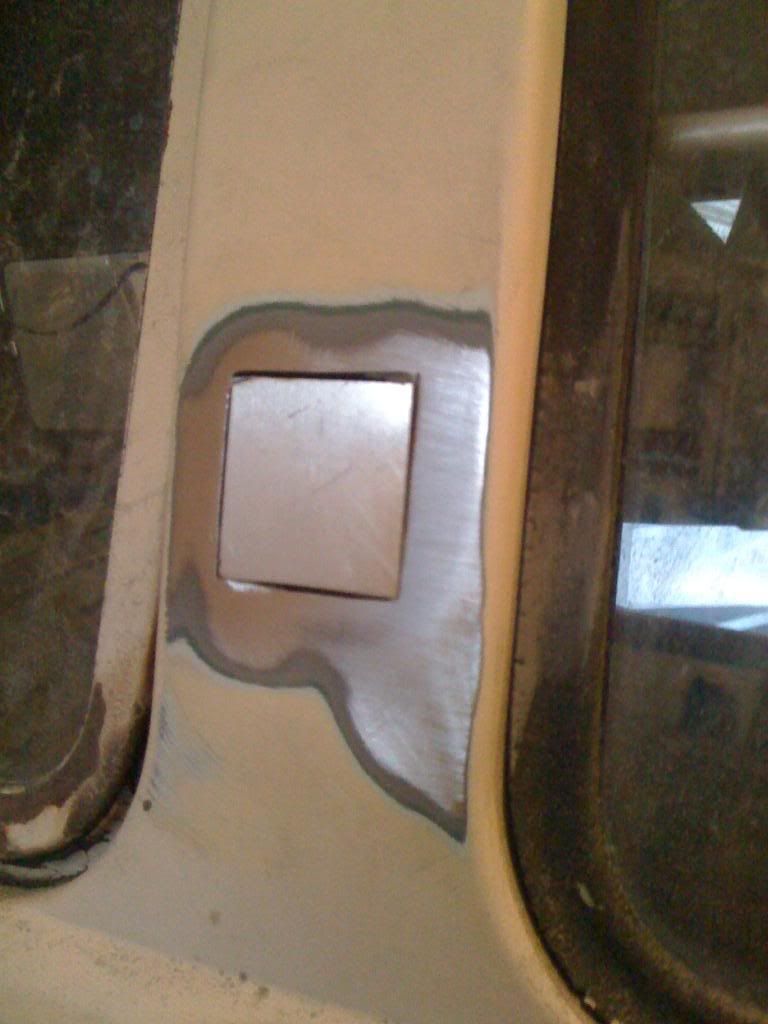
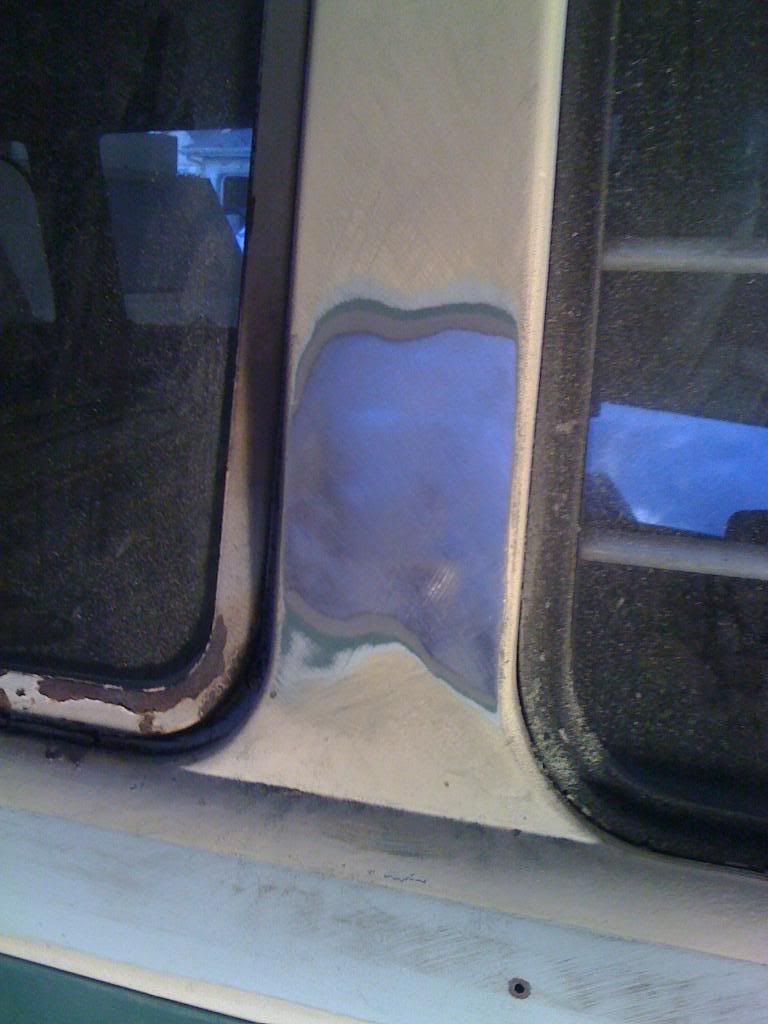
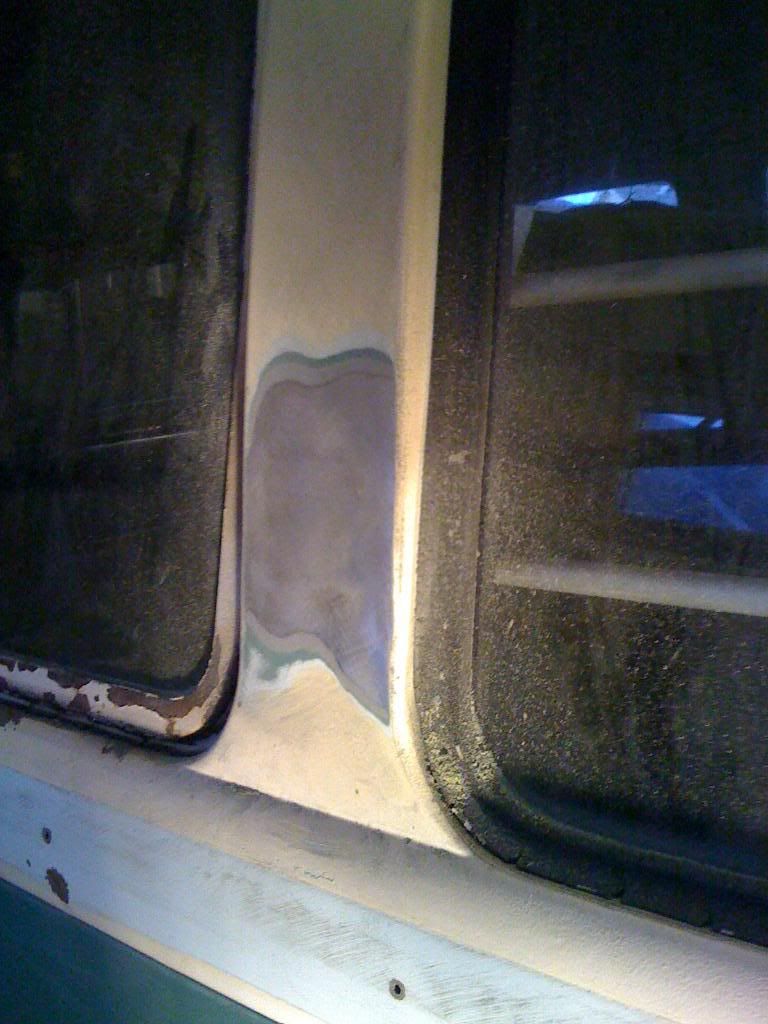
Light skim of Evercoat zgrip. Still have a little sanding but it looks pretty good.
Image

Image


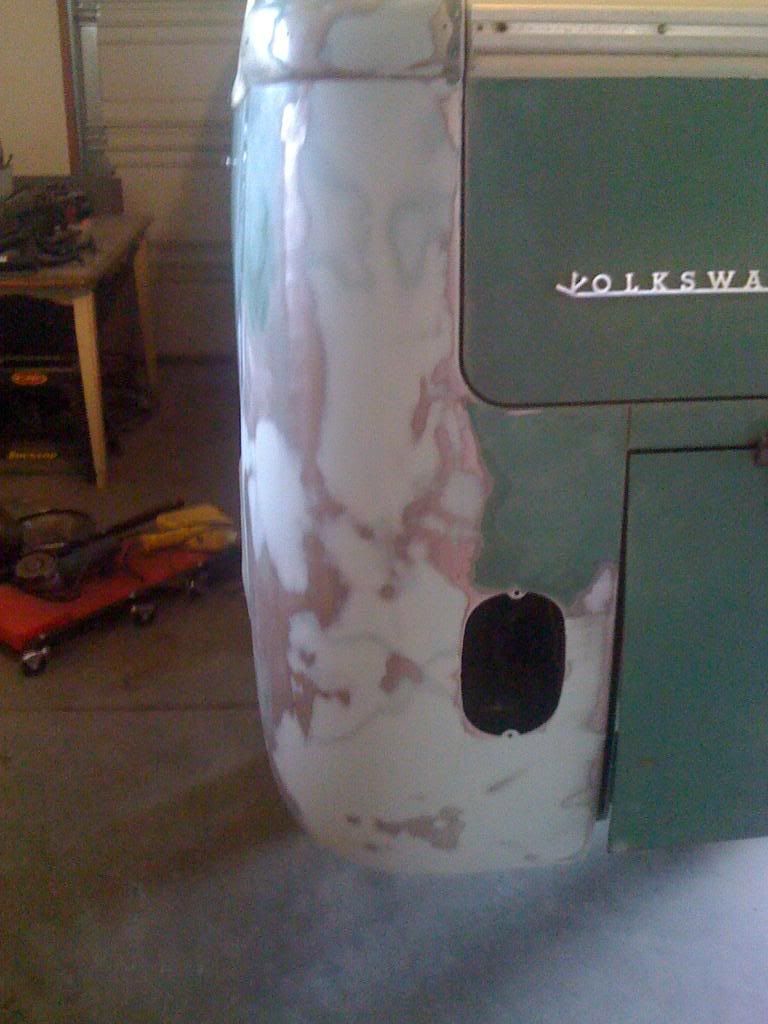
After I get it all sounded out with 220, I am gonna spray it with epoxy, then 2k, block, 2k, block. Do I need a sealer before base coat?

Any and all suggestions and comments are greatly appreciated.


Top Contributor
Posts: 6234
Joined: Tue Sep 16, 2008 1:17 pm
Location: Pahrump NV.
Country:
USA
PostPosted: Wed Apr 27, 2011 9:19 am
Hey you do pretty good work! wanna come over and help on my Plymouth????

1st Beers on me
Dennis B.
A&P Mechanic, FCC General radio Telephone Operator
Line Maintenance A&P Mechanic and MOC Tech specialist.

User avatar

Top Contributor
Posts: 1661
Joined: Sat Jun 09, 2007 9:06 pm
Location: Out in the garage.
Country:
USA
PostPosted: Wed Apr 27, 2011 9:33 am
Nice job. :goodjob: I've seen pro work that wasn't any better.
Those are unusual wheels for a Vdub. Are they American Racing?
Unilites?
"If you can't move it, paint it." - U.S. Army

User avatar

Settled In
Posts: 83
Joined: Sun Dec 26, 2010 12:48 am
PostPosted: Wed Apr 27, 2011 11:15 am
Thanks. Just wanted to make sure that I wasn't missing something.

I have since replaced the wheels with OG wheels. No more rubbing and I think better looking. They were American Racing and are a knock off of the Empi 5 Spokes.

So from where I am now, the next steps would be: Please correct me if Im incorrect!!!!
    Epoxy primer
    Wax/degreaser
    Tack cloth
    2k primer (2 coats)
    guide coat
    Block sand (120 grit)
    wax/degreaser
    Tack cloth
    Poly filler if needed
    2k primer (2 coats)
    guide coat
    Block sand (220 grit)
    wax/degreaser
    Tack cloth
    primer sealer (can this be sanded?)
    Wash with soap and water
    base coat

Couple more questions
    If doing a BC/CC, can you/do you wet sand the BC before laying on the CC?
    What order do you paint a bus? I was under the assumption that you have to cover the entire panel that you are painting. Do you walk the whole length of the bus? Do you include the rear corners with the sides?
Thanks again


Settled In
Posts: 11
Joined: Mon Mar 21, 2011 10:32 pm
PostPosted: Wed Apr 27, 2011 8:15 pm
Vdubber wrote:Thanks. Just wanted to make sure that I wasn't missing something.

I have since replaced the wheels with OG wheels. No more rubbing and I think better looking. They were American Racing and are a knock off of the Empi 5 Spokes.

So from where I am now, the next steps would be: Please correct me if Im incorrect!!!!
    Epoxy primer
    Wax/degreaser
    Tack cloth
    2k primer (2 coats)
    guide coat
    Block sand (120 grit)
    wax/degreaser
    Tack cloth
    Poly filler if needed
    2k primer (2 coats)
    guide coat
    Block sand (220 grit)
    wax/degreaser
    Tack cloth
    primer sealer (can this be sanded?)
    Wash with soap and water
    base coat

Couple more questions
    If doing a BC/CC, can you/do you wet sand the BC before laying on the CC?
    What order do you paint a bus? I was under the assumption that you have to cover the entire panel that you are painting. Do you walk the whole length of the bus? Do you include the rear corners with the sides?
Thanks again


Thats alot of sanding ha ha.

but if its your personal ride dont you want to leave it in 320? keep it a little finer for more shine? just my newb thought.

I dont think you have to wet sand before clear. its also dangerous as its easy to cut through with wet sand.

And i was always told start from top to bottom and do it in sections. First year newb ftw? ha ha


Top Contributor
Posts: 6771
Joined: Tue May 19, 2009 7:10 pm
Location: OREGON COAST
PostPosted: Wed Apr 27, 2011 9:09 pm
ok i'm going to try and hit some of these
1- i would wipe it down with wax and grease remover before the epoxy, its just good insurance. now when you use the w/g remover wipe it on and wipe it off, then let it dry for at least 30 min.. also if there are any places that it can get under blow those areas with an air hose. no real need to tack rag it but you can if you want.

2- after you shoot you epoxy you can let it dry, i usualy let it dry to where my finger won't stick to it. this may take several hours depending on temps you need to be 55-60 or more. anyway you can just shoot the 2k primer right over it wet to wet .

3- you shoud guide coat then i use 180 for my first bocking. do any repairs needed, then blow it off. then shoot more 2k you shouldn't need to wipe it down but you can if you want. just make sure you get it clean wipe on wipe off

4- block with 400 wet with a guide coat this is going to take some time to get the 180 grit profile sanded out

5- now from here you can seal or what ever but it depends on your color and paint that your going to use
and no you don't sand the base coat before you clear it :)
they say my name is Jay

User avatar

Settled In
Posts: 83
Joined: Sun Dec 26, 2010 12:48 am
PostPosted: Thu Apr 28, 2011 1:31 am
Thanks for all your help and suggestions. I really appreciate it.

I was thinking I would just paint the repaired areas and cruise it this summer and do the complete paint this fall.

How would I "blend" the new paint to the old. I was thinking that I could spray the new paint past the repair into the old paint, then wet sand and "blend" the two. This of course is based on no experience what so ever.

Thanks


Top Contributor
Posts: 6771
Joined: Tue May 19, 2009 7:10 pm
Location: OREGON COAST
PostPosted: Thu Apr 28, 2011 8:26 am
i would just epoxy prim the repair areas and drive it :)
they say my name is Jay

User avatar

Settled In
Posts: 83
Joined: Sun Dec 26, 2010 12:48 am
PostPosted: Thu Apr 28, 2011 10:49 am
badsix wrote:i would just epoxy prim the repair areas and drive it :)


I was thinking the same thing, but really would like the bus to be generally the same color.

User avatar

Settled In
Posts: 83
Joined: Sun Dec 26, 2010 12:48 am
PostPosted: Tue May 03, 2011 10:32 pm
Little more progress. I was a little nervous to do my first patch repair, so I started small. :) I have these small holes in the exact same spot on both sides of the bus. Dont know if something used to be bolted on or what. I tried welding them up on the passengers side. Turned out ok, but the patch looks like nothing was ever there! :D

Image


Image


Cut out the hole and sanded around the edges for a good welding surface.
Image


Before fitting the new patch, I sprayed the back of the patch and the inside of the window frame with weld through primer.

Image


Image


Welded it up with short bursts and cooled each weld with air.
Image


Image


Not much clean up. Used my air grinder with a sanding pad and cleaned up the welds.
Image


Image


I have some more holes like this to fill and then a couple small panel repairs.

Did it look like the welds could have been hotter? I didn't want to blow through. I have a Millermatic 180, using .023" wire, about 25cfm gas (75%/25%), heat on 2.5 and speed on 30.

I was actually thinking maybe the gap could have been a little bigger to let the weld sit in the gap.

Any suggestions? Comments?

Overall I am pretty happy how it went.
Next

Return to Body and Paint

Who is online

Users browsing this forum: No registered users and 160 guests