Need help with quantity, quality, cost of materials and more

General Discussion. Make yourself at home...read, ask and answer!


Settled In
Posts: 46
Joined: Sun Jul 22, 2012 9:59 pm

Country:
USA
PostPosted: Fri Aug 08, 2014 9:53 pm
My advice would be to do several panels or repairs from start to finish. That way if you make a mistake it's not on an overall. I get better with every repair I do. Any mistake you make is a lot less expensive that way.


Settled In
Posts: 12
Joined: Tue Aug 05, 2014 2:20 pm

Country:
USA
PostPosted: Fri Aug 29, 2014 3:06 am
Well I'm thoroughly irritated. All my own fault, but I've had some issues. I wasn't able to rent the booth I had planned on, so I set up a small clean room in my garage. Turns out it wasn't as clean as I thought, and even smaller than I thought. I've got a few spots of dirt on one piece. I also managed to screw something up on one panel, so the paint lifted. Have to sand it down and re do it tomorrow. I'm not gonna bother with the dirt specs, as they are on a part that faces the ground on the bottom of my trucks bumper. But the bumper end cap that lifted, I have no choice but to do that again.

I have learned something. I hate painting. I really do. It is messy, time consuming, takes perfect attention to detail and overall is just really hard. I totally understand why professionals charge as much as they do.

I'm 99% positive this will be my last project with plastic. This stuff just seems harder to deal with than the metal I've painted. I may skip on the bike tins too and just pay someone else from now on.

User avatar

Site Admin
Posts: 3450
Joined: Tue Jun 17, 2003 3:02 am
Location: New York
Country:
USA
PostPosted: Fri Aug 29, 2014 7:58 am
Sorry to hear. If you want to talk through it, there are plenty of guys here who can help. The paint lifting is going to need to be addressed, you don't want that happening. If you want to lay out the steps you took and the products and what you did at each step we can help troubleshoot.

The dirt in the paint, sometimes wetting the floor down helps, also wearing a cheap tyvek disposable paint suit from Home Depot can help.


Settled In
Posts: 12
Joined: Tue Aug 05, 2014 2:20 pm

Country:
USA
PostPosted: Sun Aug 31, 2014 9:56 pm
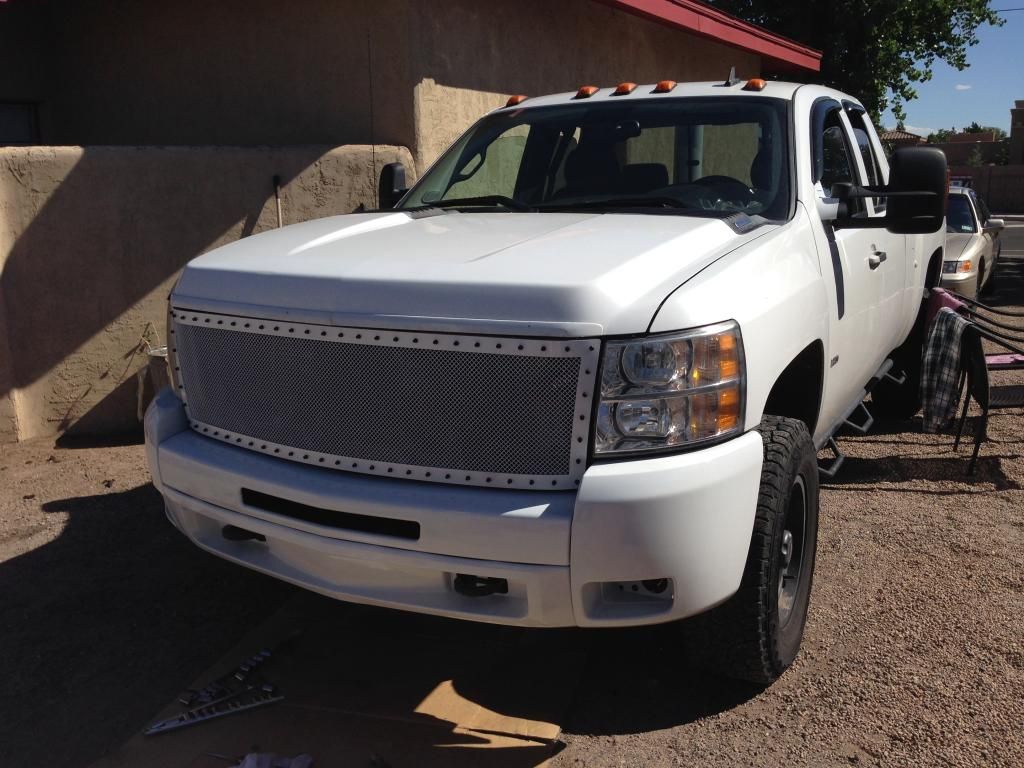
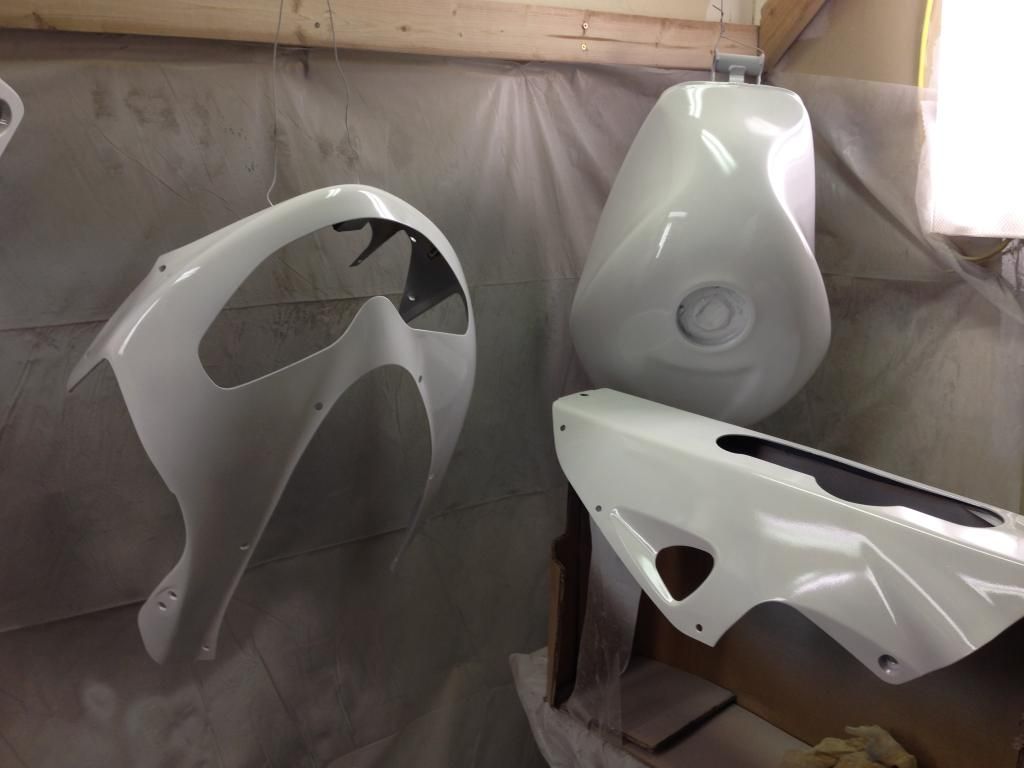
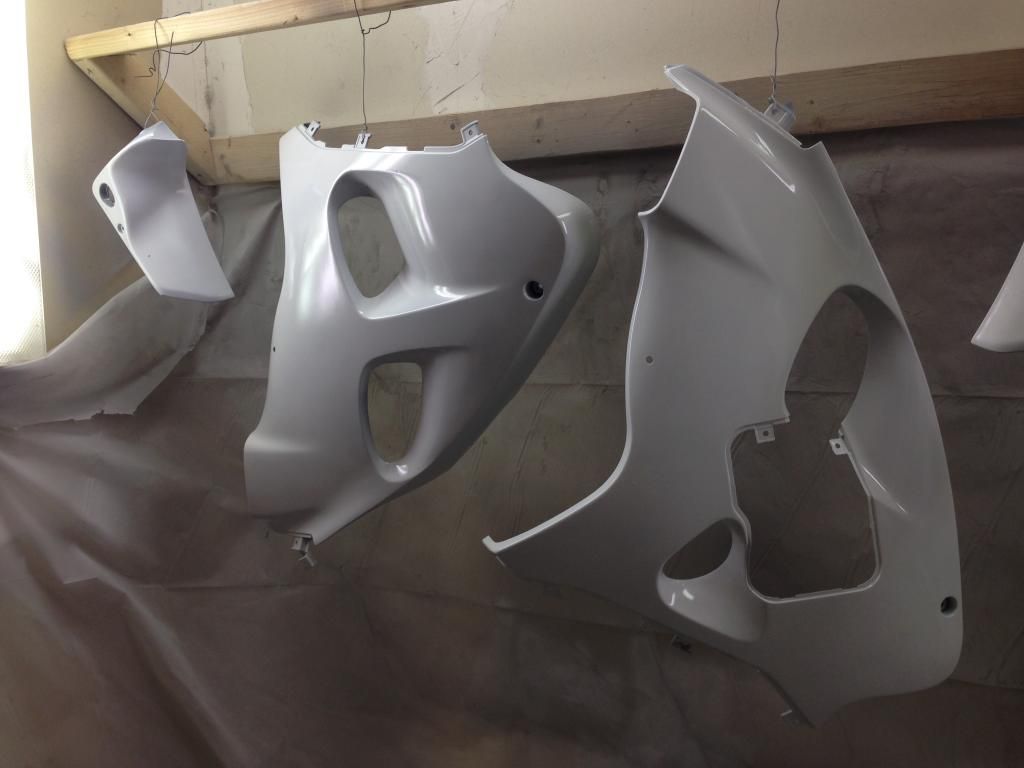
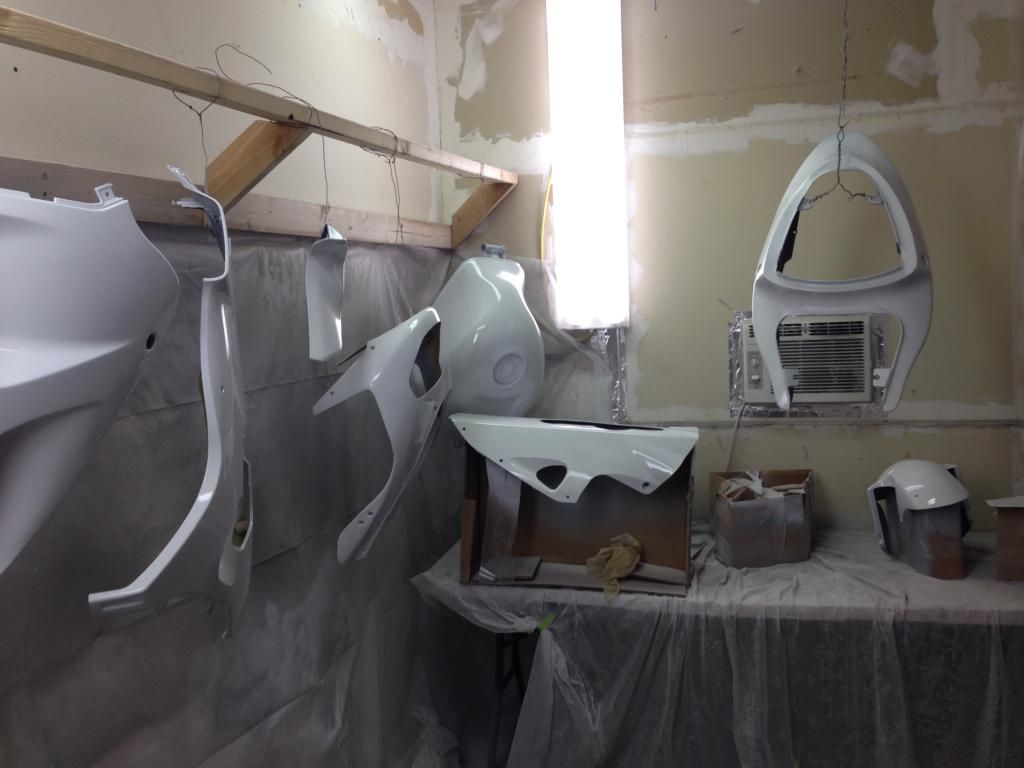
Everything is done. I went back and re did everything that lifted. The whole project kinda sucked. I'm especially mad that I have a spot where I didn't get good coverage with the base, so I have a light gray spot on my tail fairing of my bike. Oh well. I gave it hell. Beyond the fact that I had no idea what I was doing most of my problems were caused by having a paint room that was ill suited for the job. Too small, not clean enough, and definitely not enough ventilation.

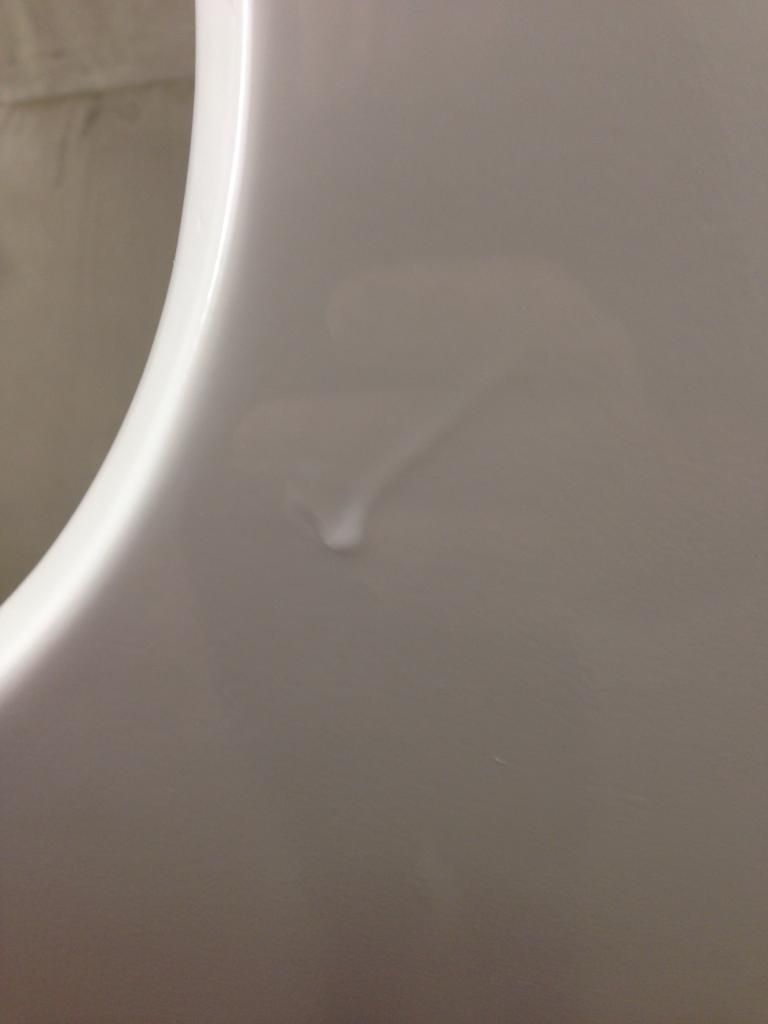
I have a couple spots where little bugs managed to stick in my clear, as well as a few pieces of dust. I also have one sag/run in the clear on a fairing. I've been doing some reading and saw that people suggest using a straight edge razor to shave the drip off, then use a hard block with 1000>1500>2000 then buff. Is that the best method for fixing the sag? Also, should I use the same 1000>1500>2000>buff for the bugs/dust?

Anyway, I took a few pics. The truck is assembled - what I painted was the grille and the bumper. I still have all the bike parts hanging up due to needing to tend to a mechanical issue before I can put the body back together. Anyway, here are the pics.

Image


Image


Image


Image


Settled In
Posts: 12
Joined: Tue Aug 05, 2014 2:20 pm

Country:
USA
PostPosted: Mon Sep 01, 2014 8:35 pm
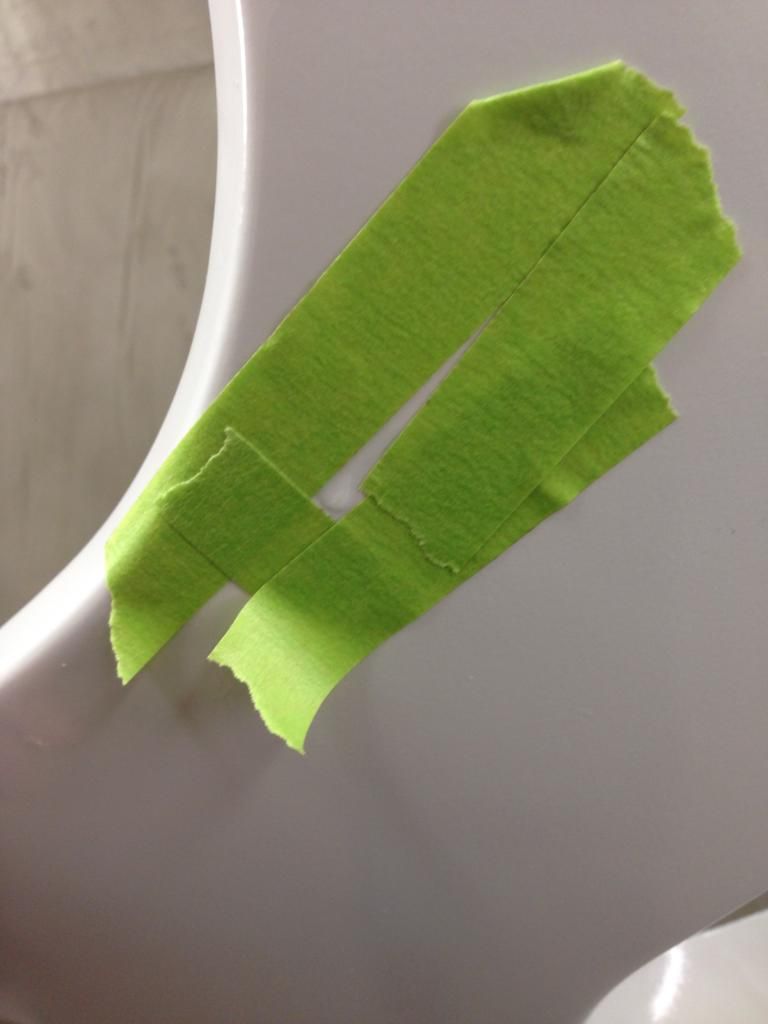
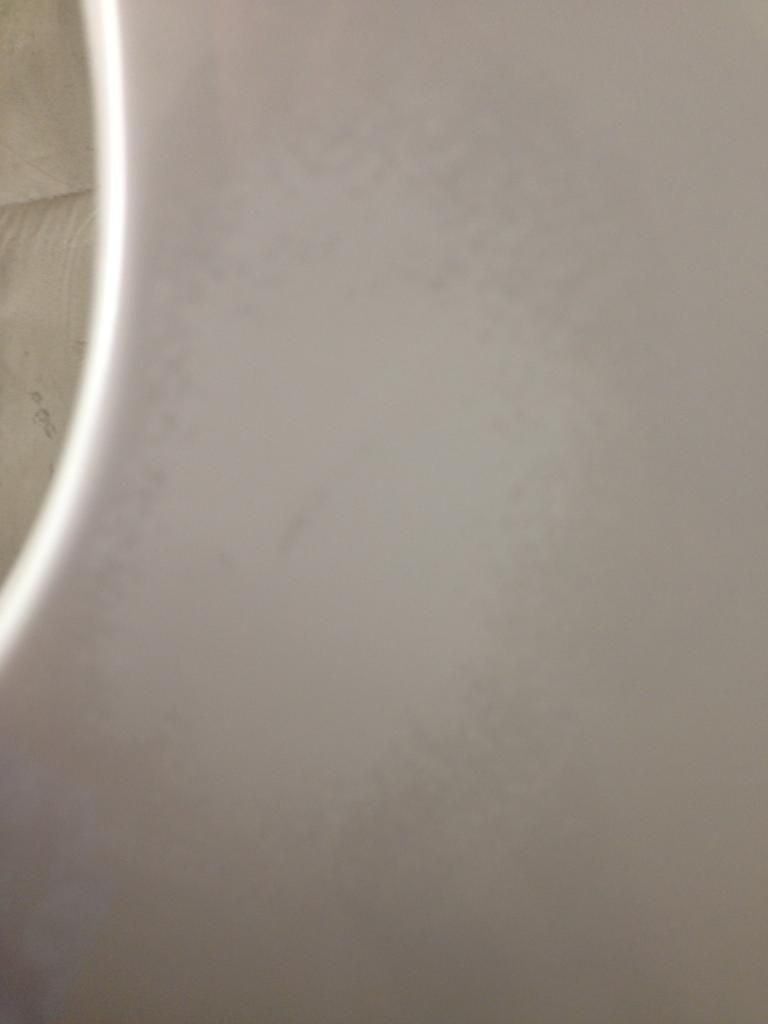
Well, I gave it a go trying to get rid of the run and bugs today. The run went fairly well I think, however the bugs won. I taped off the run and scraped it with a single edge razor a bit. I didn't feel comfortable with my results after a few scrapes, so I decided to wet sand with 1500 on a hard block and see how it went. It went pretty good. I probably should have done 2000 after, but I skipped it and went straight to a light buffing with a compound on a little buffer I have on my drill. It isn't perfect, but it is good enough for me. I halfway considered sanding everything with 1500>2000 then buffing to take away some of the orange peel, but I'm afraid I'll end up digging in somewhere and screwing it up. It is fair looking as it is.

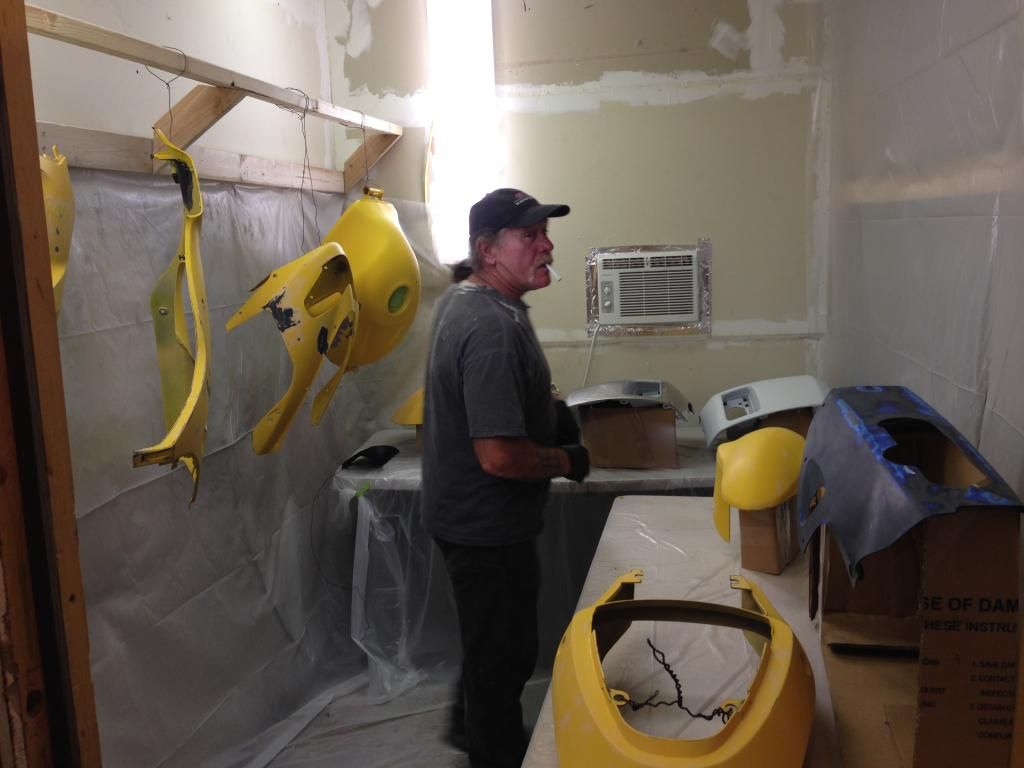
I forgot to post any before pics, so here is one of my old man checking out my mini booth. He helped me through the project, even though he doesn't have any paint experience either. Also, a couple process pictures of me sanding out the run.

Image


Image


Image


Image


Image
Previous

Return to Body and Paint

Who is online

Users browsing this forum: Google [Bot] and 144 guests