1949 Ford F-1 Pickup

Show off your work! Anything from final results to full start-to-finish project journals.

User avatar

Fully Engaged
Posts: 423
Joined: Thu Jan 21, 2010 7:49 pm
Location: Brandenburg, KY
PostPosted: Fri Feb 07, 2014 4:35 pm
Finished extending the bedside on the drivers side. I had an issue with the bedside previously when I was welding the fender on. I had some extreme oil canning. I used a stud gun then and eliminated the oil canning but there was still a really high spot that I never addressed.

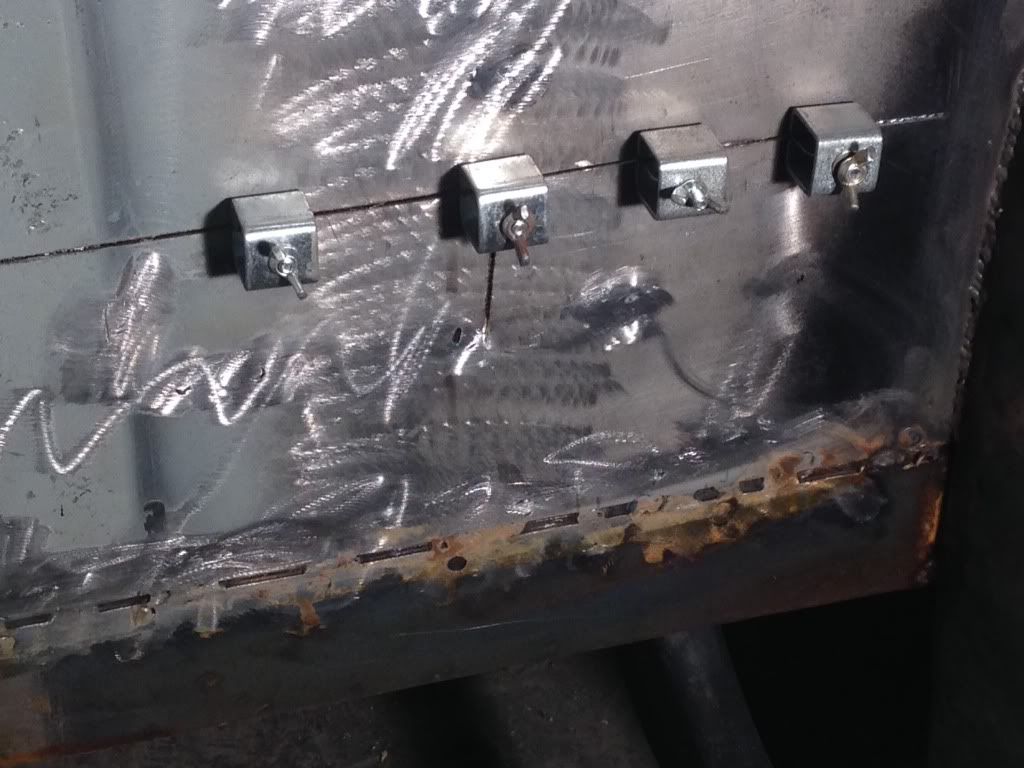
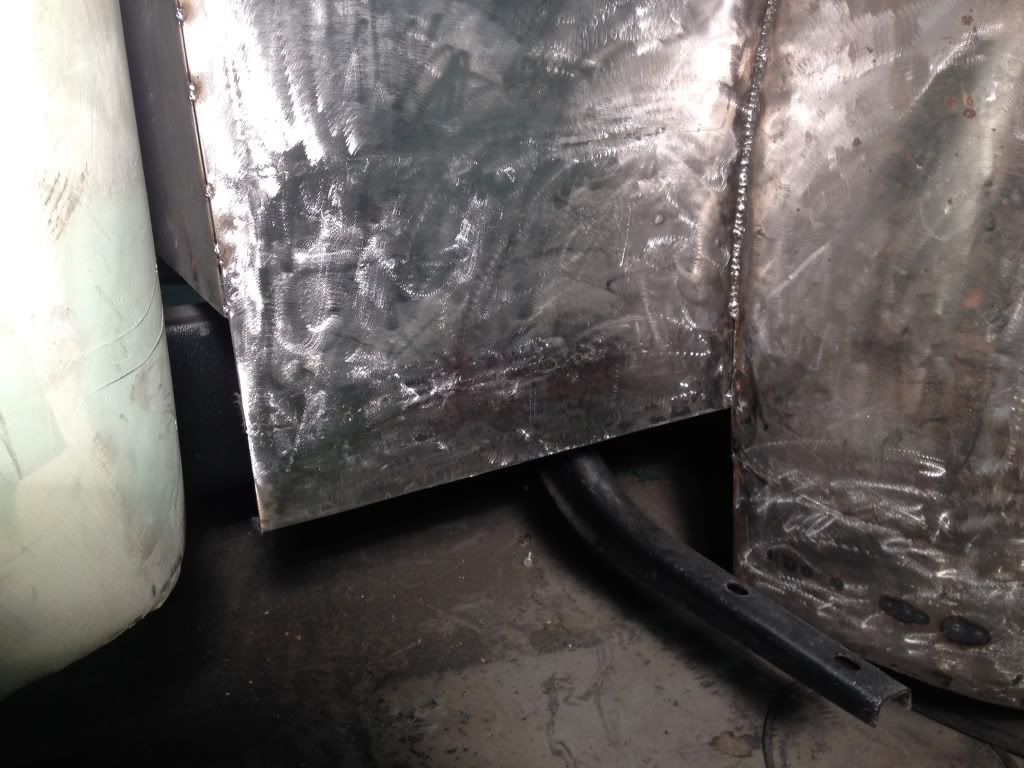
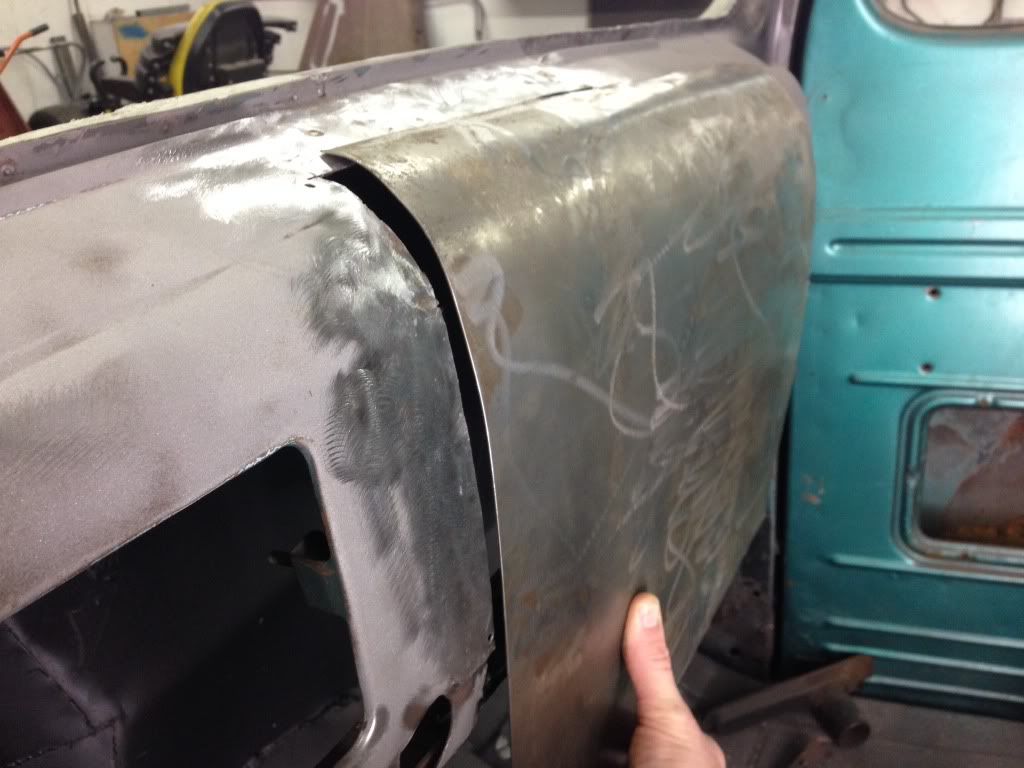
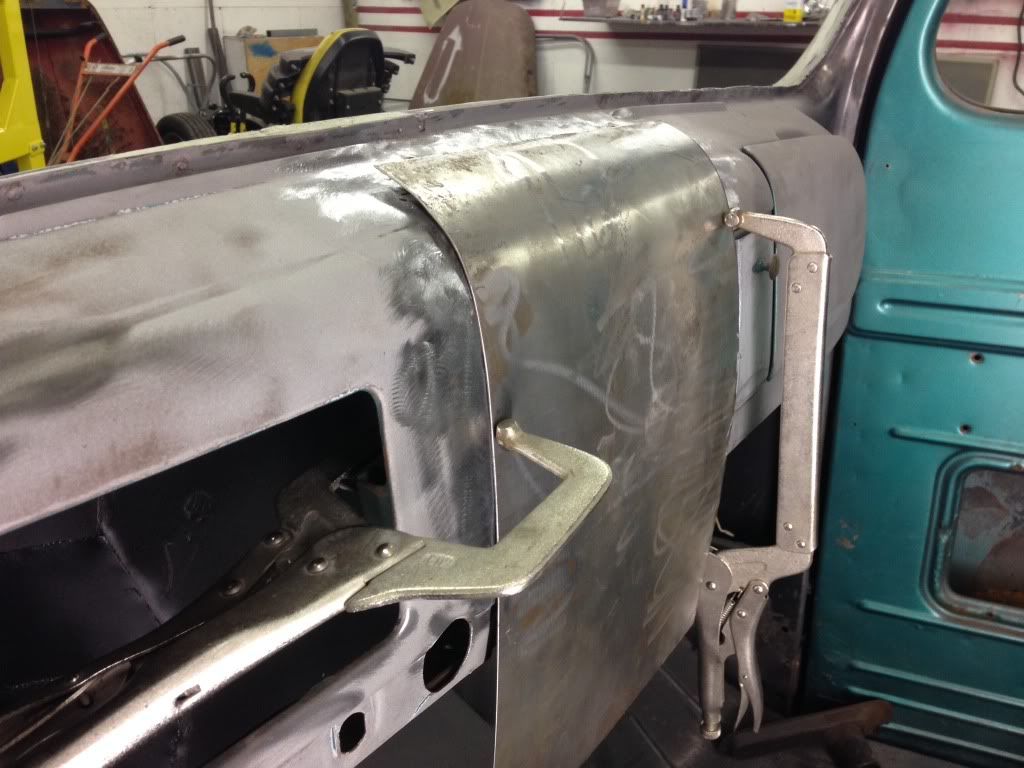
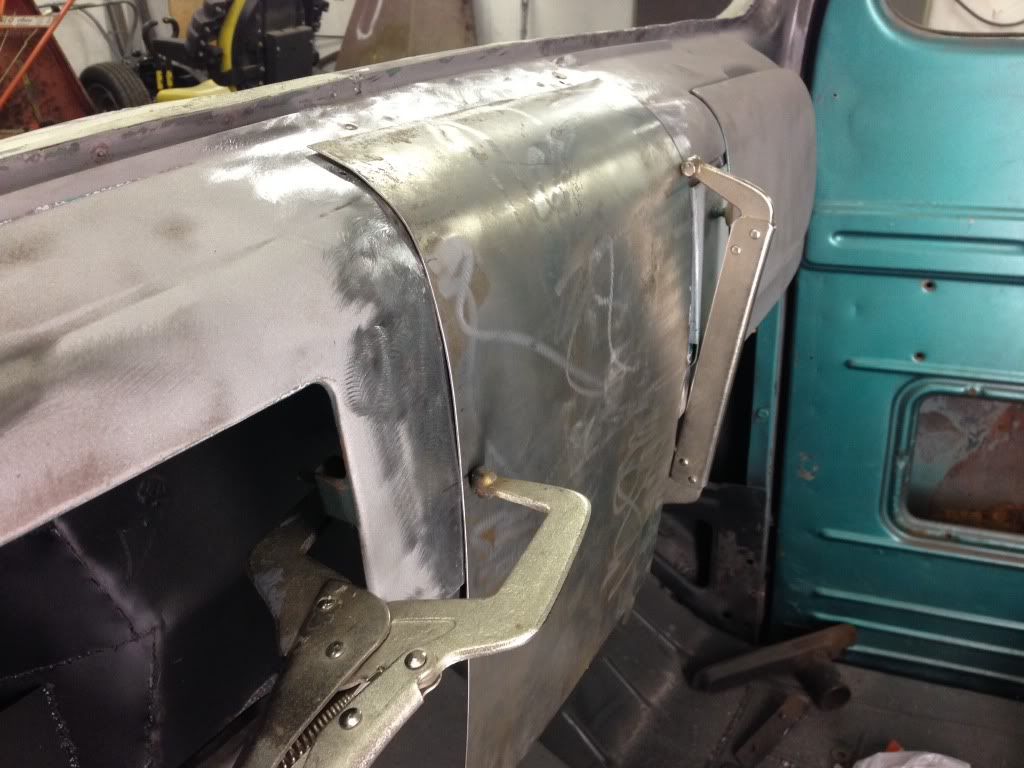
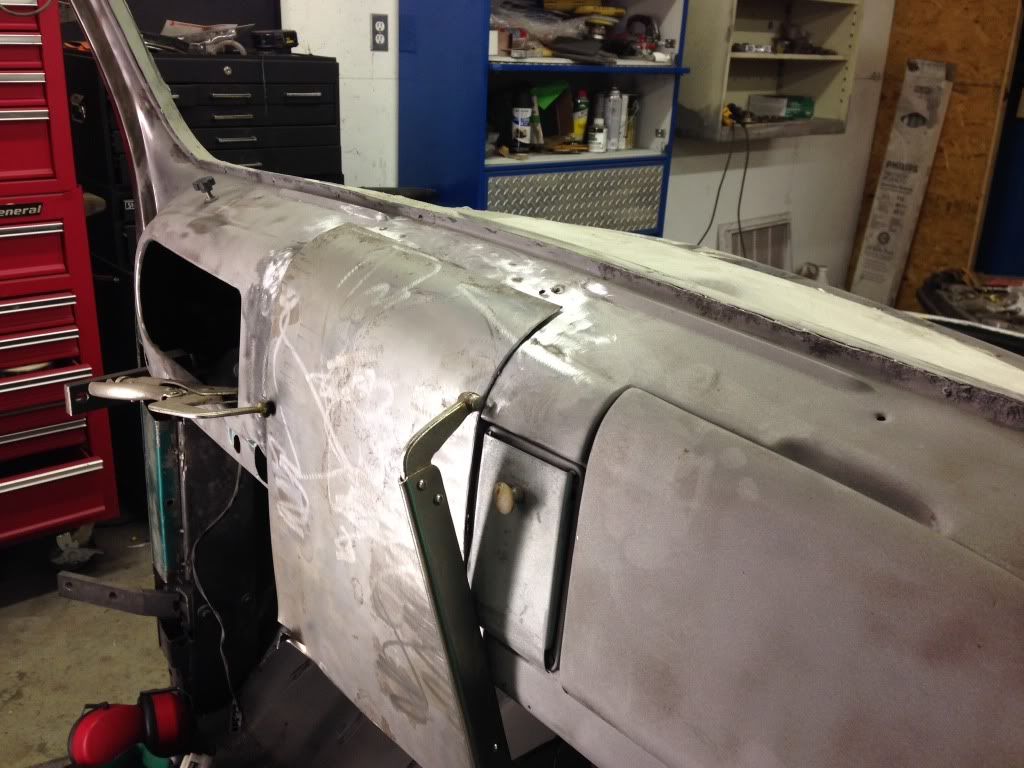
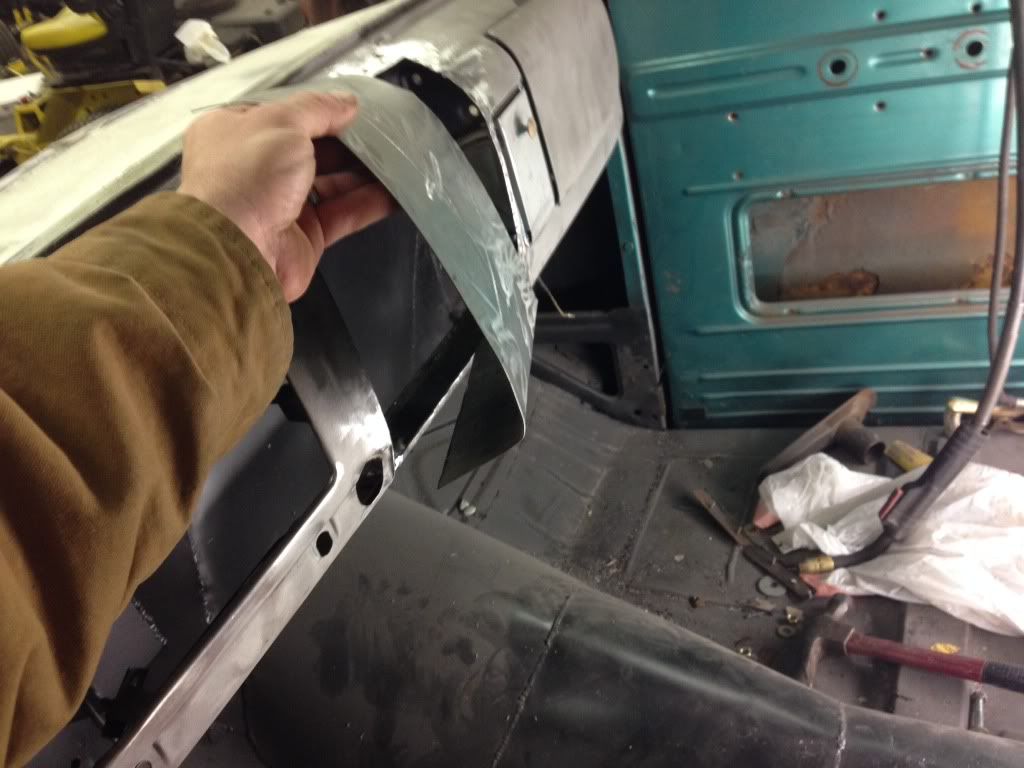
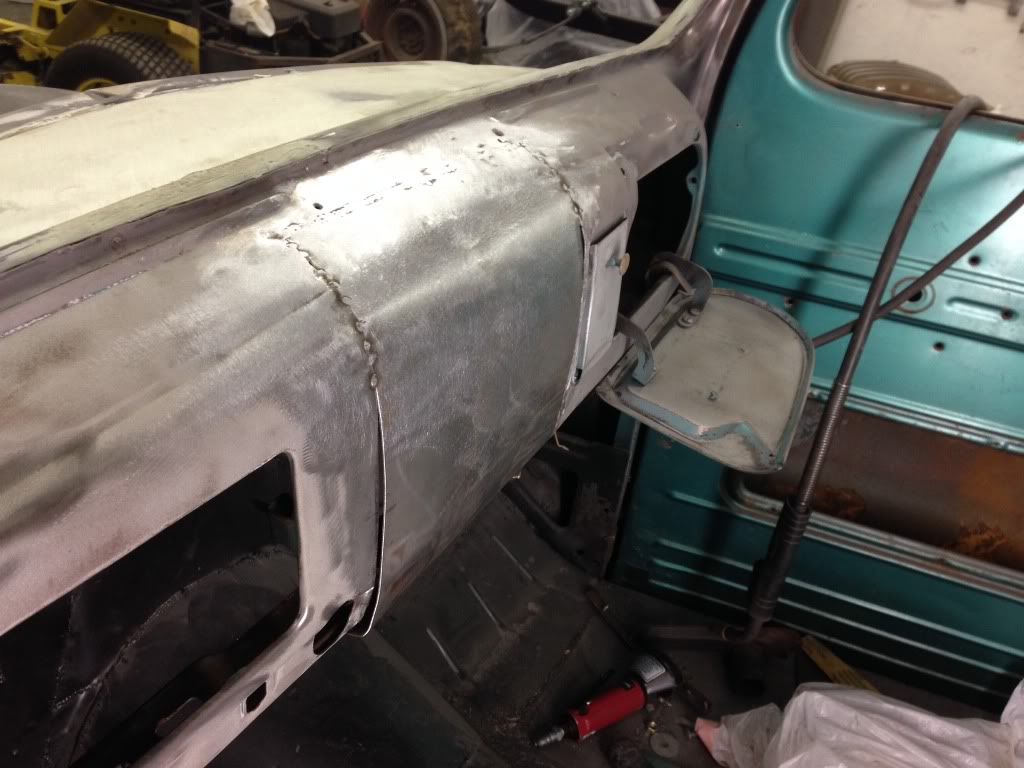
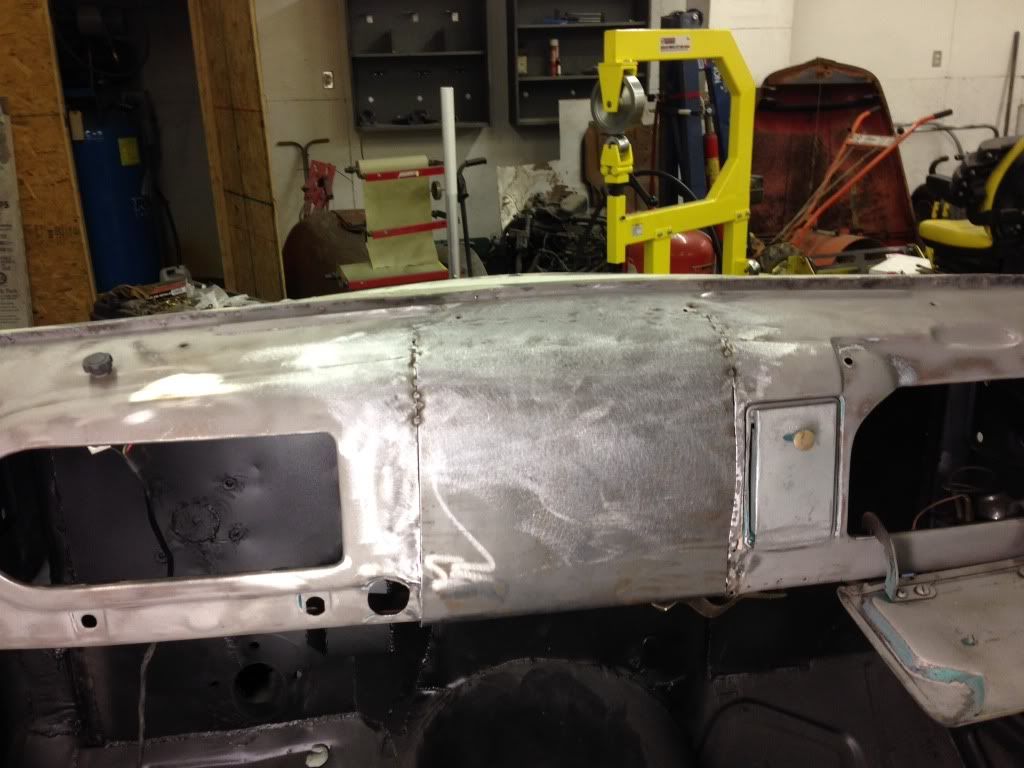
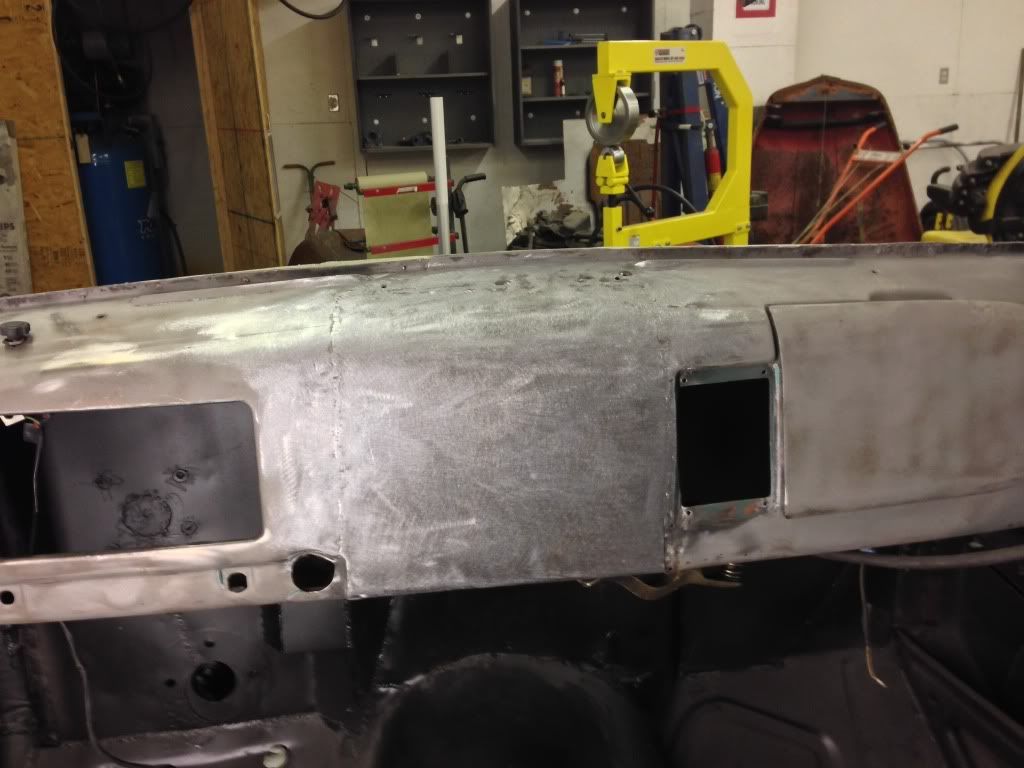
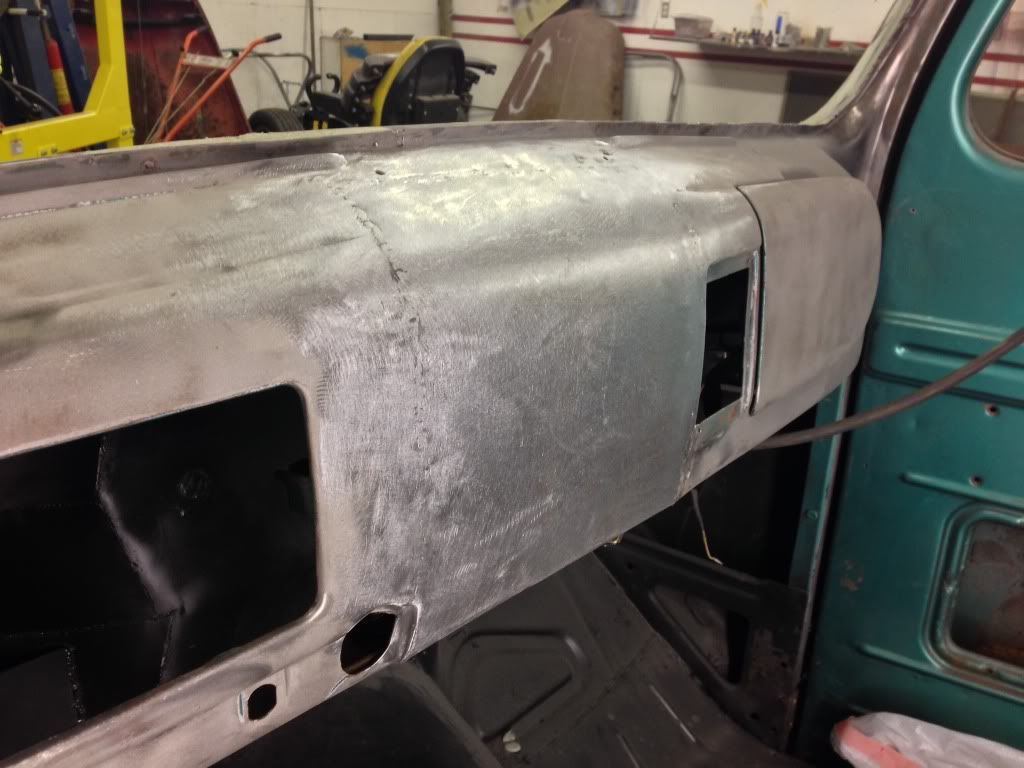
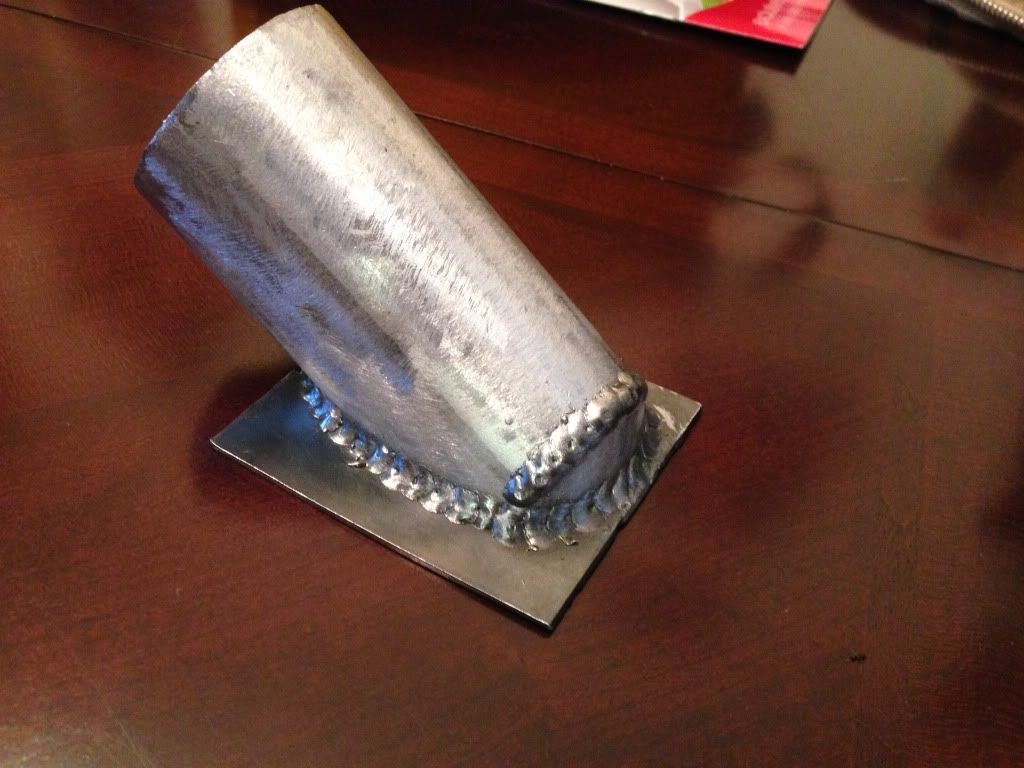
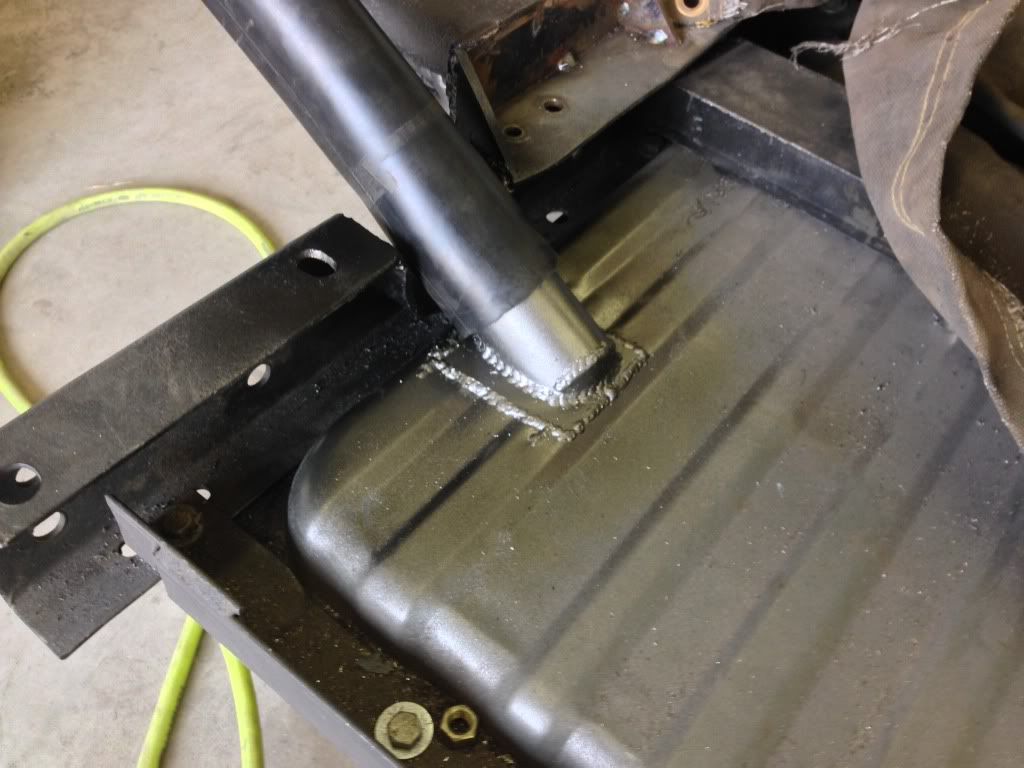
Instead of trying to keep shrinking areas I just cut some slits in the trouble spot, straightened the metal and welded back. Probably took an hour or more to weld back. I laid a few tacks, ground down with cutoff wheel then smoothed with roloc then repeat. It turned out great. The metal is straight and no oil canning.

Image


Image

User avatar

Fully Engaged
Posts: 423
Joined: Thu Jan 21, 2010 7:49 pm
Location: Brandenburg, KY
PostPosted: Sun Feb 09, 2014 6:40 pm
Well church got cancelled tonight because of snow and I got a little stir crazy sitting around so I at least put in an hour of tinkering. P/O butchered the dash filled with resin and mat.

Image


I cut the hole a little more square. Tried to hammer the edges a little flatter and made a brace out of 1/8" steel to weld back in the middle. I put it in the vice and bent the edges for support to match the original brace.

Image


Hopefully will get the patch installed this week.

User avatar

Fully Engaged
Posts: 423
Joined: Thu Jan 21, 2010 7:49 pm
Location: Brandenburg, KY
PostPosted: Mon Feb 10, 2014 4:15 pm
Here's a little more work on the dash. I shaped a piece close to the same profile.

Image


Here it is trimmed smaller.

Image


Here it's shaped a little bit tighter.

Image


Image

User avatar

Fully Engaged
Posts: 423
Joined: Thu Jan 21, 2010 7:49 pm
Location: Brandenburg, KY
PostPosted: Mon Feb 10, 2014 4:20 pm
Here is the bend added.

Image


Trimmed down to final size.

Image


Partially welded in.

Image


Image

User avatar

Fully Engaged
Posts: 423
Joined: Thu Jan 21, 2010 7:49 pm
Location: Brandenburg, KY
PostPosted: Mon Feb 10, 2014 8:01 pm
Got some more of it welded. Just need to finish welding lower right corner and on the bottom bend. I'm also going to do some more hammer finishing on the top seam.

Image


Image

User avatar

Fully Engaged
Posts: 211
Joined: Thu Jul 28, 2011 1:30 pm
Location: Inglewood, CA
Country:
USA
PostPosted: Mon Feb 10, 2014 9:19 pm
Looking good man, looking good. I wish I had something to report, but its just a block sanding party going on at my house.

Your project is looking great man.

User avatar

Fully Engaged
Posts: 423
Joined: Thu Jan 21, 2010 7:49 pm
Location: Brandenburg, KY
PostPosted: Fri Feb 14, 2014 1:35 pm
Thanks Bam. Still have a ton of welding and grinding left on the bed so I made a stand to put the bed on. I'll also do the bodywork & painting on the stand.

Image


Image


Image


Image

User avatar

Fully Engaged
Posts: 211
Joined: Thu Jul 28, 2011 1:30 pm
Location: Inglewood, CA
Country:
USA
PostPosted: Fri Feb 14, 2014 7:50 pm
Once again every thing is looking great. I love the bed stand. Great job.

User avatar

Fully Engaged
Posts: 423
Joined: Thu Jan 21, 2010 7:49 pm
Location: Brandenburg, KY
PostPosted: Fri Mar 07, 2014 9:42 pm
Been doing a lot of small detail work on the bed along with grinding welds. Started working on relocating the filler neck on the gas tank today. Cut a c-notch in the frame. Hopefully will get it welded tomorrow along with this filler neck I made today.

Image

User avatar

Fully Engaged
Posts: 423
Joined: Thu Jan 21, 2010 7:49 pm
Location: Brandenburg, KY
PostPosted: Sat Mar 08, 2014 4:10 pm
Got the filler neck welded to tank and c-notch welded up.

Image


Image
PreviousNext

Return to Completed & In Progress Member Projects

Who is online

Users browsing this forum: No registered users and 142 guests