Hello guys I'm not really new here but rarely post. I looking to get more involved with a few autobody and paint websites I’m a member of. I thought a good way to do that was to introduce the project I've been working on. Its taking longer than I thought but things got out of hand with the mods. Plus I have another ride.
Here is what I started with.
1958 Chevy Big Window I only bought it for the cab. I bought it from a guy that kept it
in a trailer park.
So I’ll start with the frame I install a Mustang II, 4 link and c-notched the rear of the frame.
I made a frame rotisserie out of two engine stands to get the frame ready for paint.
8.5 Chevy Rearend Narrowed to 58 inches (mounting point to mounting point) with moser housing ends and axles.
4 Link install.
55/58 Chevy Truck Project.
I had to modify the caliper bracket and the axles retainer to install my disc brakes. Here is what I came up with.
The rearend completed . I cut those micky mouse ears off the rearend to make it clear the bed floor and it also looks better. I had to redo the c-notch for more clearance for a lower stance. There was extensive rust damage on this cab but I wanted a big window cab and I had to have it.lol I should have waited because I ended up building a cab.lol I had to replace both cab corners, the steps and rockers, floors, and the roof. Cab corners replaced Floor replaced |
|
Steps replaced
Roof replaced. Both Doors had to be repaired. 58 Fender repair After all this work I knew what I really wanted was a 55-56 truck. I have a 55 210 and I always wanted twins.lol I decided to change the front clip to a 55. How it came about was a friend challenged me to fix some terrible 55 fenders and they came out nice so I said why not. Last edited by BAM55 on Thu Jan 16, 2014 9:30 am, edited 4 times in total.
|
|
55 Fenders
The truck will be running a 2003 5.3 and 40L60E transmission these are some mock up pics The motor mounts I fab up. Okay now for the custom mods I added which are. 55 Chevy car dash Shaved parking lights Last edited by BAM55 on Thu Jan 16, 2014 1:51 am, edited 1 time in total.
|
|
Shaved drip rails
Smooth the vent cover Shaved gas filler Shaved firewall 3rd brake light Rounded door corners |
|
Rounded front and rear bed corners
Mini tubs Shaved door hands and bearclaws latches installed in reverse because I want the solenoid in the cab corner instead of at the bottom of the door. 47-55 1st Series Chevy Truck Battery access door. Last edited by BAM55 on Thu Jan 16, 2014 10:46 pm, edited 2 times in total.
|
|
Pancaked the hood.
Smoothing the Steps A couple of mock up pics. |
|
Installed the No Limit Flip Hood Kit
Anyway guys here is the boring stuff I've been working on but you said you wanted pics. I had to add some round tubing to the front the door to get it right. I think it will look decent once I grind down the welds and make it flow on the edge. Man the door fitment on these things leaves much to be desired. I thought since I rounded the doors in the front and shaved the drip rails I mightiest well go all the way and round the rear of the doors. I welded up the seam in this area. I then used Duraglass over the welds to smooth everything out. A little primer and I like it much better than that unfinished look that came from the factory. Its getting there I guess I'll keep chipping away at it inch by inch. This was my first time using this product, a buddy of mine told me to try it. I decided to try it on my dash to fill some minor imperfections. I liked it so much I did the roof also. |
|
You can never have enough good fenders. I had a mess up fender laying around and a new repoped fender that someone gave me. The repop fender fitment was horrible so I decided to use it as a patch panel. I have a passenger fender that I already primed but when I checked the fitment I like the mess up fender a little better. So I decided to fix the fender and use which ever one I like the best when I put the truck back together. Or I just used it as an excuse to weld something together.lol
This is what is left of a new fender that I used for patch panels because the fitment was so bad. I used the rear for another fender for a buddy. It still has some use so I will not throw it out. It still has a good brace, eyebrow, and front and top panel. Somebody may need a piece of it so I will keep it. I know too many hotrodders to throw it out. I don't know about the other new fenders, but the fitment for this one was garbage. Here is the fender after metal finishing. Fenders in primer, still needs to be blocked but they are coming along. I got the sectioned hood in primer. It was a lot of hammer and dolly work but here it is. Oh yeah I had to make a brace for the sectioned hood. I made it out of 1 inch wide and 1/4 thick flat stock. Making it flow with the radius of the side of the hood took some thought but it came out decent. Last edited by BAM55 on Wed Jan 15, 2014 9:18 pm, edited 1 time in total.
|
|
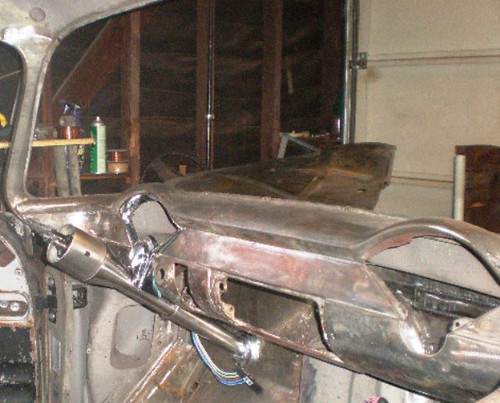
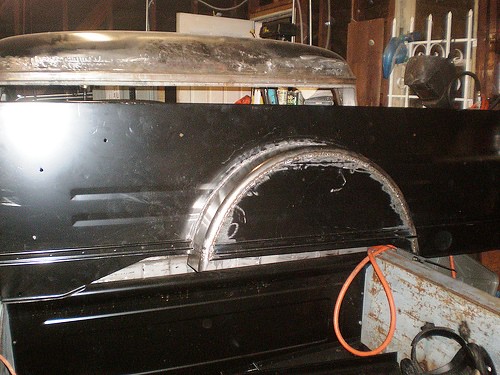
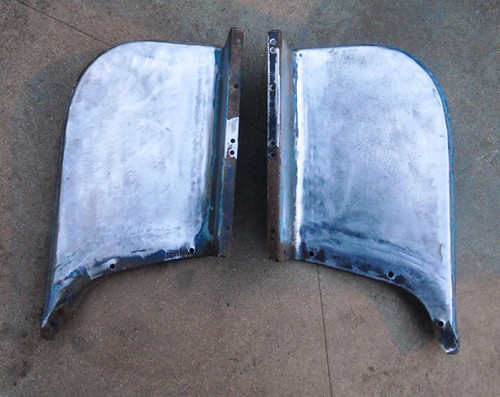
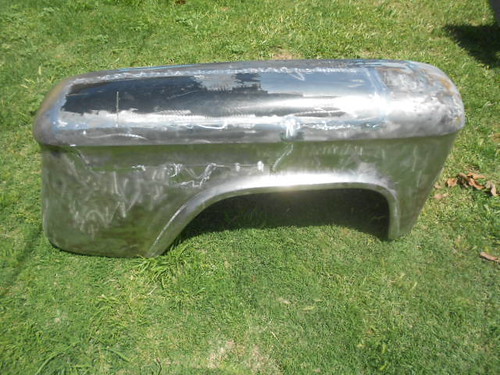
Well I decided to start getting the rear fenders ready for primer. I wanted to use these for the truck because they were giving to me by a buddy who bought new ones. Her has passed away (He knew they were rough but did not want to throw them away) and I wanted something of his on the truck, so I went to through the trouble of saving them. Plus he challenged me and thought they couldn't be saved.lol So in honor of my buddy Jimmy my question is do you know what evils lives under your primer?
Bondo, bondo, bondo. 
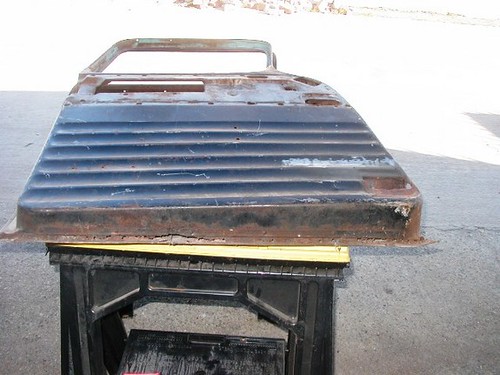
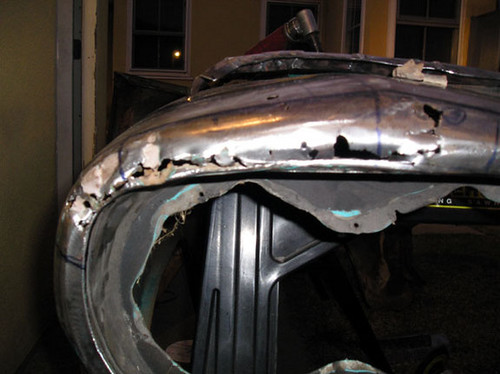
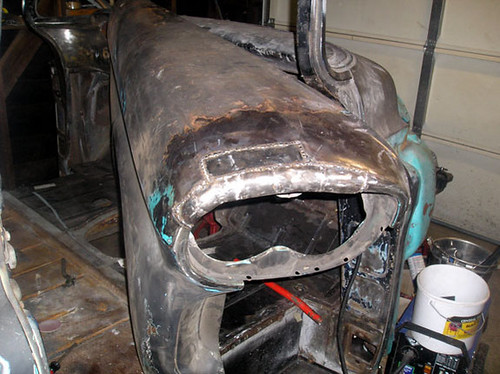
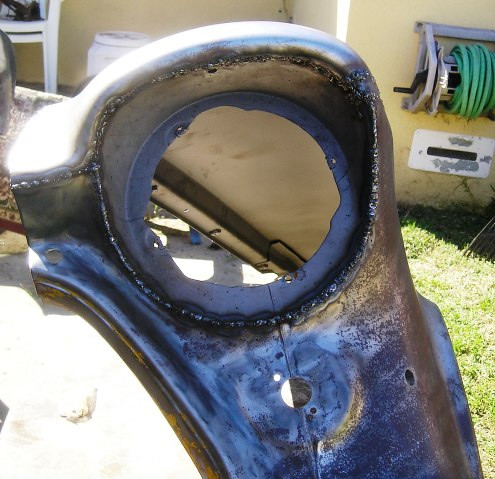
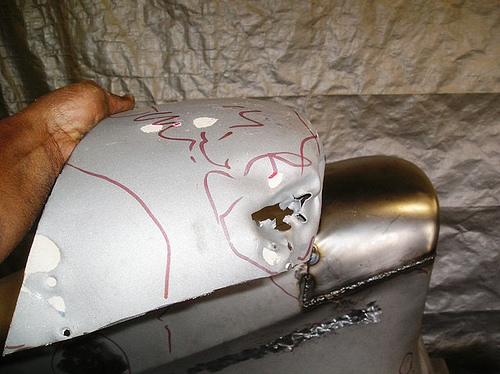
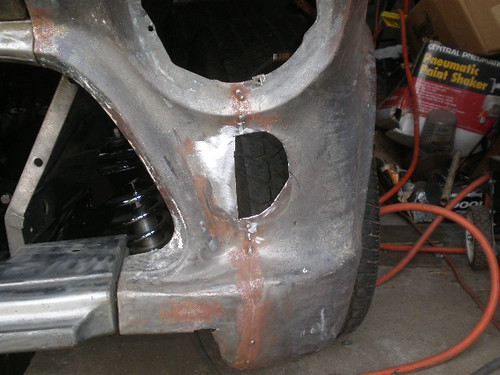
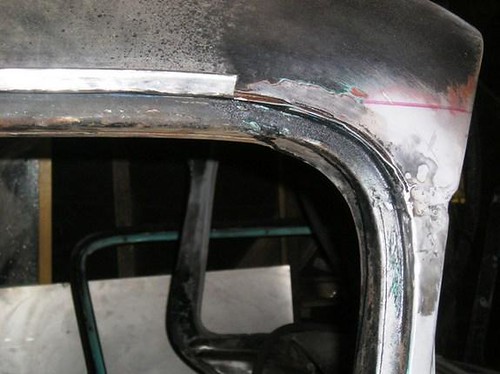
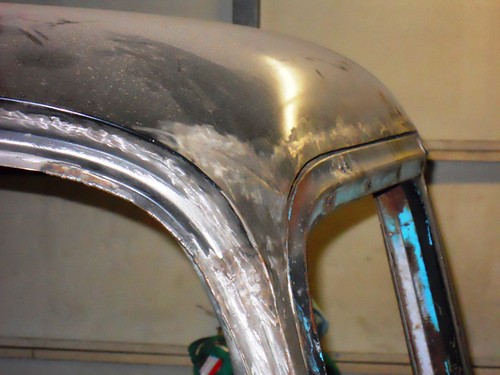
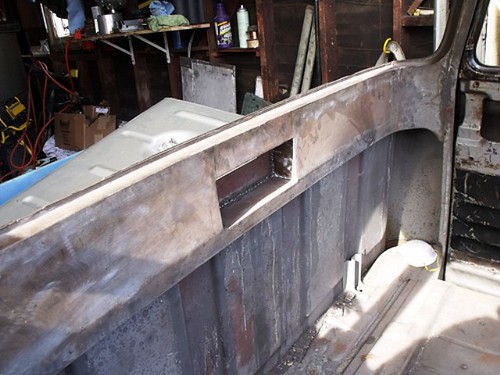
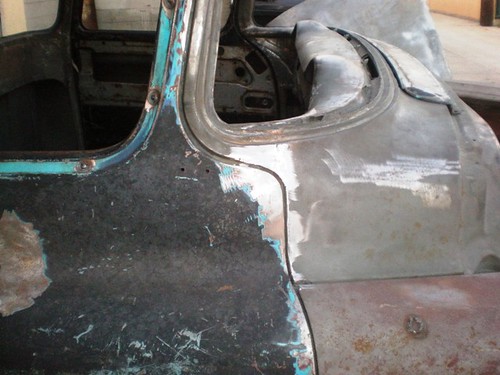
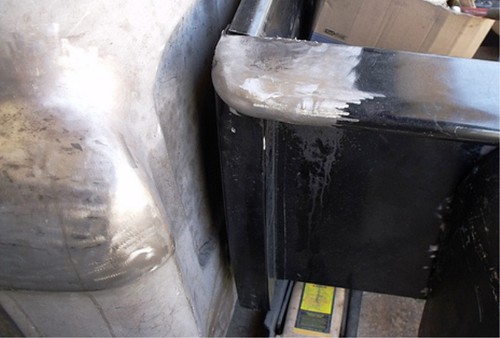
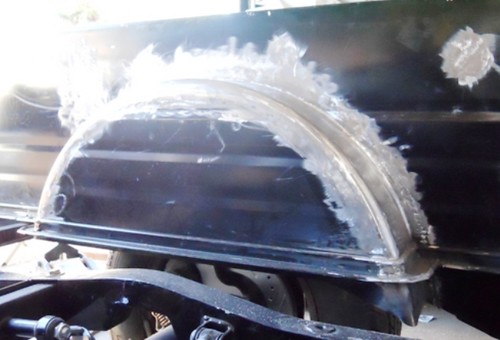
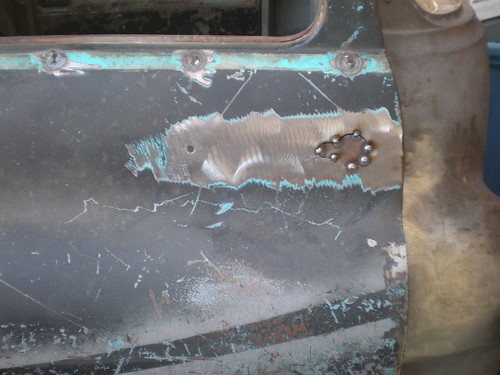
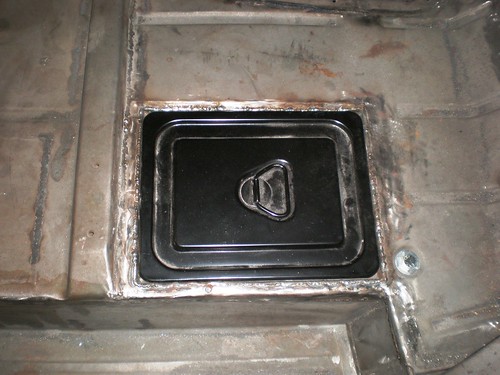
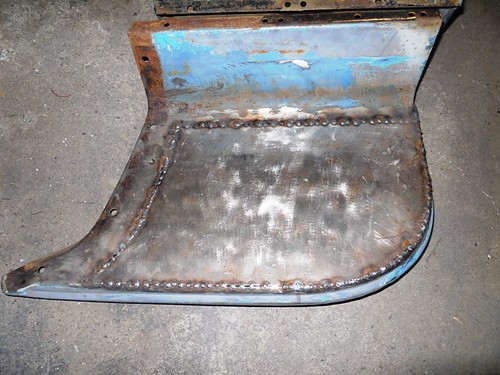
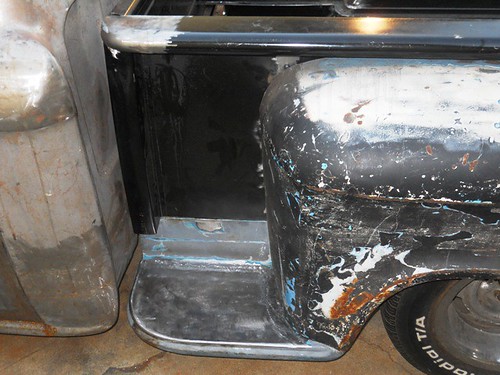
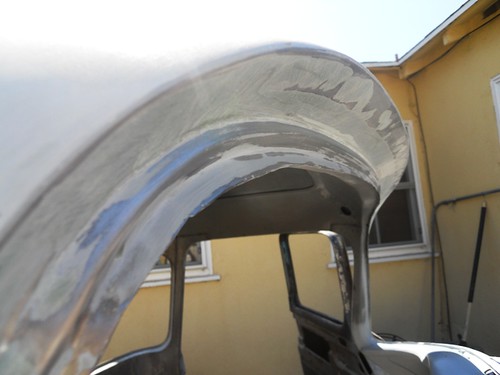
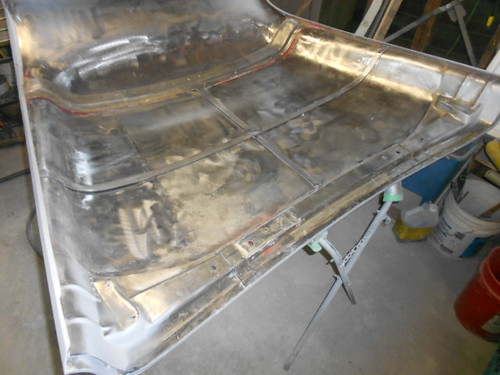
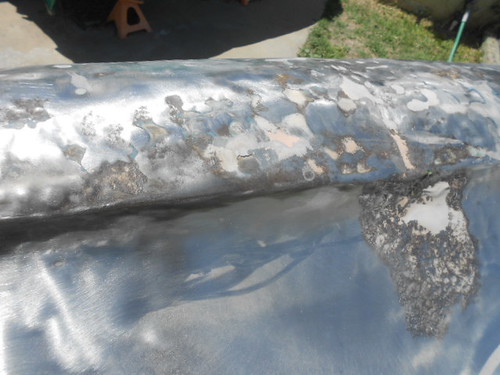
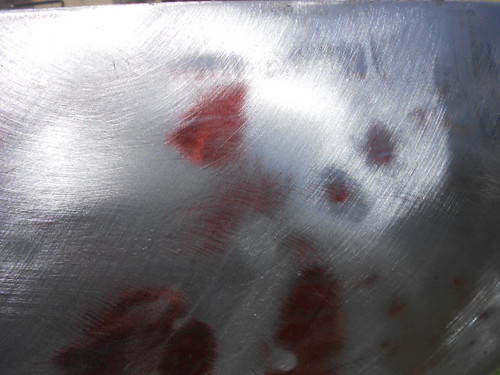
This is what was under all that bondo 
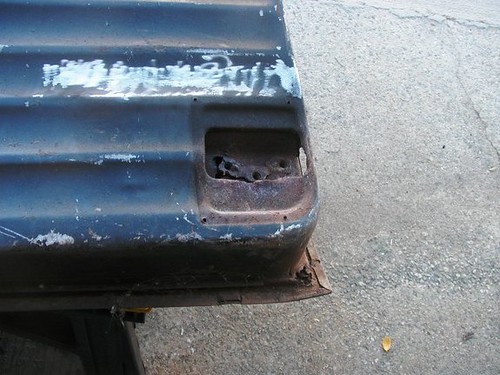
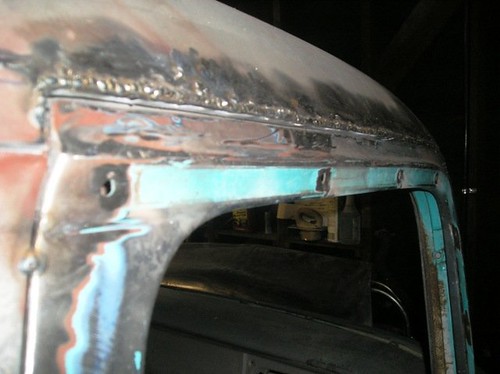
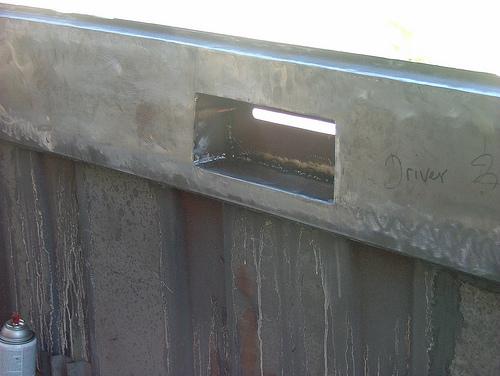
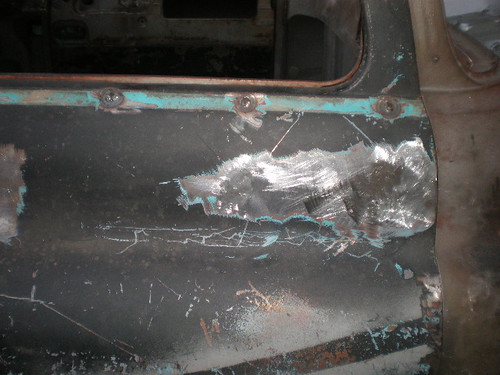
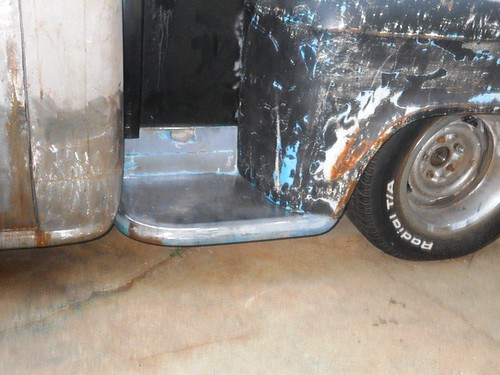
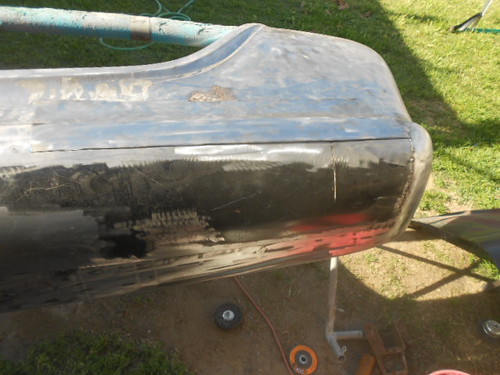
This is what I had to cut away. Yikes 
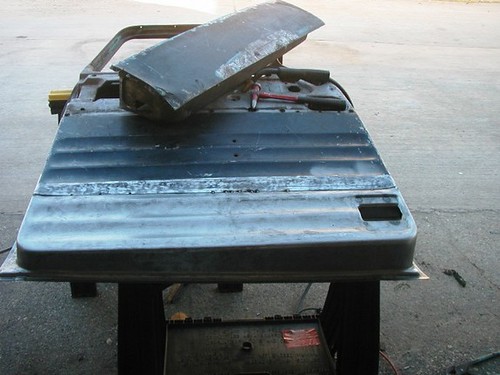
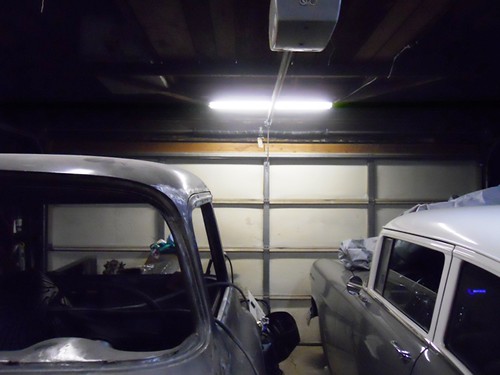
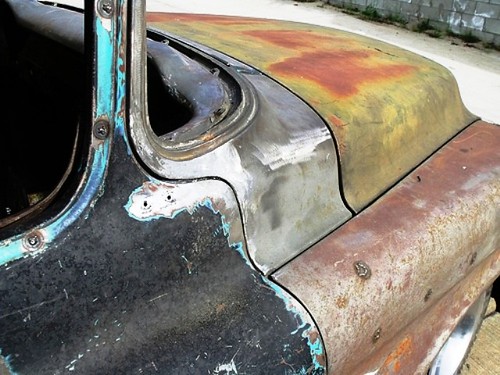
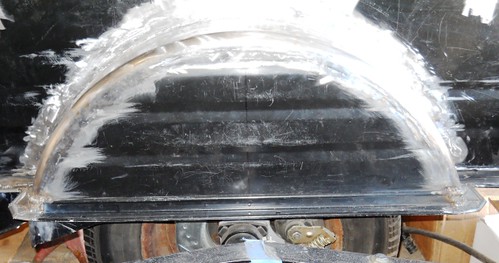
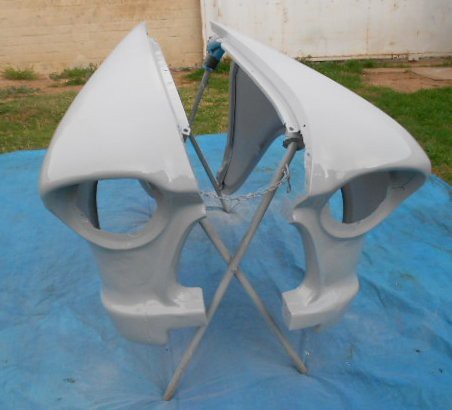
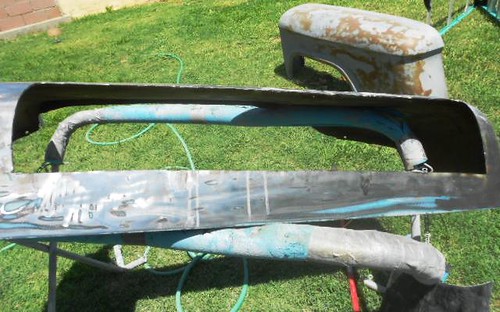
Yeah thats another fender in that background covered in bondo also.lol 
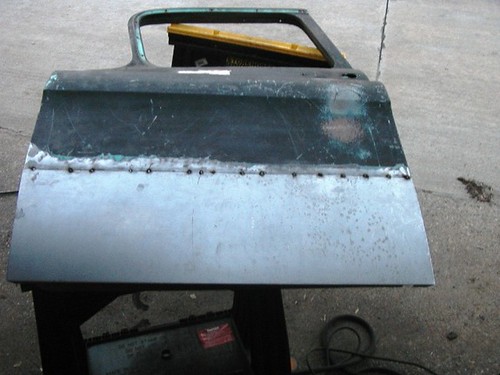
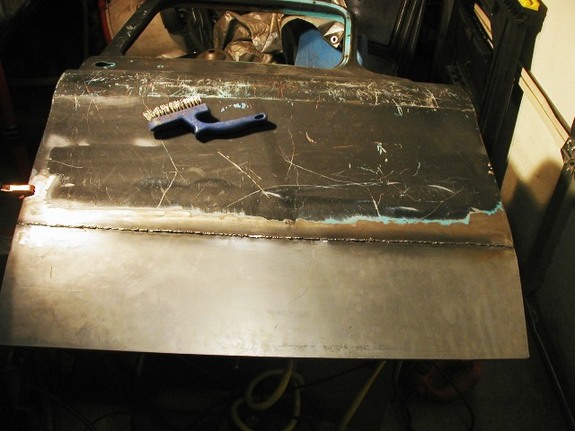
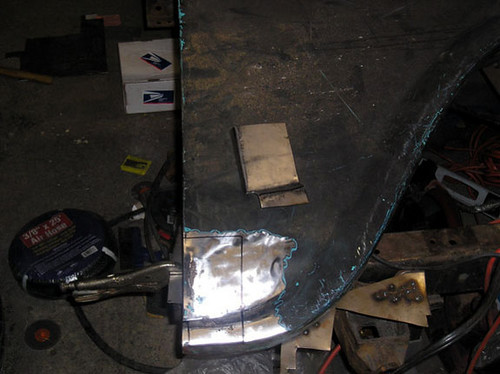
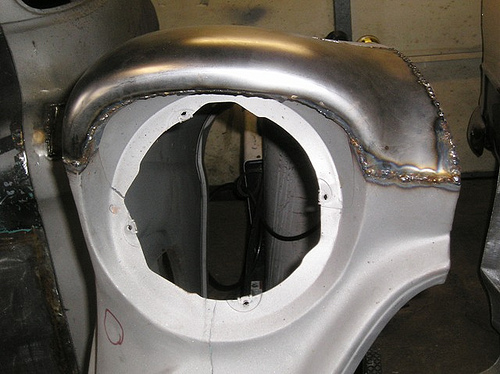
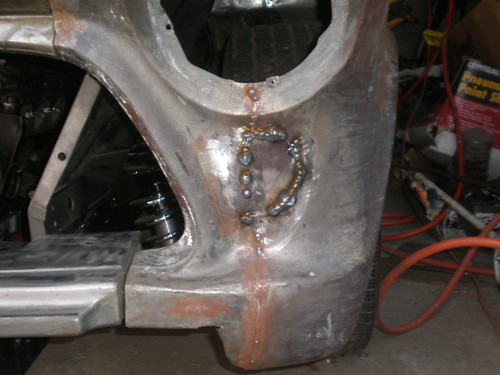
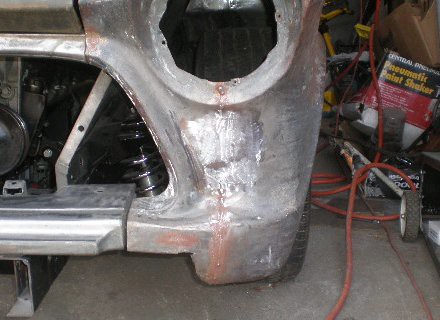
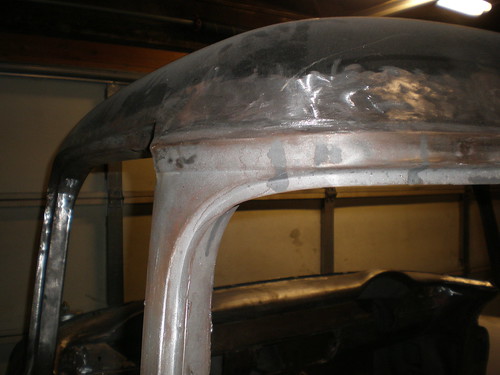
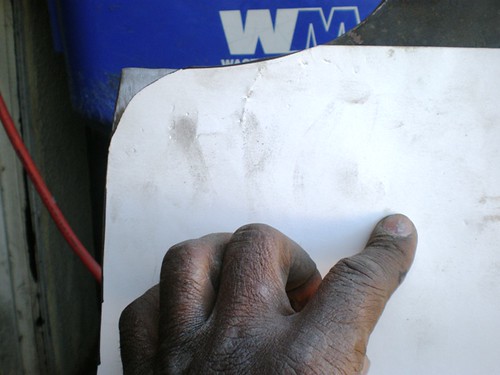
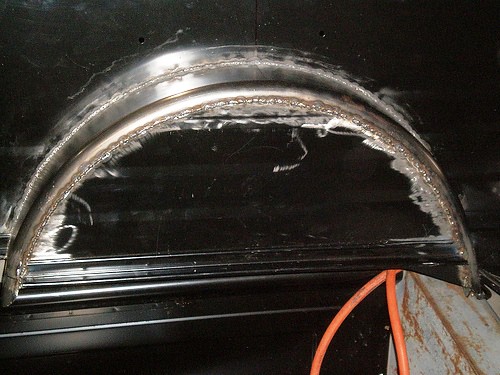
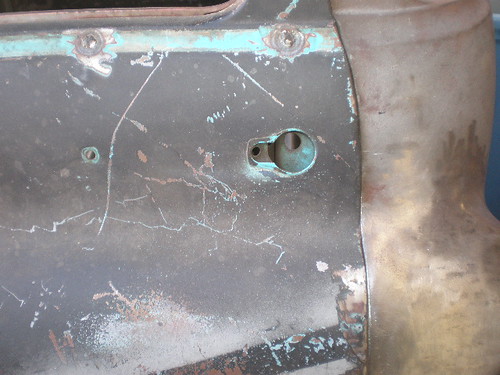
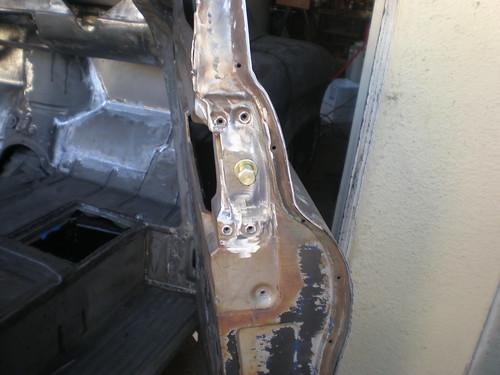
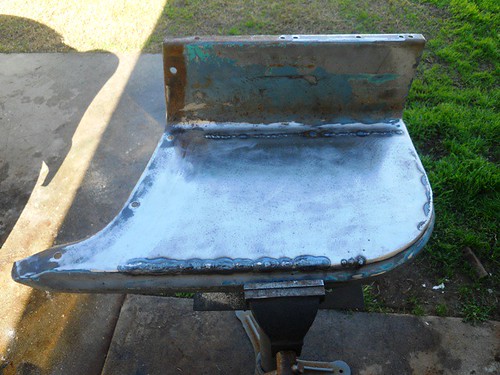
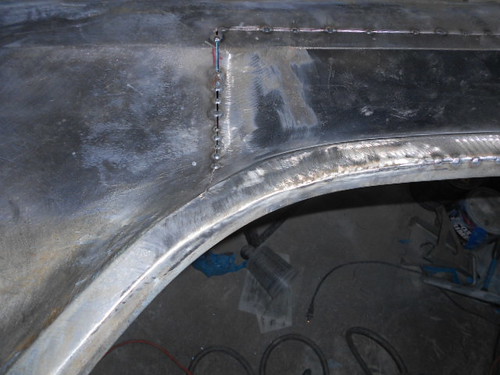
I had some front fenders that I've been gutting that provided the majority of the patch panel. A little tweaking and they worked fine. That little rust spot that was left I just formed my hand. 
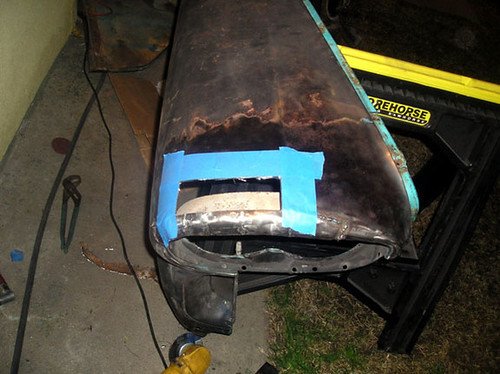
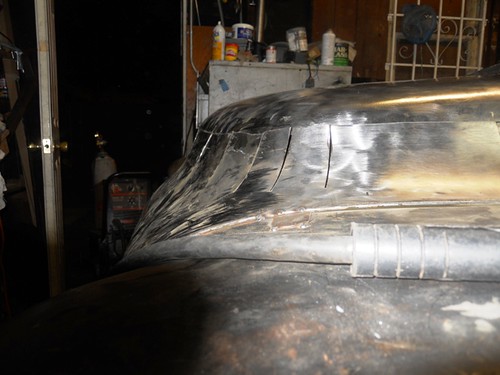
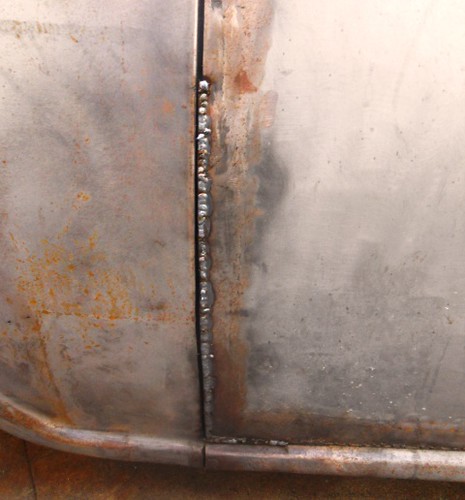
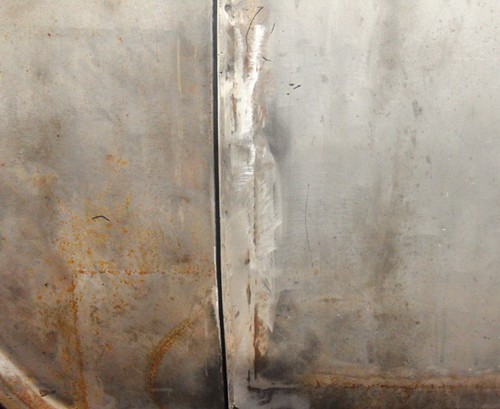
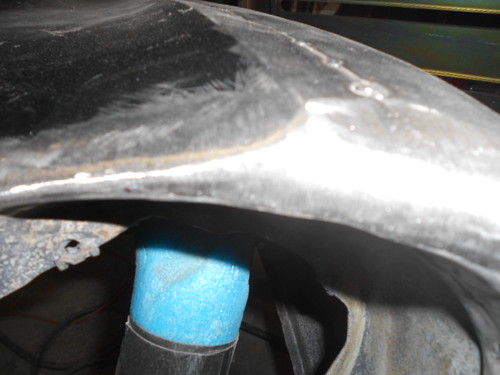
I used a 3/32 2% ceriated tungsten and 1/16 filler rod and tried to keep the smallest HAZ I could. Tig welding sheetmetal is great, you can see how low the bead profile is and some of the metal finishing I started. Man you can hammer and dolly that HAZ to your hearts desire.
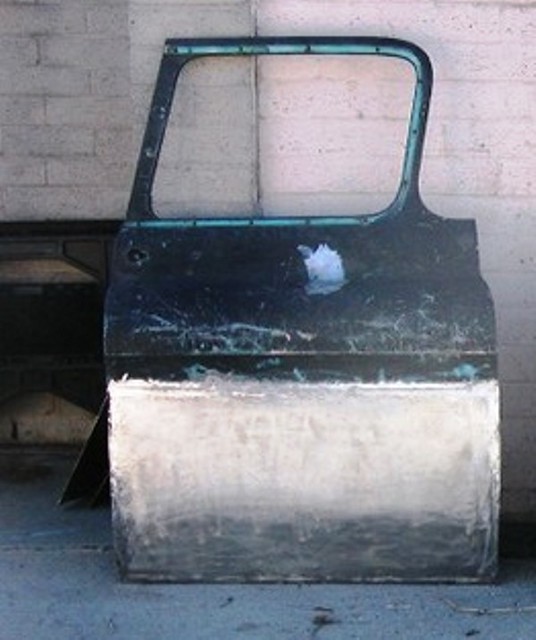
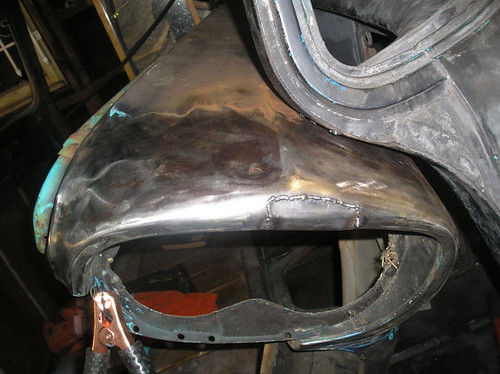
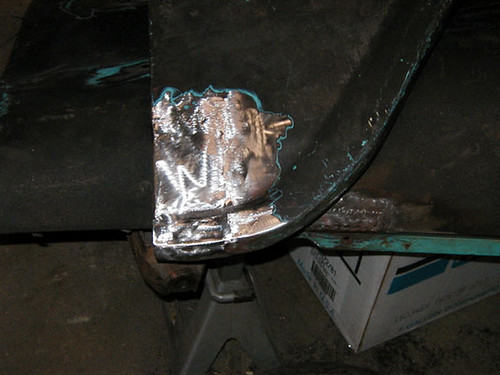
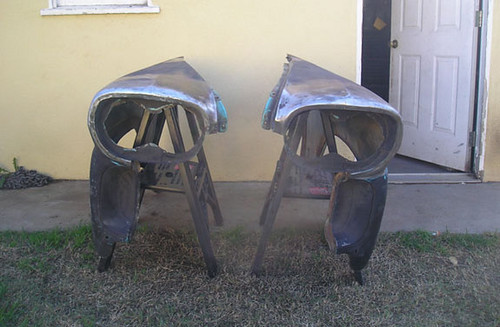
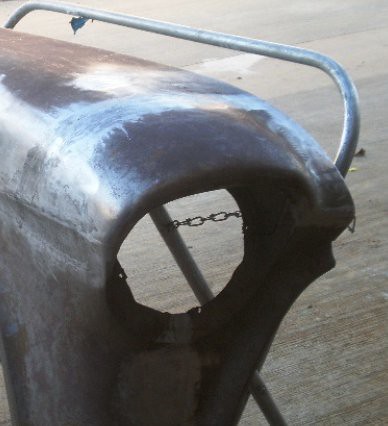
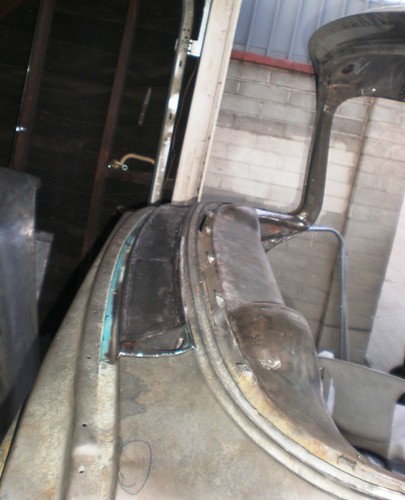
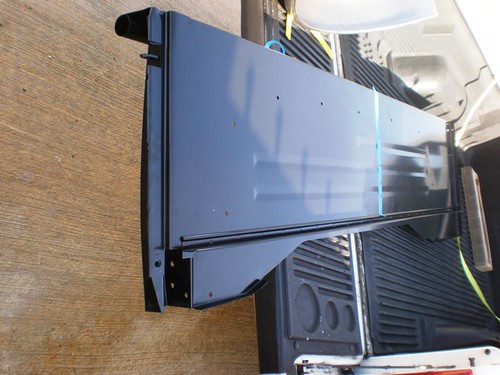
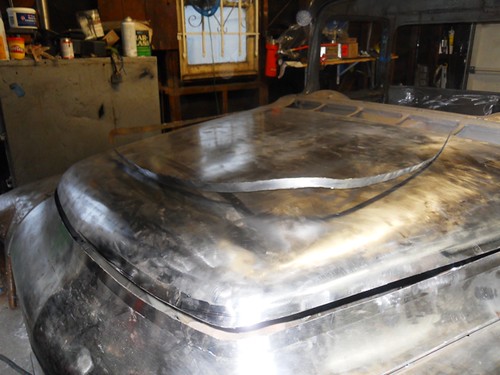
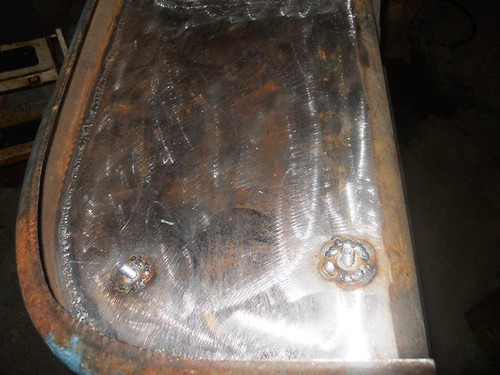
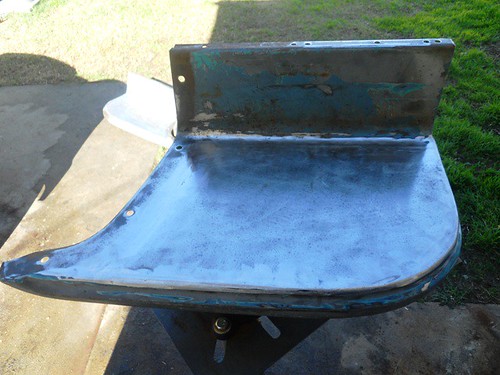
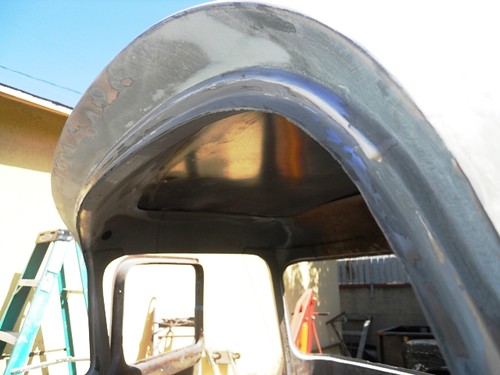
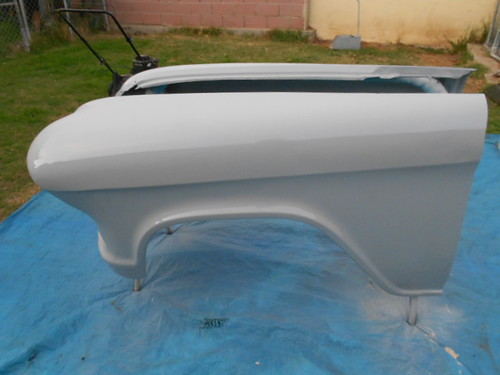
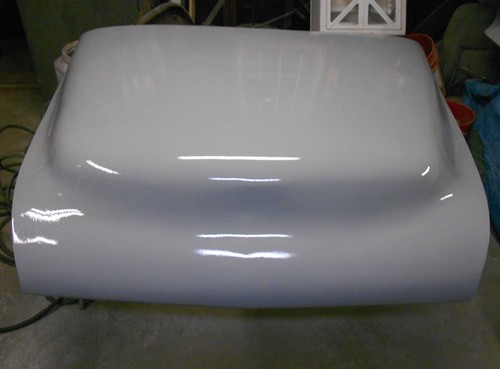
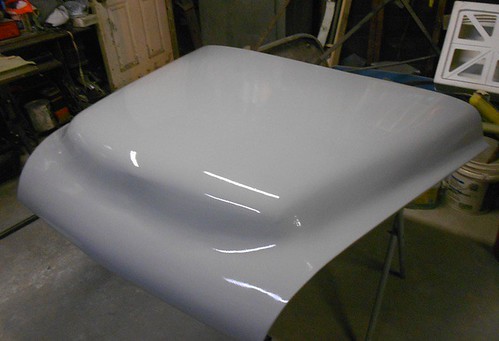
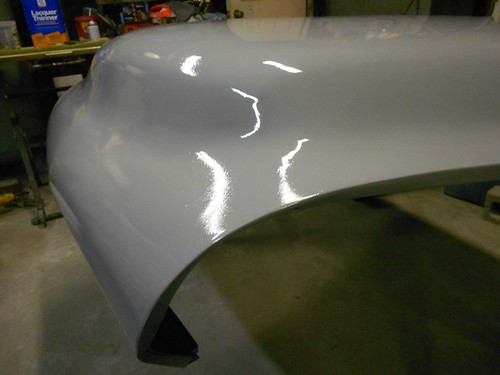
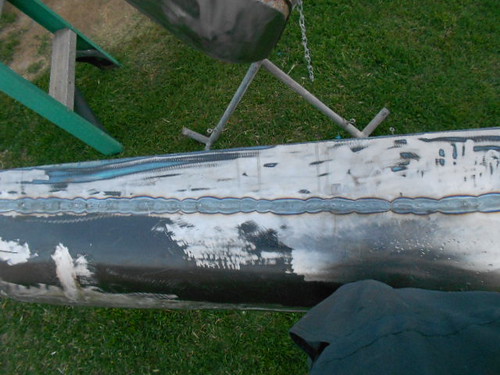
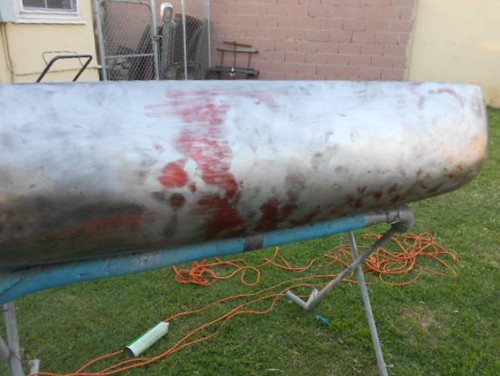
 The other fender 
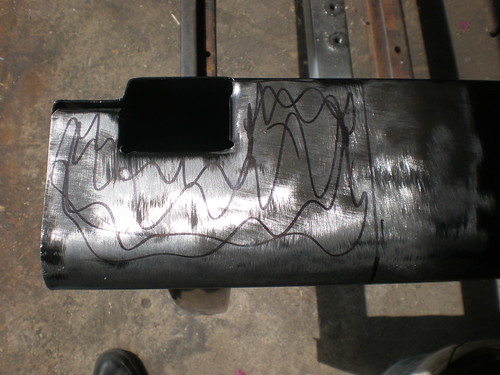
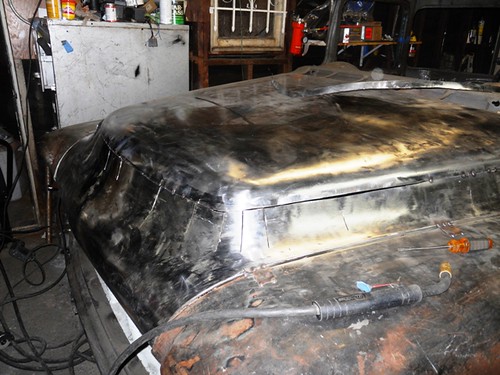
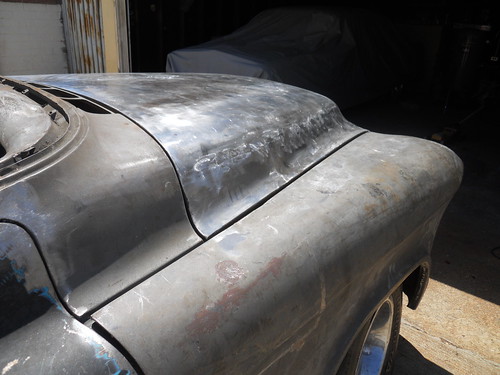
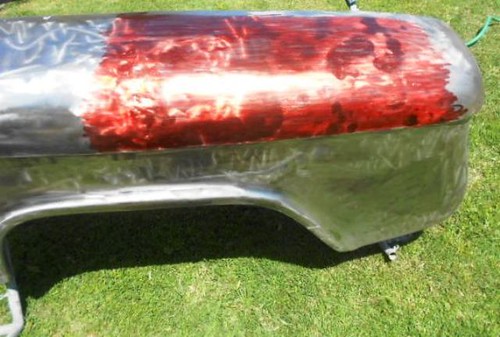
Over the years these trucks were really used and used hard.lol Man this fender has dents and digs all along the top area. I used a big red marker to color in the top which I will block sand to see the highs and lows.
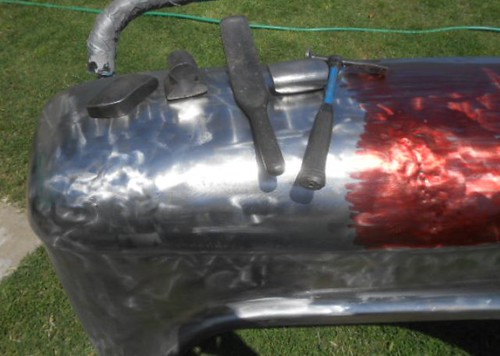
 Weapons of choice I also made this slapper and find it does a great job. 
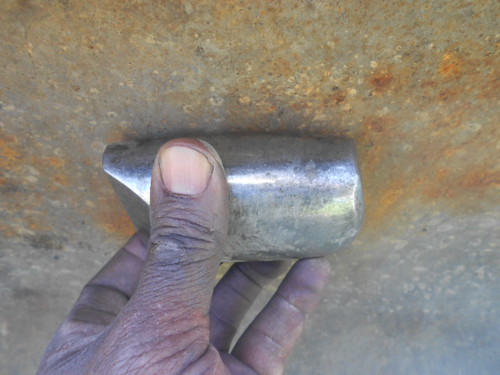
On the back side you must choose a dolly that is very close to the contour of the sheet metal. 
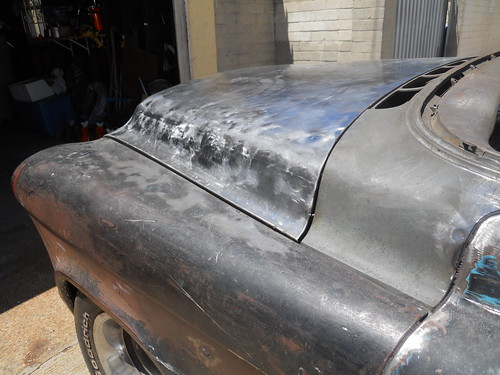
After sanding here is what I had After the first use of my slapper and dolly I sanded again and here what I have. As you can see the low area is getting smaller. Sanding between hammer and dolly work shows me were I need to concentrate. 
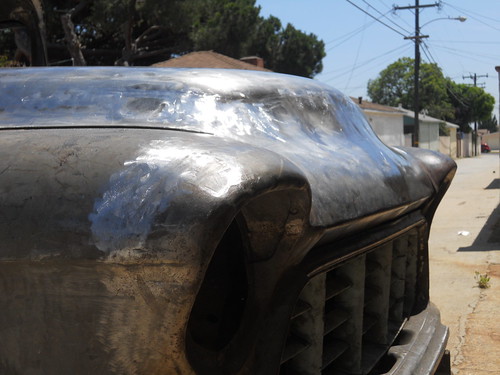
Worked some more and sanded and had this. 
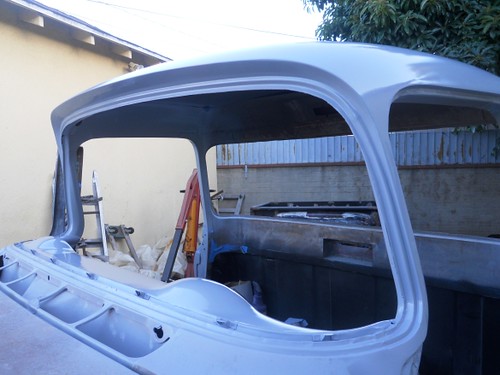
Here what I accomplished the first day, still a lot of work to do but a fender that most would have trashed or covered with way too much filler will be used with very little filler when done. After I remove all the major of the dents I will red marker again and try to fix all the imperfections. All the red markets that are left need to be worked but as you can see there is a world of difference. It just takes patience and work. Last edited by BAM55 on Thu Jan 16, 2014 10:58 pm, edited 3 times in total.
|
|
Return to Completed & In Progress Member Projects
Who is online
Users browsing this forum: No registered users and 101 guests