1971 Camaro Z28 RS build

Show off your work! Anything from final results to full start-to-finish project journals.

User avatar

Fully Engaged
Posts: 131
Joined: Tue Aug 06, 2013 6:52 pm

Country:
Canada
PostPosted: Fri Feb 01, 2019 7:43 pm
Thanks fellas!

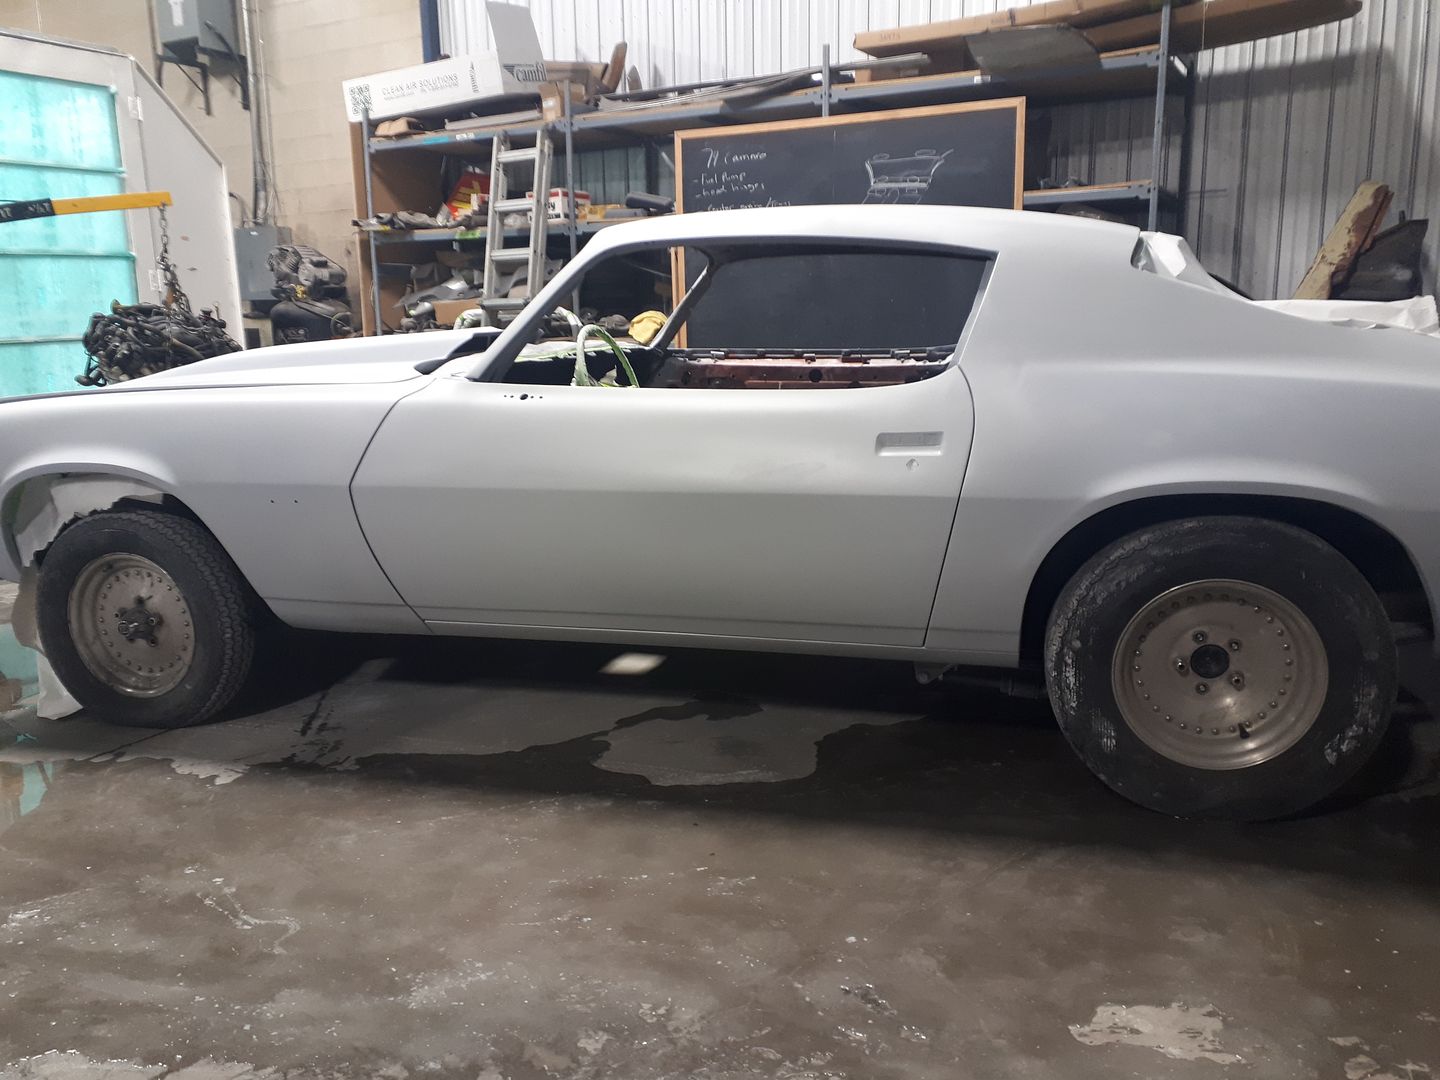
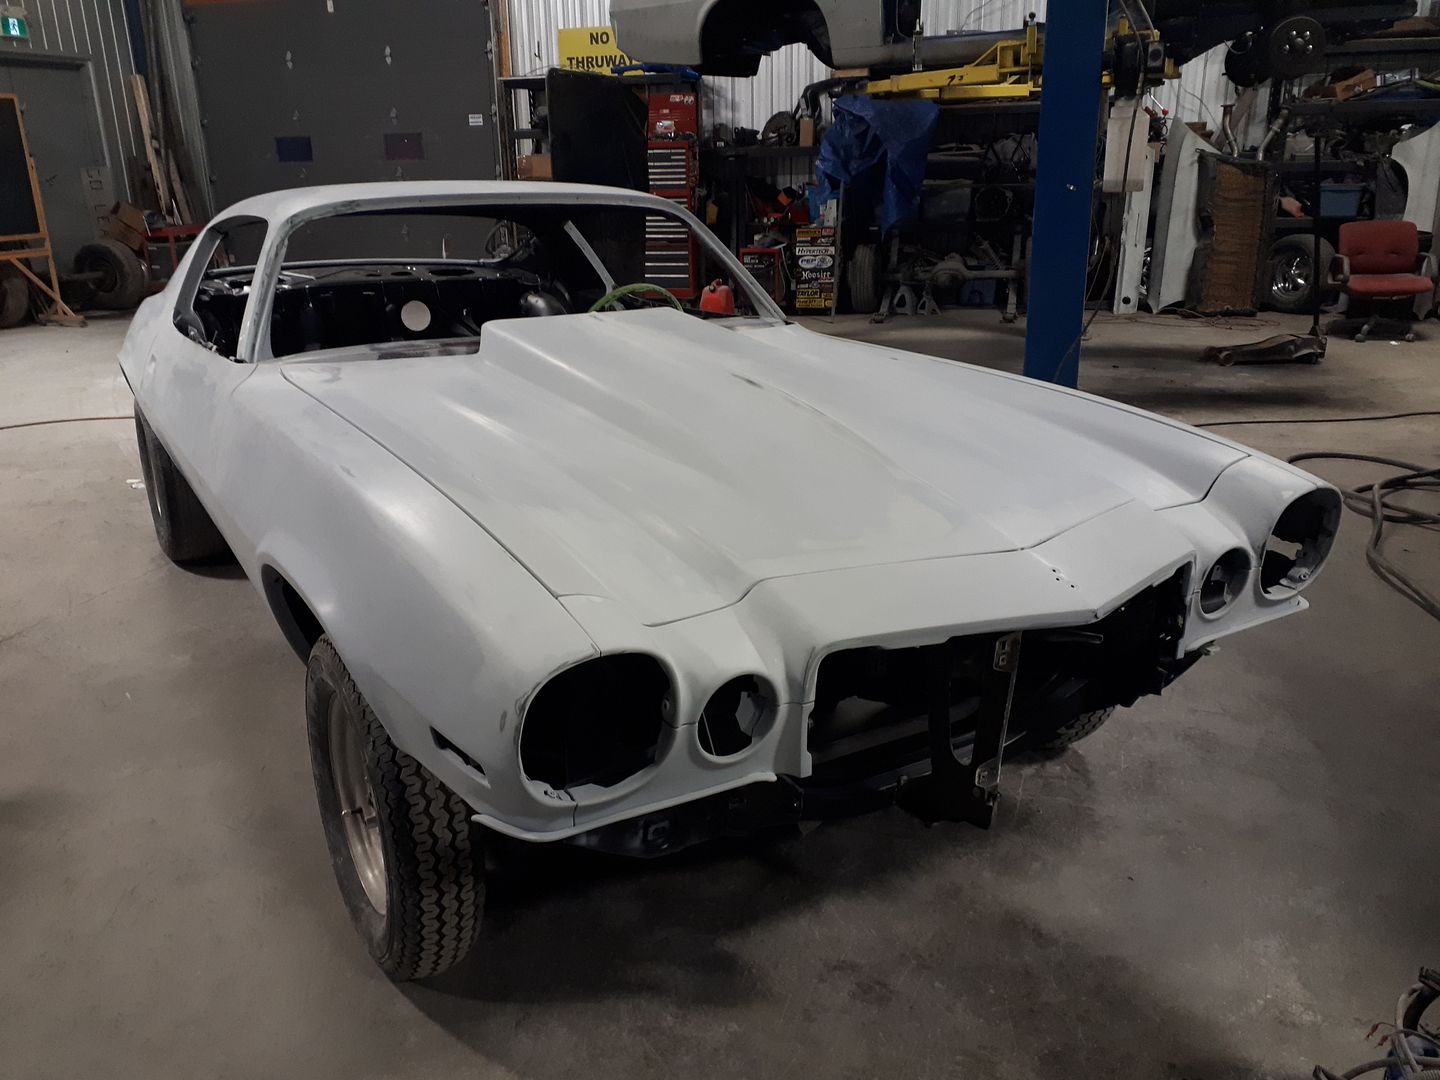
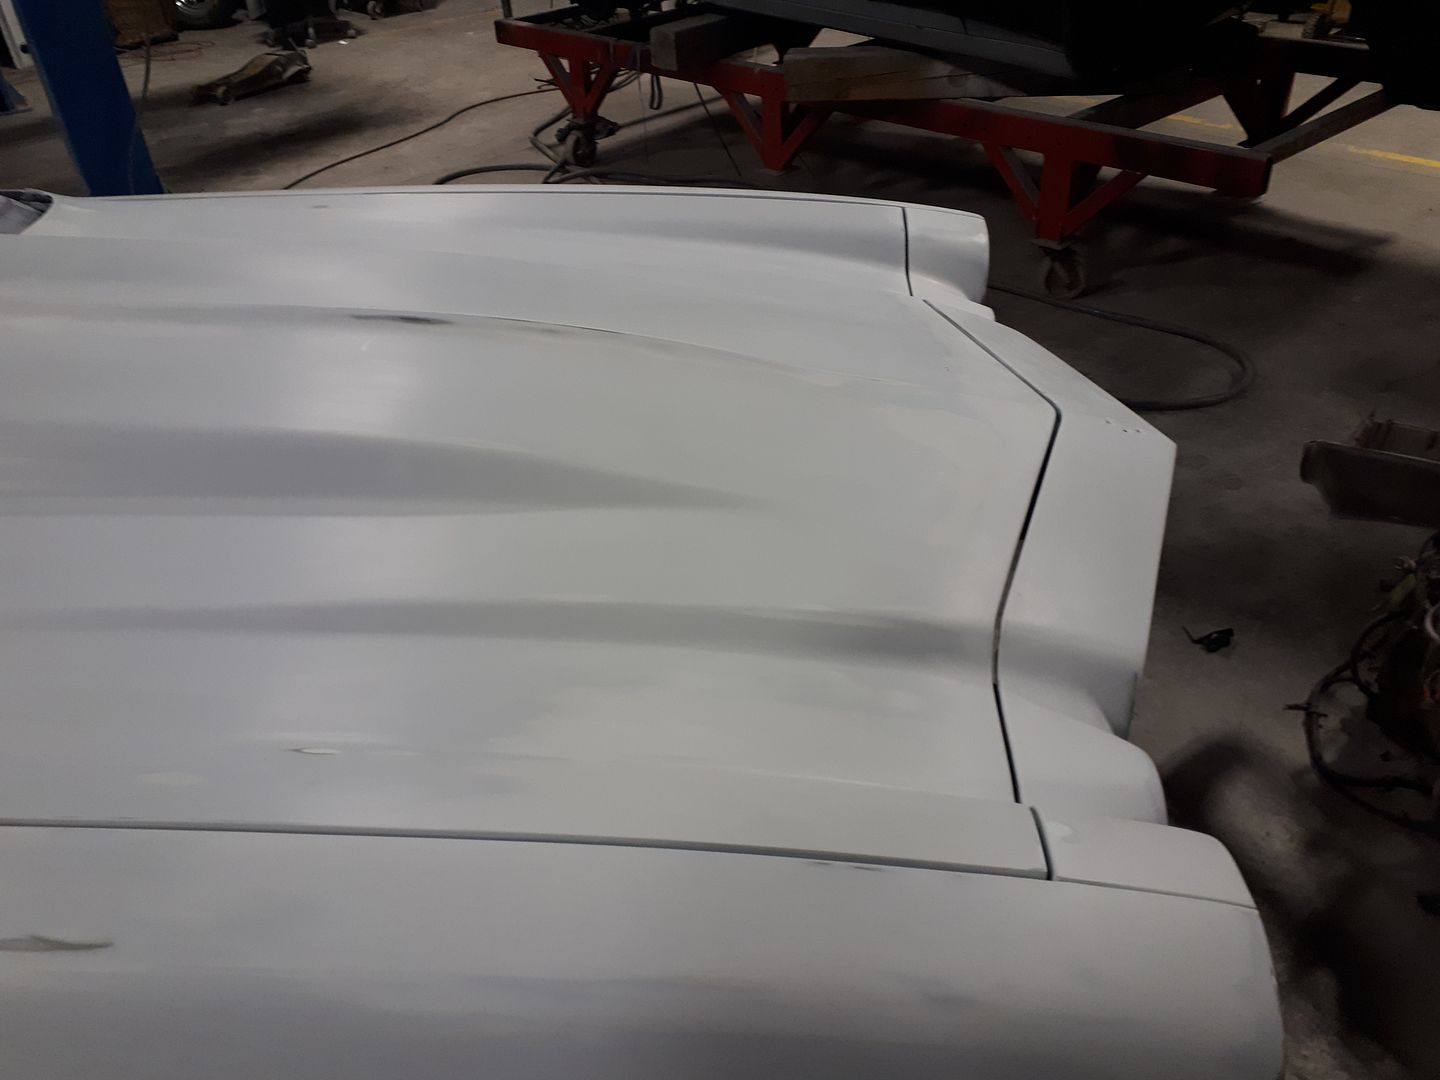
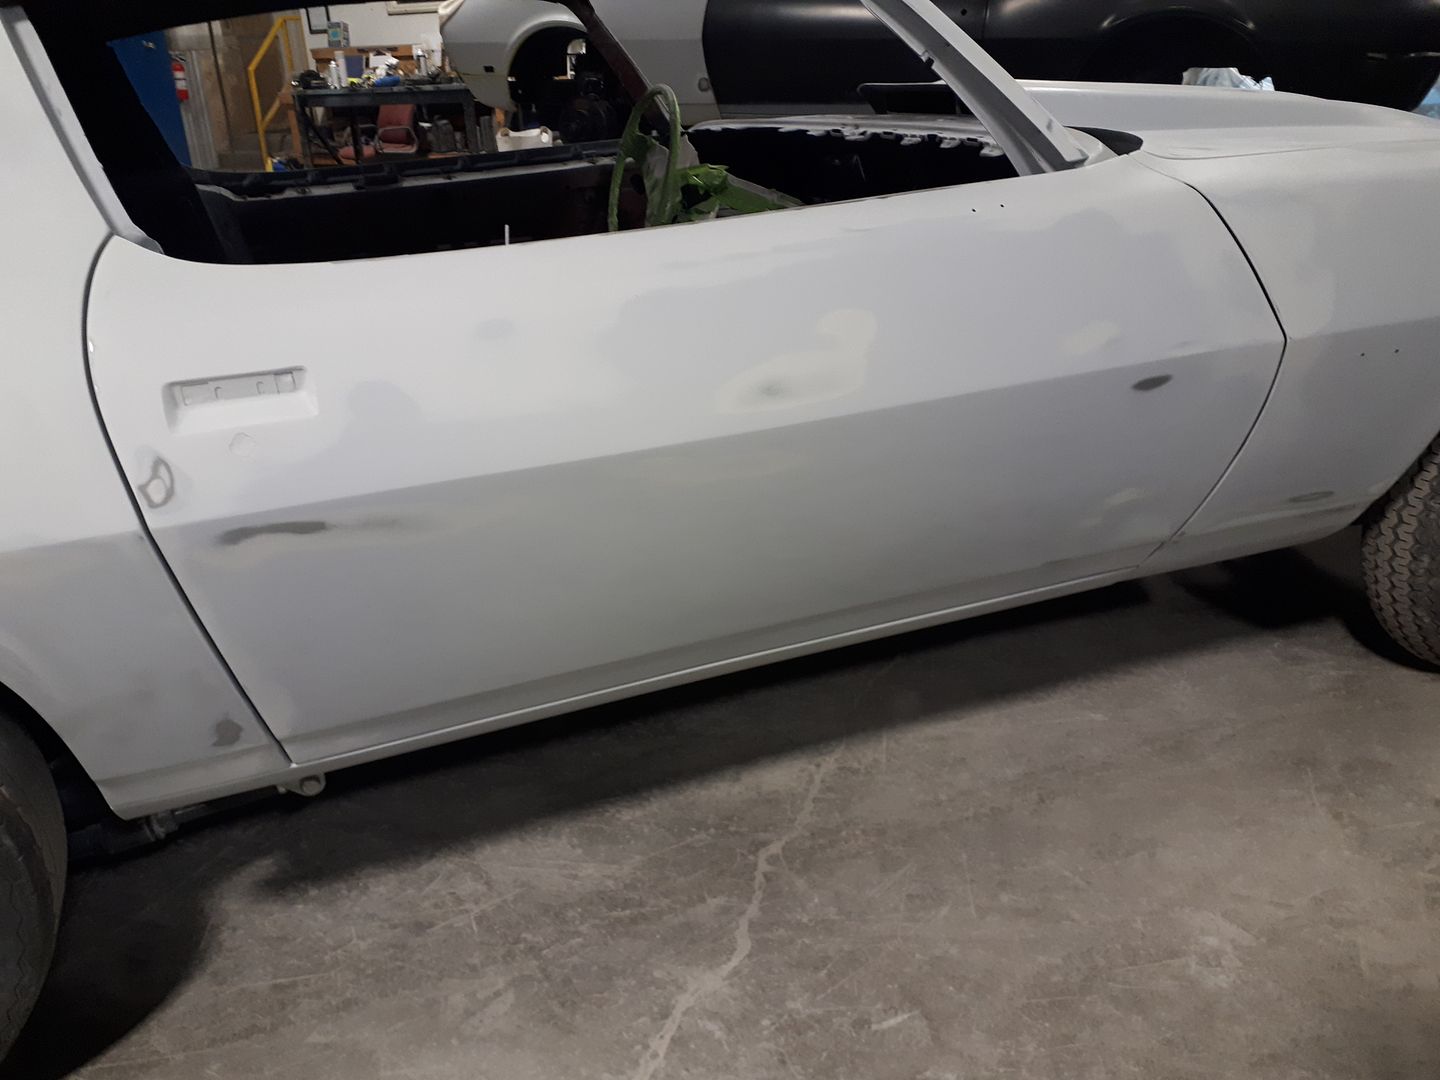
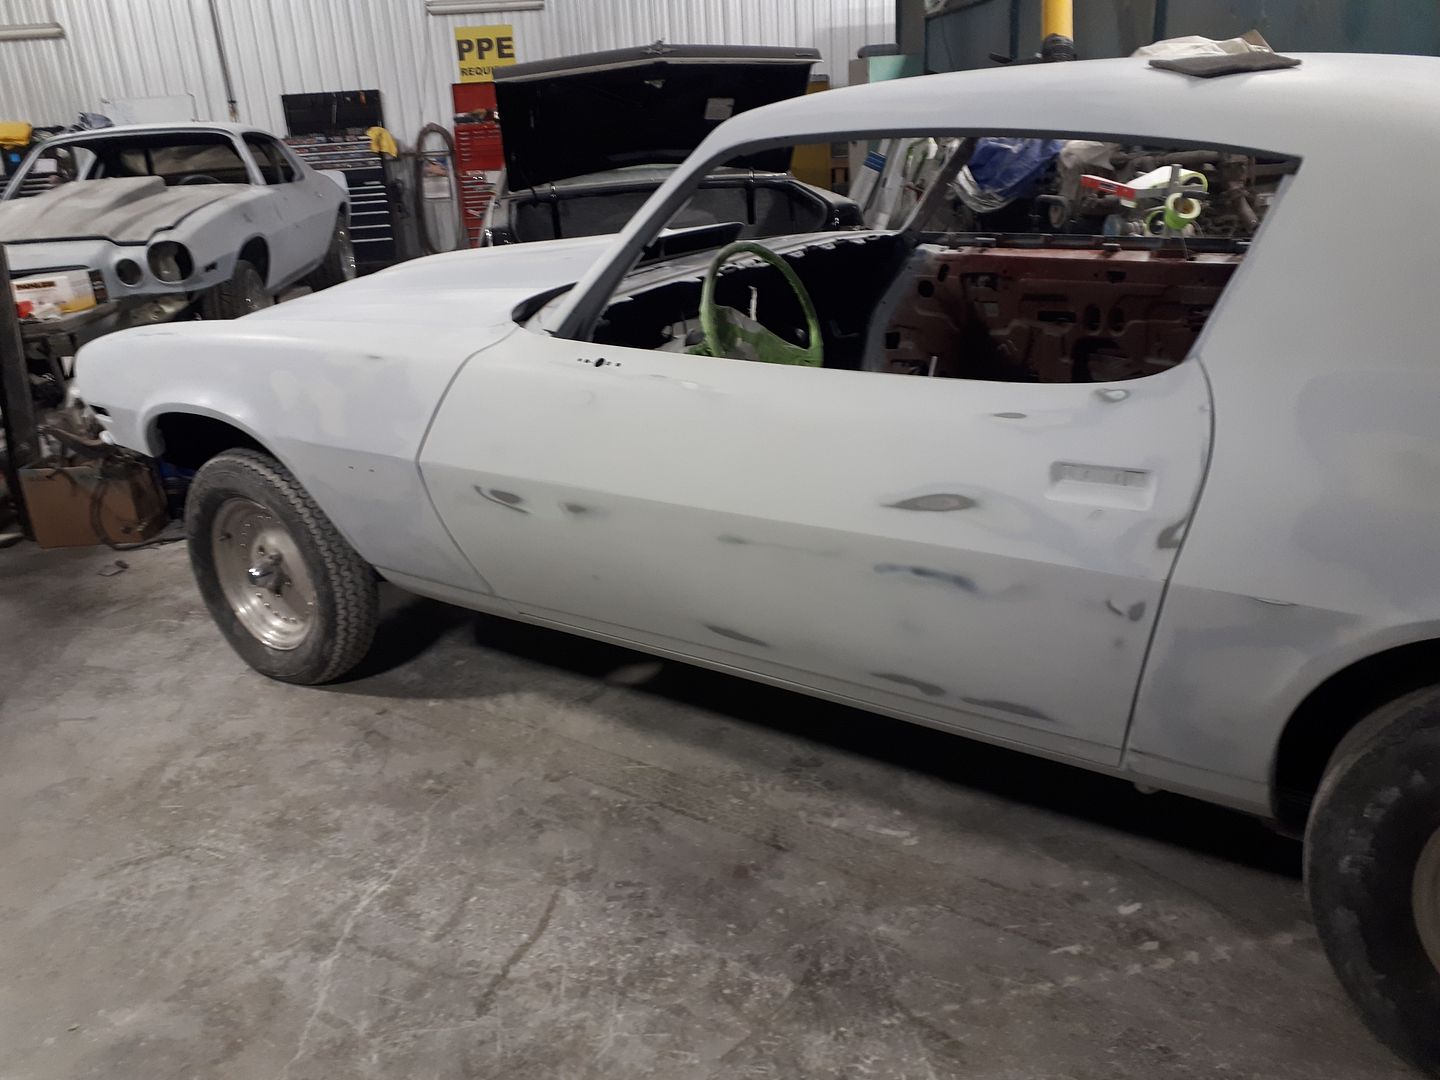
Finally got all the gaps and panels squared away, should be going into the booth in about a week. The new cowl hood was a huge PITA to get to fit properly, same with the repop endura grill surround, very bad lol.

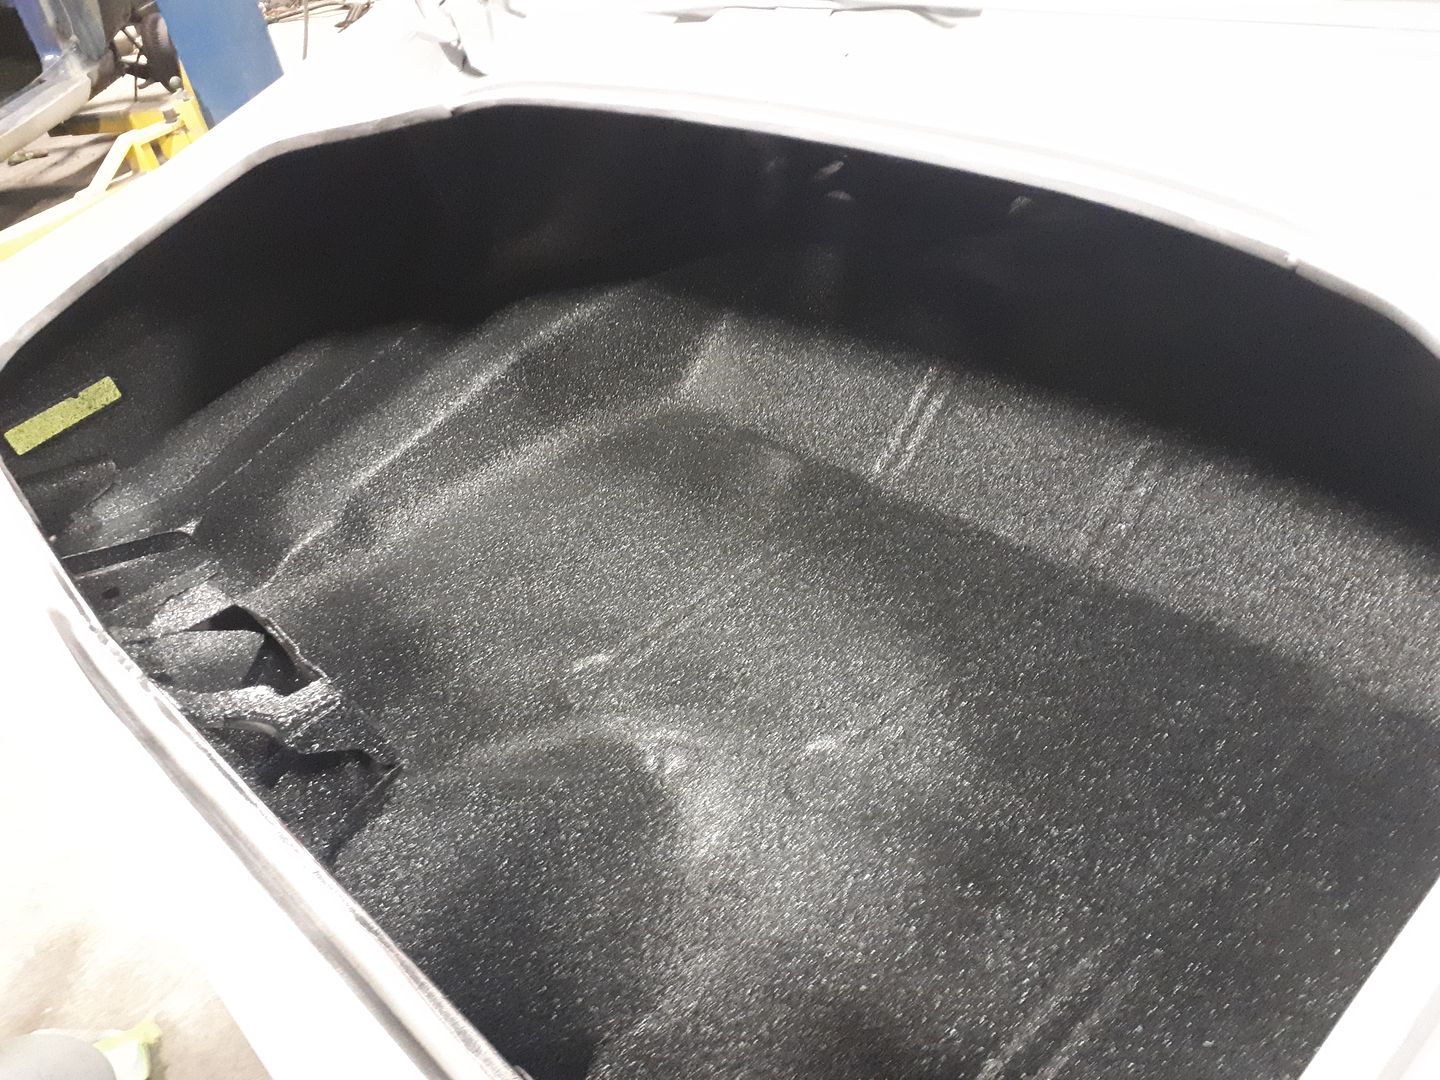
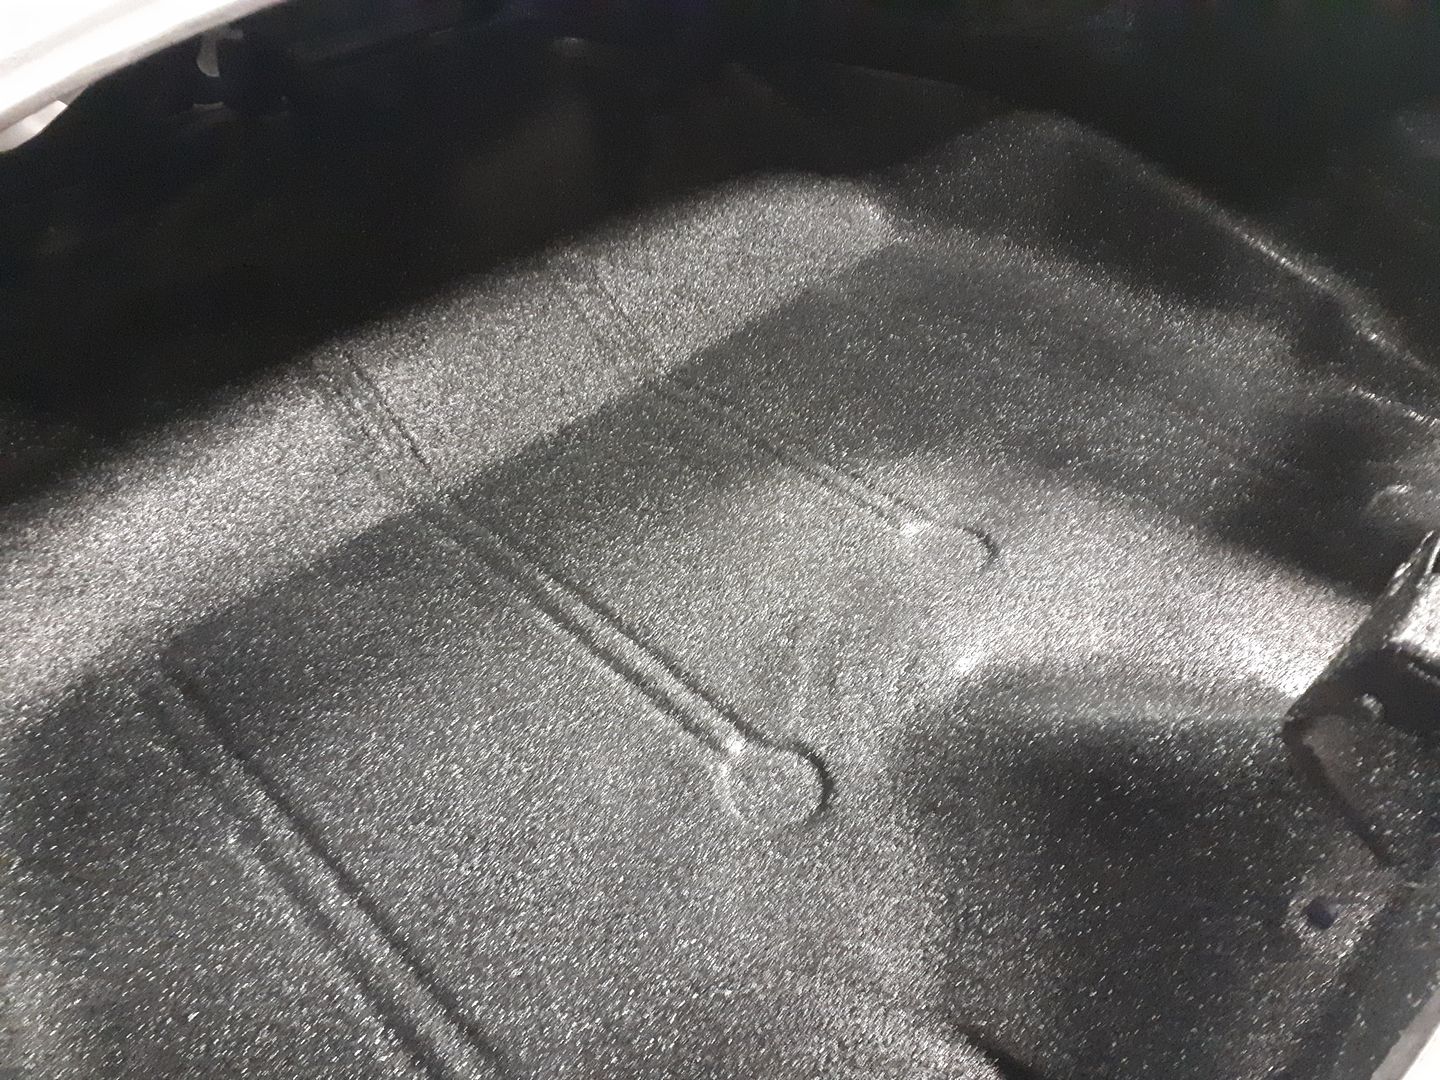
Goth the trunk finished in the aqua splatter paint as well.

Image


Image


Image


Image


Image


Image


Image


cheers
Good judgement comes from experience, and often experience comes from bad judgement.

Yugoslavia '94' , Israel/Syria '99 , Bosnia '02 , Afghanistan '08-'09

User avatar

No Turning Back
Posts: 776
Joined: Tue Oct 17, 2017 10:06 pm
Location: I live in a house
Country:
USA
PostPosted: Sat Feb 02, 2019 10:36 pm
Love this build

1) How many hours do you have into that 2nd Gen?
2) Is that a customers car?
3) How many 2nd Gen Camaros you got going there?

You pro guys still amaze me what you can bring back from the dead, VERY impressive - I don't understand how it can be economically feasible unless it is someone's prized grandfathers first car etc etc
Sent by the random thoughts from the voices in my head...

User avatar

Fully Engaged
Posts: 131
Joined: Tue Aug 06, 2013 6:52 pm

Country:
Canada
PostPosted: Sun Feb 03, 2019 9:11 am
OldFatBald wrote:Love this build


Thanks!

OldFatBald wrote:1) How many hours do you have into that 2nd Gen?


About 400

OldFatBald wrote:2) Is that a customers car?


Yes it is, everything inside the shop belong to customers.

OldFatBald wrote:3) How many 2nd Gen Camaros you got going there?


2 second gens and one 1st gen.

OldFatBald wrote:You pro guys still amaze me what you can bring back from the dead, VERY impressive - I don't understand how it can be economically feasible unless it is someone's prized grandfathers first car etc etc


Well for some people its more of a hobby so the financial rewards are not a priority. Like the person who spends money on a model train set, it's for fun!

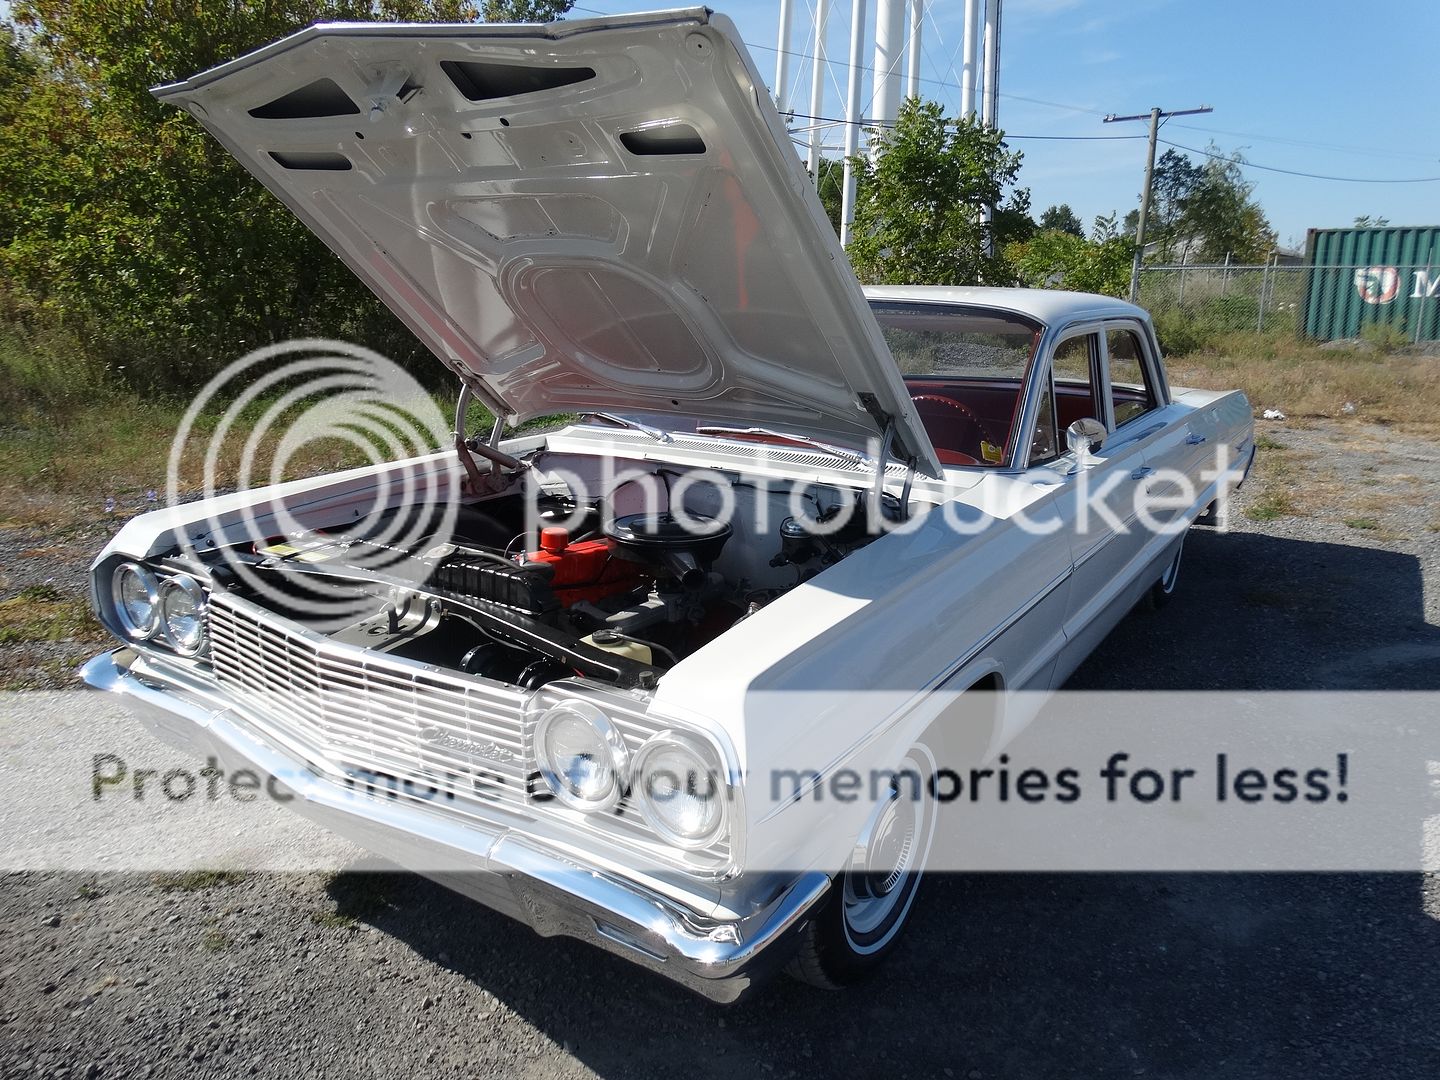
Some cars are heirloom cars that are irreplaceable, like the 64 Belair sedan we did last year.

Image


cheers
Good judgement comes from experience, and often experience comes from bad judgement.

Yugoslavia '94' , Israel/Syria '99 , Bosnia '02 , Afghanistan '08-'09

User avatar

Board Moderator
Posts: 9889
Joined: Fri Oct 20, 2006 12:40 pm
Location: ARIZONA
PostPosted: Sun Feb 03, 2019 3:37 pm
Is that Zolatone in the trunk area?

That's what I used on the '65 Buick Special Convertible.
Trunk Floor - Zolatone.JPG
1968 Coronet R/T


ACTS 16:31

User avatar

Fully Engaged
Posts: 131
Joined: Tue Aug 06, 2013 6:52 pm

Country:
Canada
PostPosted: Sun Feb 03, 2019 5:17 pm
I used the Aqua / Black trunk paint from Dupli color

https://duplicolor.com/product/trunk-paint


cheers
Good judgement comes from experience, and often experience comes from bad judgement.

Yugoslavia '94' , Israel/Syria '99 , Bosnia '02 , Afghanistan '08-'09


Settled In
Posts: 81
Joined: Fri May 01, 2009 4:30 pm
PostPosted: Wed Feb 06, 2019 4:25 pm
Looks like a fun project.
1969 CAMARO SS X66 work in progress

User avatar

Fully Engaged
Posts: 131
Joined: Tue Aug 06, 2013 6:52 pm

Country:
Canada
PostPosted: Fri Feb 15, 2019 7:10 am
We be jammin!

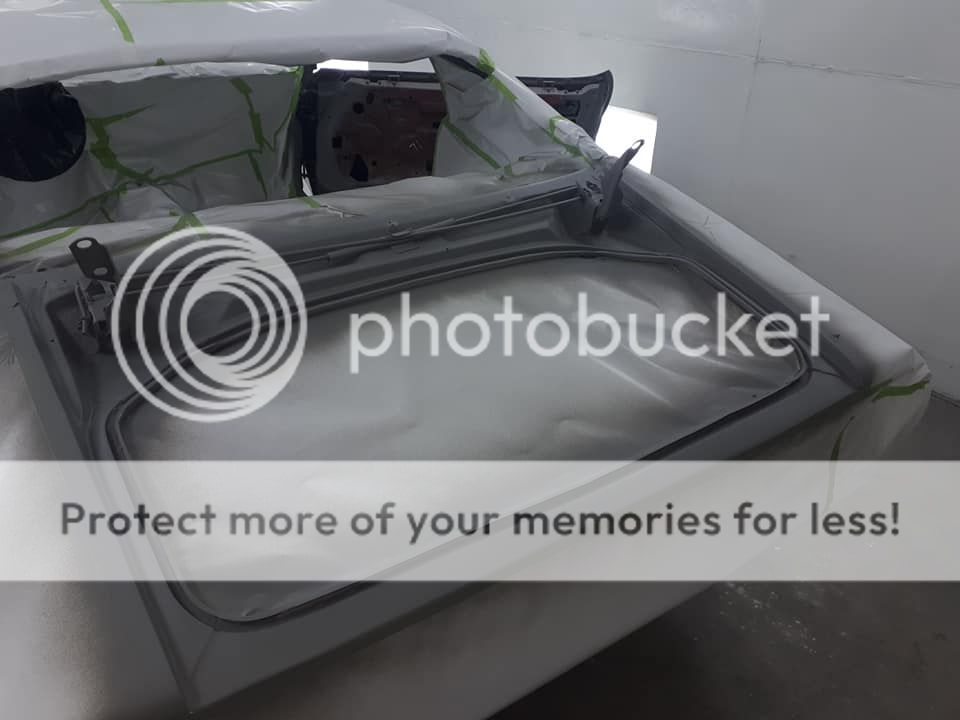
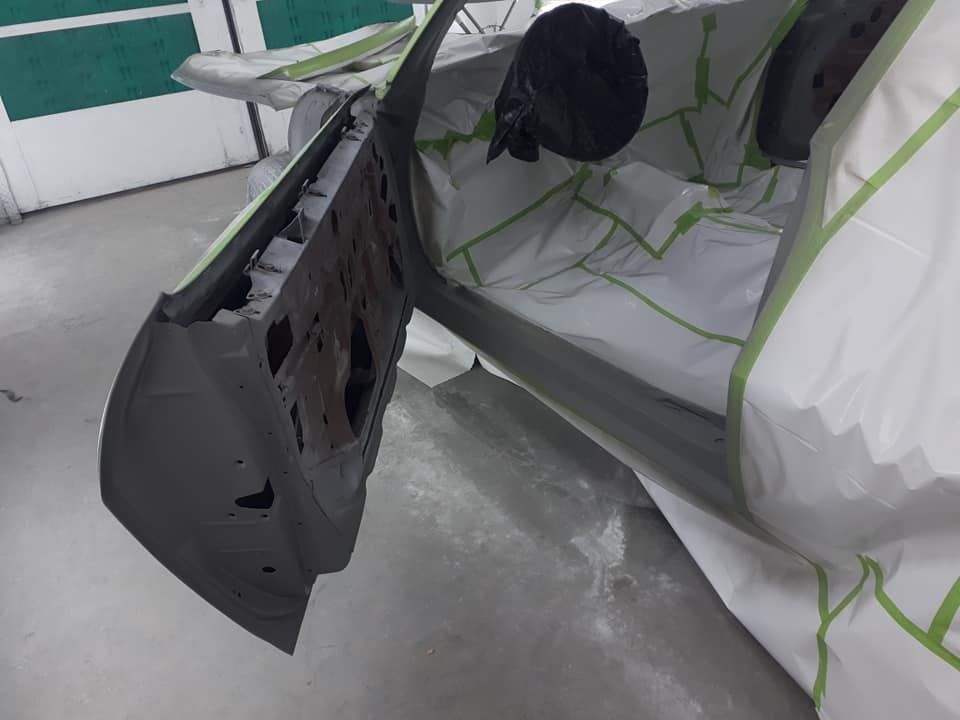
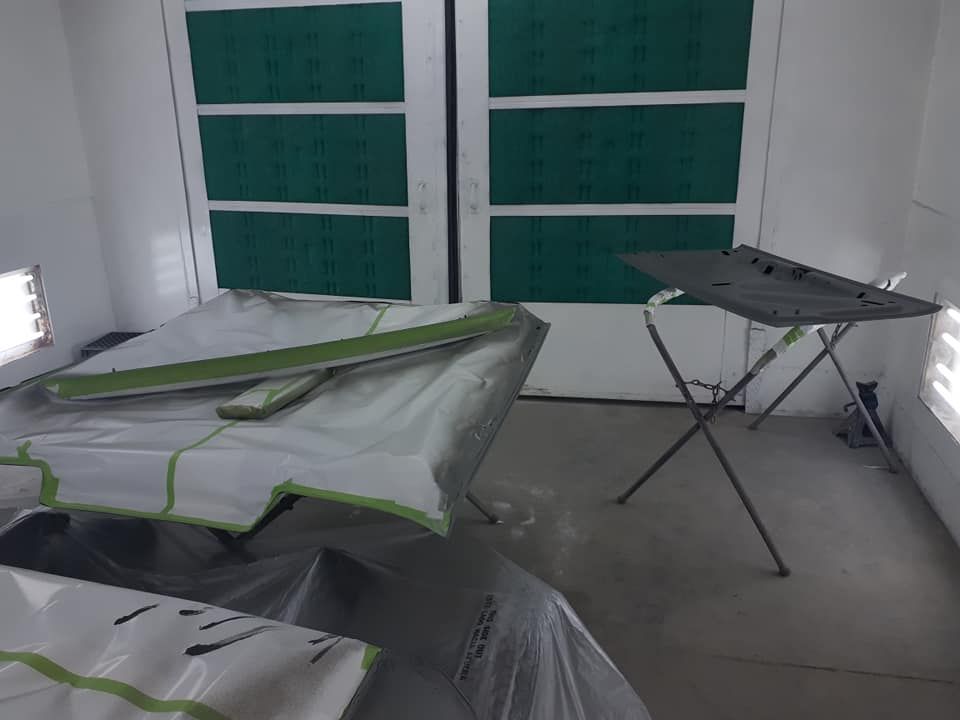
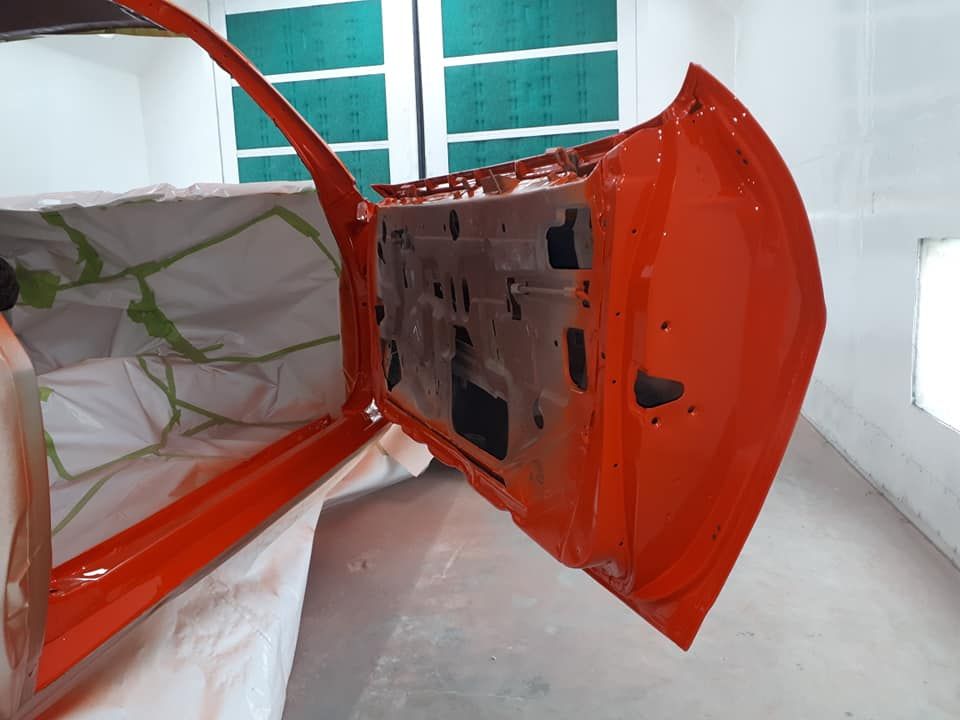
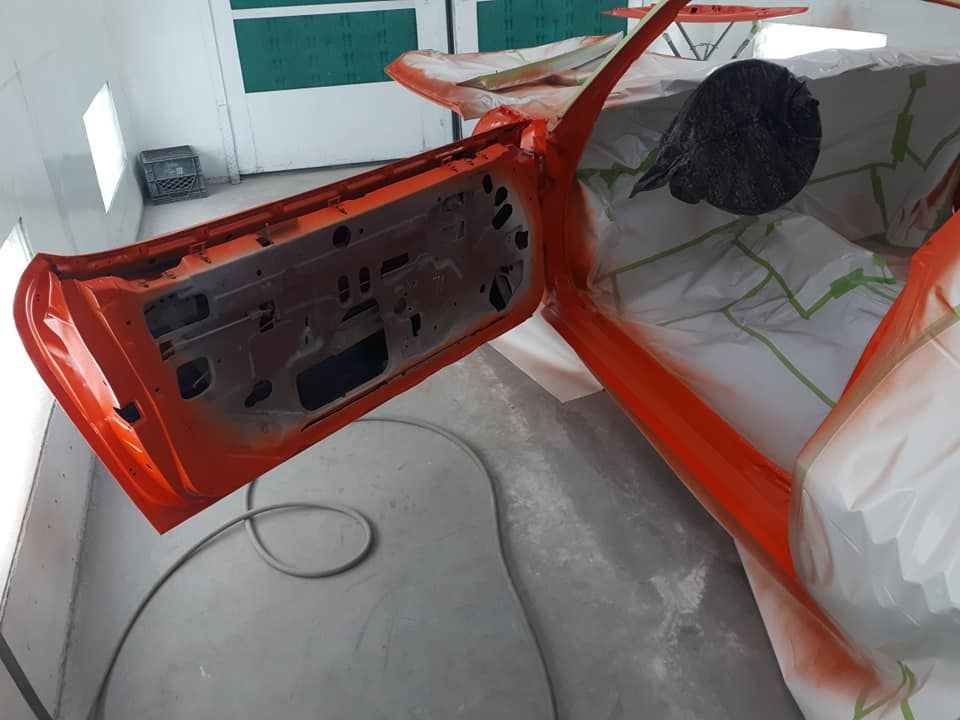
In the booth for final paint so we start with the jambs, first is a grey sealer, this prevents any bleed through from the different layers of primer and filler.

Image


Image


Image


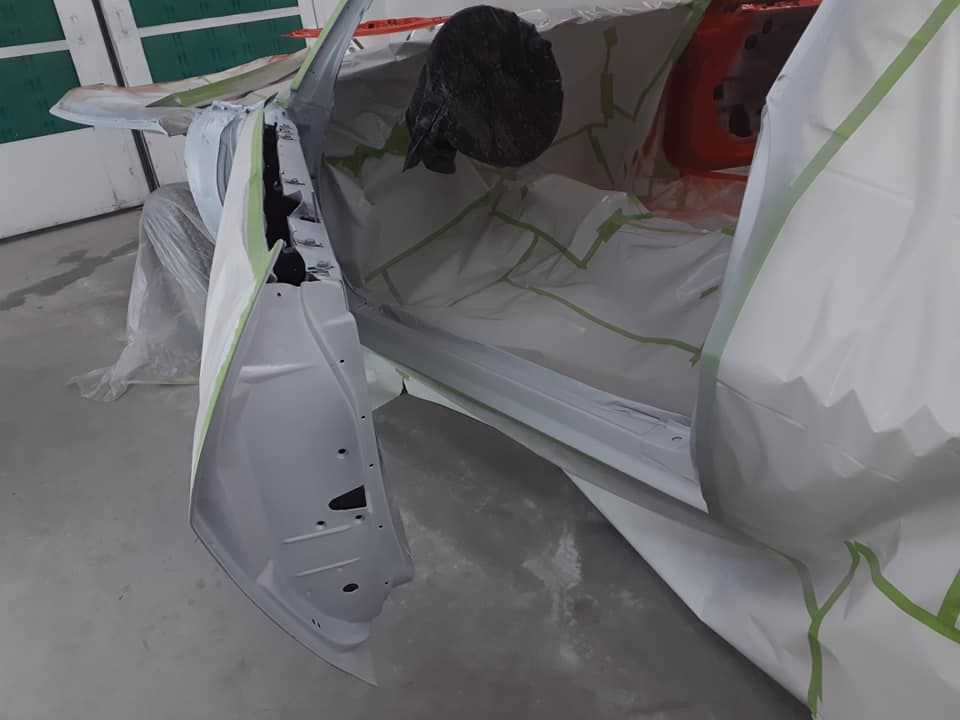
Then two coats of white base, this helps the orange really pop!

Image


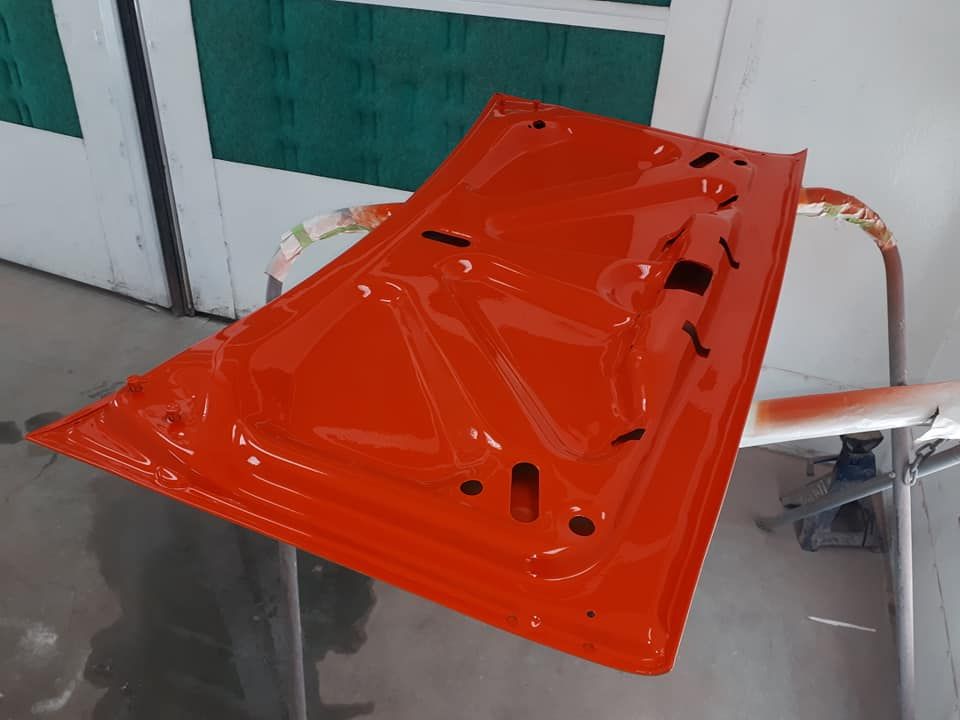
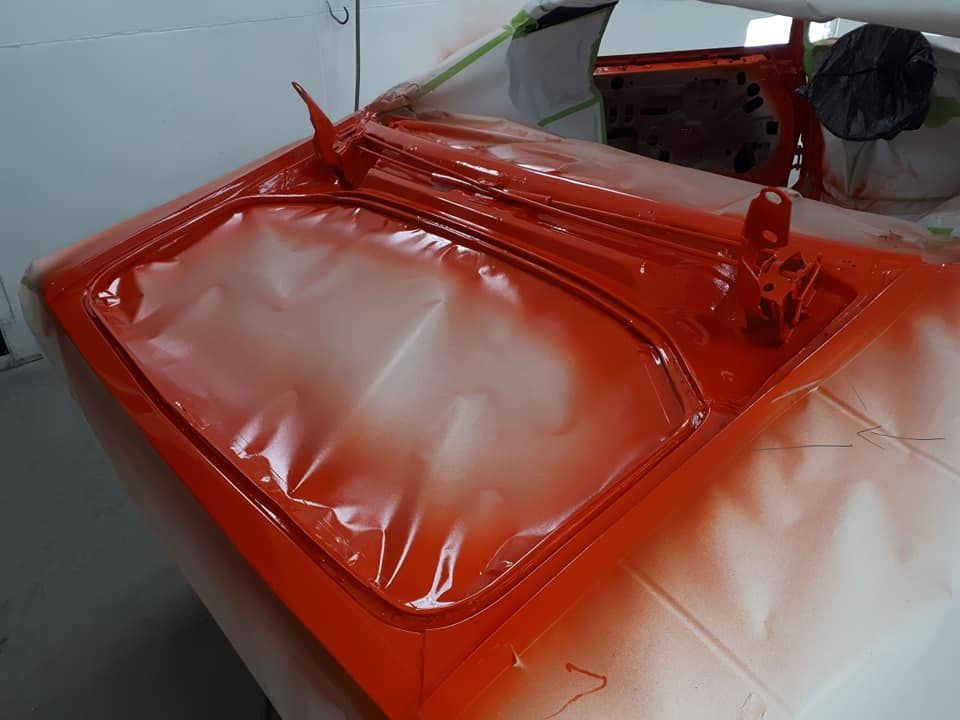
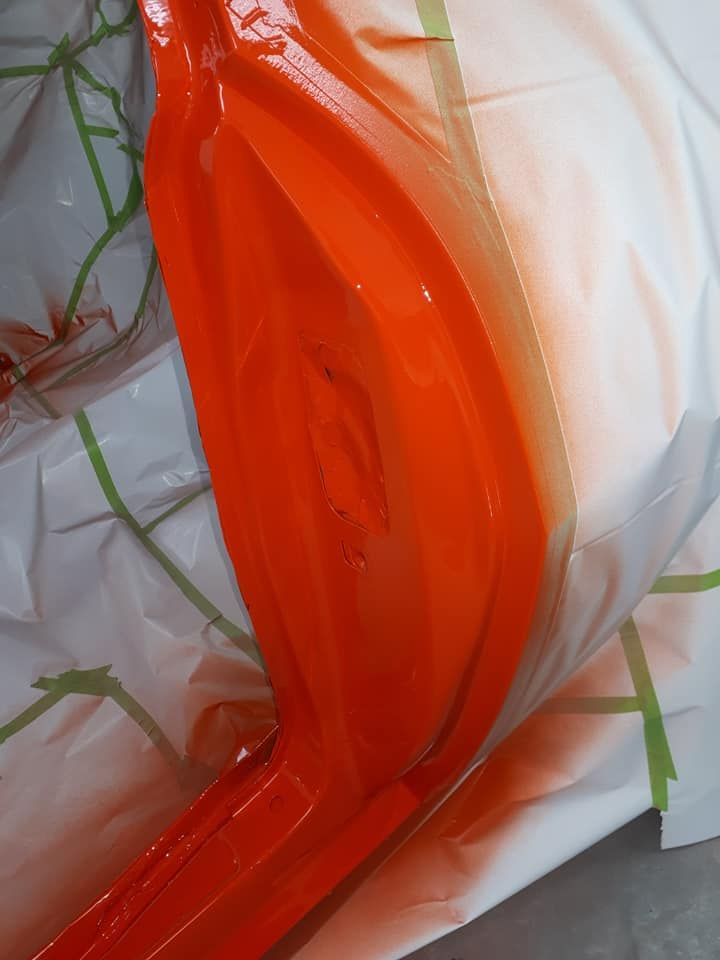
Then it's time for the Hugger Orange!

Image


Image


Image


Image


Image


Today we jamb the front clip and on Tuesday it goes back together for the final time!


cheers
Good judgement comes from experience, and often experience comes from bad judgement.

Yugoslavia '94' , Israel/Syria '99 , Bosnia '02 , Afghanistan '08-'09


Fully Engaged
Posts: 289
Joined: Sun May 04, 2008 4:20 am
PostPosted: Fri Feb 15, 2019 7:24 am
Fabulous work, so you paint the jambs at a seperate stage to the car, definetly following your work.

Question if I may, if both rear quarters and tail panel are being replaced, do you do each panel separately, that is fit and weld, or do you remove all of them and then shift everything around until best fit up and then start welding

Steve

User avatar

Fully Engaged
Posts: 131
Joined: Tue Aug 06, 2013 6:52 pm

Country:
Canada
PostPosted: Fri Feb 15, 2019 7:35 am
simso wrote:Fabulous work, so you paint the jambs at a seperate stage to the car, definetly following your work.


Yes, it's best to get paint in all the nooks and crannys, especially on a full colour change.

simso wrote:Question if I may, if both rear quarters and tail panel are being replaced, do you do each panel separately, that is fit and weld, or do you remove all of them and then shift everything around until best fit up and then start welding

Steve


Fit both rear 1/4s and tailight panel at the same time before any final welding, that way all door gaps and trunk gaps can be sorted out at the same time. I use self tapping screws to hold it all together before welding.

It's also a good idea to test fit the back window as well before committing to the welder :)


cheers
Good judgement comes from experience, and often experience comes from bad judgement.

Yugoslavia '94' , Israel/Syria '99 , Bosnia '02 , Afghanistan '08-'09

User avatar

Fully Engaged
Posts: 131
Joined: Tue Aug 06, 2013 6:52 pm

Country:
Canada
PostPosted: Wed Mar 06, 2019 8:35 pm
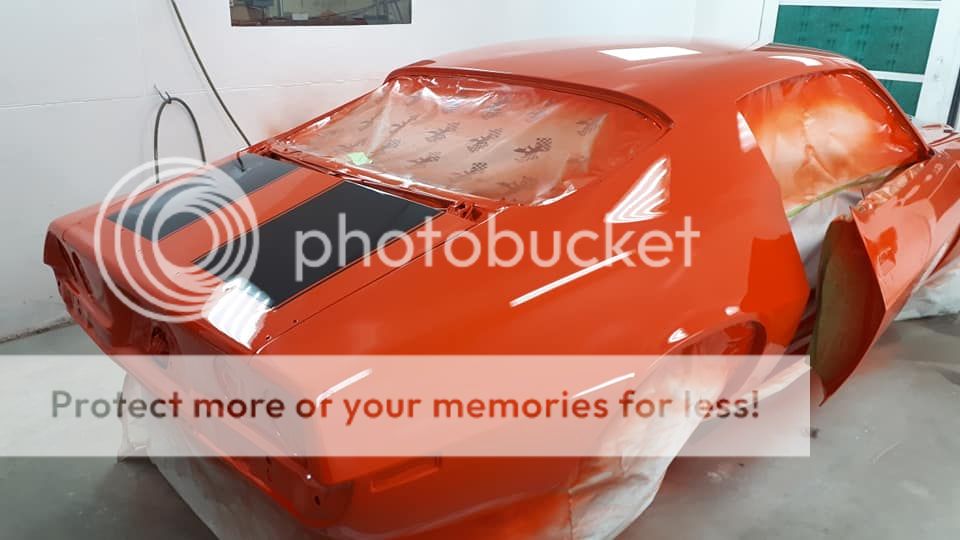
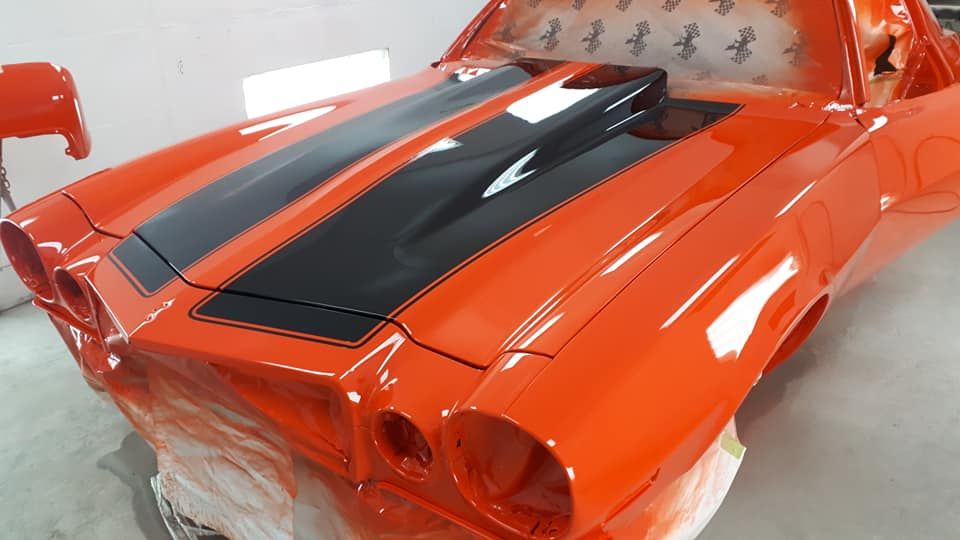
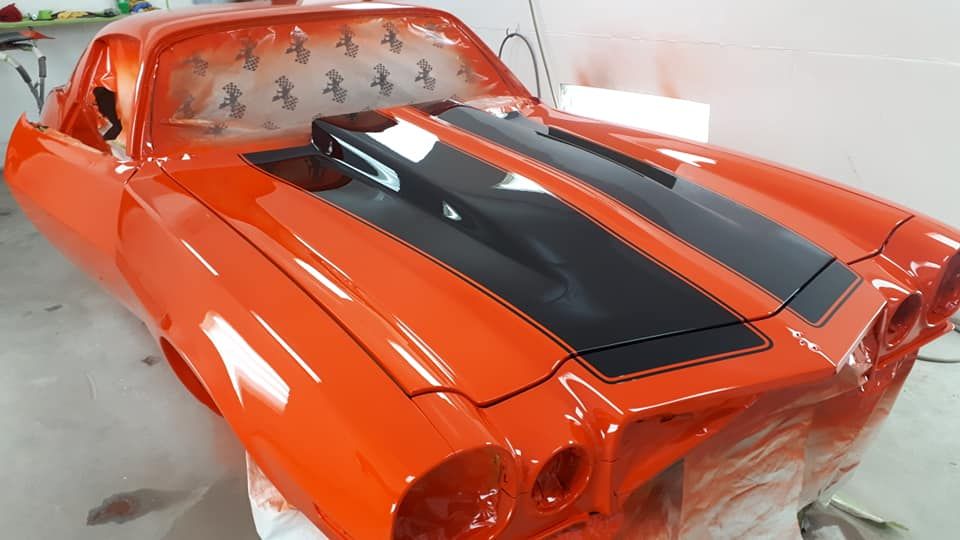
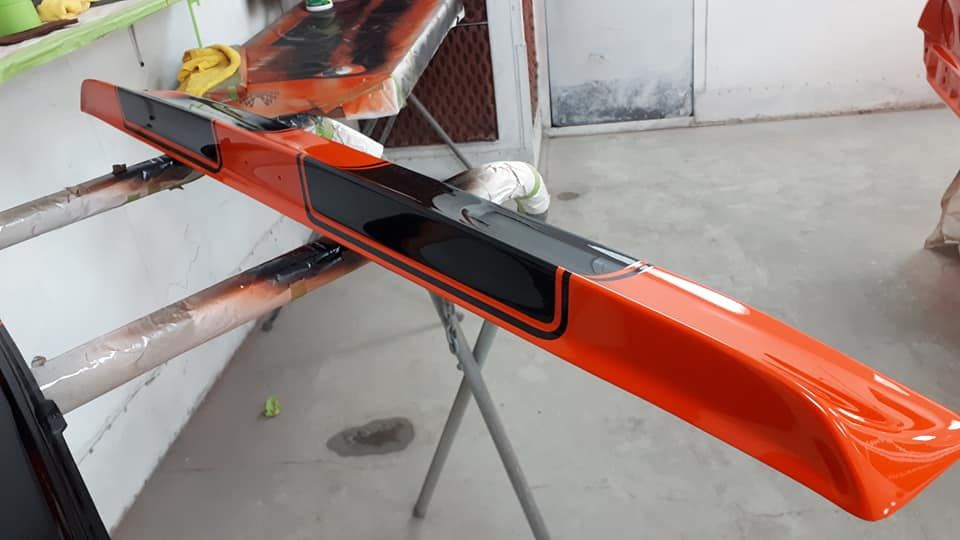
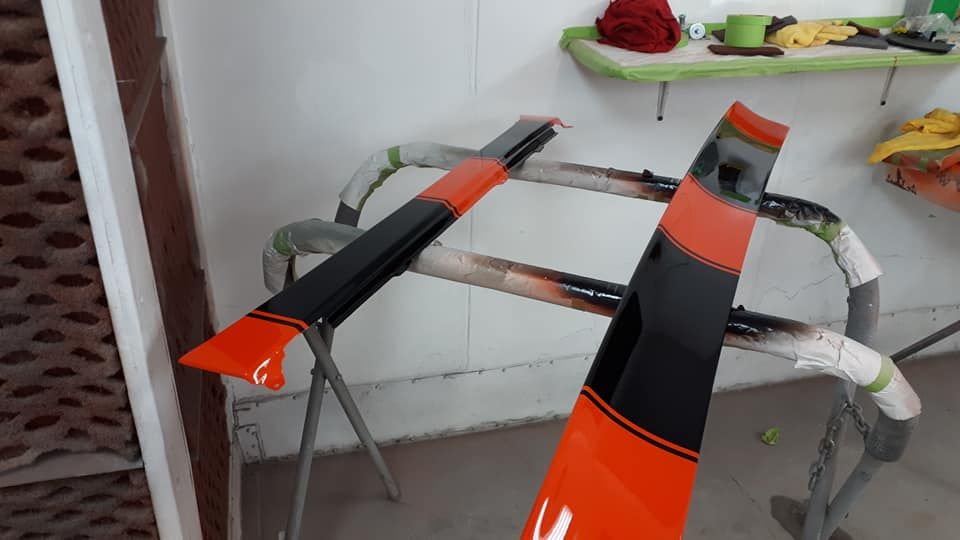
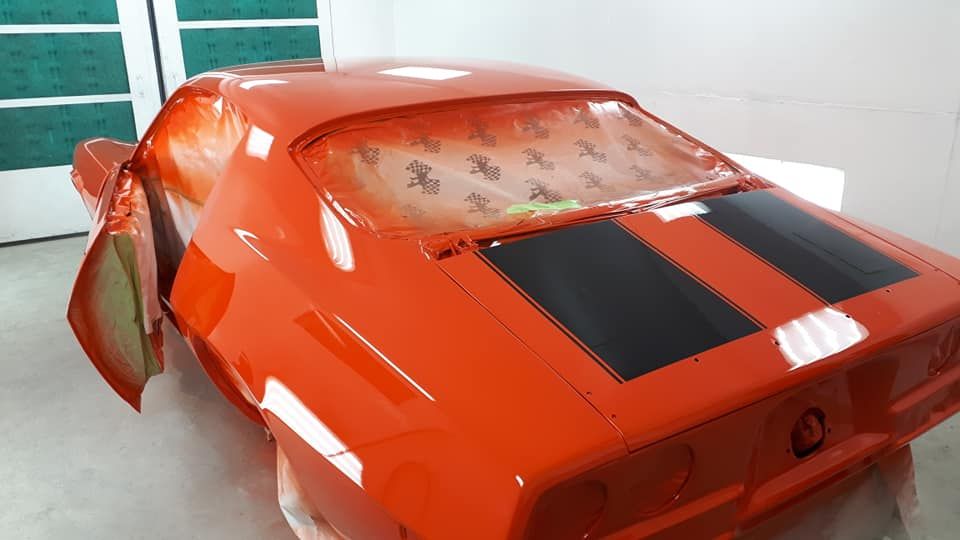
Got the clear on today, now it will sit until next week and get wet sanded,

Image


Image


Image


Image


Image


Image


The black stripe on the trunk muhahaha!

Image


cheer
Good judgement comes from experience, and often experience comes from bad judgement.

Yugoslavia '94' , Israel/Syria '99 , Bosnia '02 , Afghanistan '08-'09
PreviousNext

Return to Completed & In Progress Member Projects

Who is online

Users browsing this forum: Google [Bot] and 9 guests