Guide coats slogan - We have been proving you suck for generations....
Introduction - TR6 Restoration
Settled In
Posts: 55
Joined: Wed Jan 01, 2020 7:56 pm Country: USA |
Nevermind that last question. Sprayed some guide coat on before the 400 wet and it really highlights the orange peel. Thought panel looked good, hit it with guide coat, now I know better
Guide coats slogan - We have been proving you suck for generations.... |
Settled In
Posts: 55
Joined: Wed Jan 01, 2020 7:56 pm Country: USA |
After a couple of months of sanding, primer, sanding, primer, sanding, sanding, the body tub is as good as its going to get under my ownership. I could easily spend another 80 or 100 hours getting it closer to perfect. But I'm after nice driver, not a concours restoration.
After much internal debate back and forth on what to do with the fender wells, I decided to go with a light layer of spray on undercoating. I figured it was less risky to put it on before BC / CC, so I could easily clean-up any over-spray on the body. There was definitely a little splatter even with lots of masking. You can certainly make a sticky mess if not careful. It took about 3/4 of a gallon for the inside of the four fenders, and the appropriate areas of the body tub. All the mating surfaces are (or will be) coated in a black rust proofing, like a chassis black. I didn't want the thickness of the undercoating effecting part fit-up. While the undercoating dries over the next couple of days so I can mask it, I'll be thoroughly cleaning the "spray bay" side of the garage in prep to start shooting BC/CC. I'll be starting on the bottom of the tub in case I mess something up. My plan is to keep the spray sessions short to minimize overspray falling back on the parts, and shooting all the loose pieces hung in the vertical. I'm thinking: Tub on Edge: - Tub bottom & trunk - Inside tub & engine compartment Flip Tub Back onto the bottom - Spray the windshield area, jambs and top deck Then on racks: - Two Fenders & a door - Two Fenders & a door - Hood & Trunk Lid To say I'm nervous about starting to shoot BC / CC would be an understatement 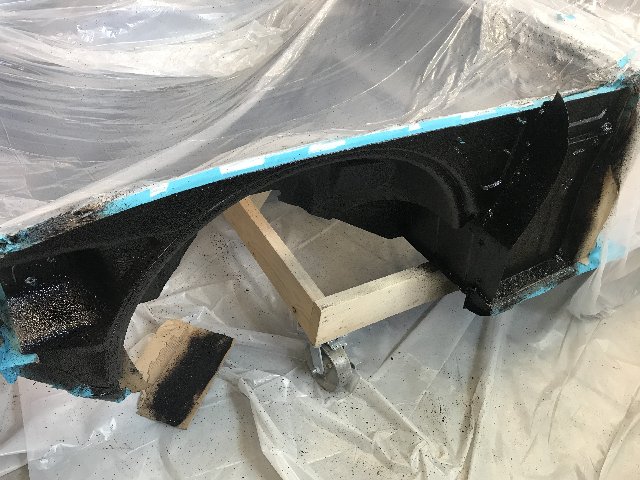  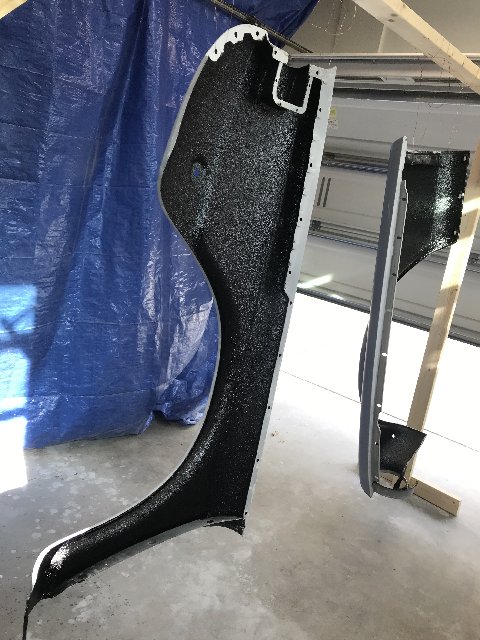 |
|
Nice job!
|
|
Settled In
Posts: 55
Joined: Wed Jan 01, 2020 7:56 pm Country: USA |
Well the good news is that I "successfully" shot the bottom of the car. I started there for obvious reasons. This is 3 coats of BC and 3 of clear.
Lessons: 1. I needed more lighting. I've got lots of overhead light, but when shoot a vertical surface I should have brought in some portable lights. 2. I should have stopped when I couldn't get the pattern quite right on the BC. I was using a bit too much air pressure, and had a heavy end weighted pattern. That didn't help me get consistent BC coverage. I adjusted and got a better pattern on CC, although it was a bit tough to read the CC on my test panel. 3. I ended up with a lots amount of orange peel. No surprise there given my level of expertise. Some of what looks like extreme orange peel in the photos is just some light pitting in the floors. I didn't do any body work to the bottom. I'm not planning to sand / polish the bottom. Not visible and I'd be worried about cutting through all the shapes. Questions: 1. There were few nooks and crannies (inside brackets for instance) that I didn't get good coverage. Can you just take a bit of BC and a foam brush for coverage, and then ditto for CC? This BC isn't catalyzed so should I be worried about it hardening? 2. Next up is interior, which I'm also not too concerned with finish in there as none of it is exposed after the interior and trunk panels are in. I may only do 1 or 2 coats of clear to save on the material. Then the engine bay. That will be the first visible area.  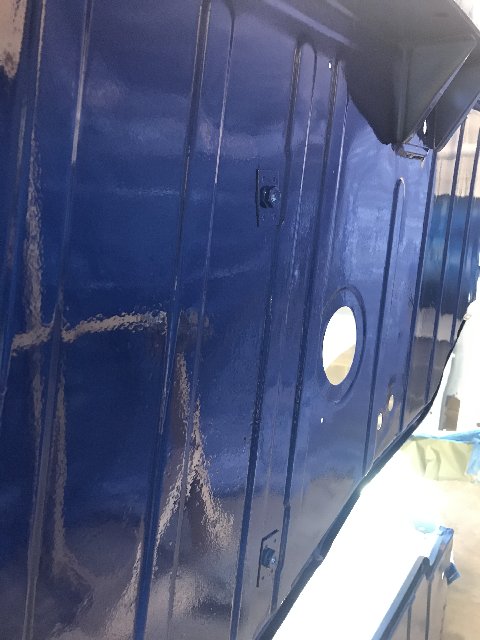 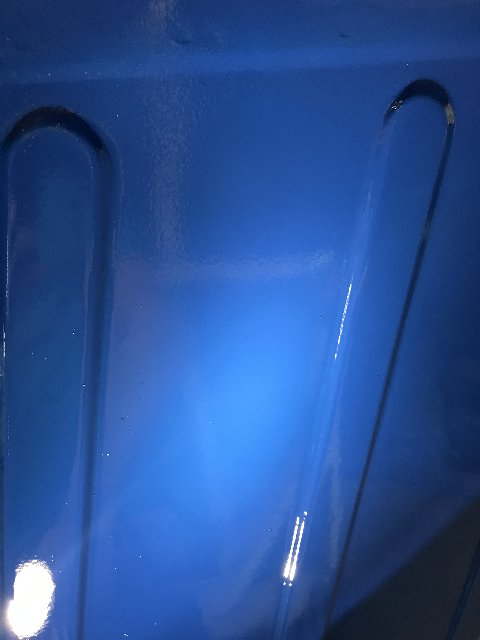 |
|
Looks good, you can definitely work with that.
One tip I got on this forum about shooting clear that really helped me lay it down flat was to shoot at 32 psi and use fast motion about 6" from the surface with a lot of overlap. I was doing the opposite, slow thick passes with 50% overlap. The difference was night and day Before: After (don't mind the black, it was rattle can experiment on this test panel): Keep at it, it's gonna come out great! |
|
Settled In
Posts: 55
Joined: Wed Jan 01, 2020 7:56 pm Country: USA |
Did the engine compartment this morning. A pain in the butt is in understatement, just too confined a space to get decent coverage. Not close to enough room between the front of the inner fender and valence to get the gun. I got it as good as possible, and I brushed a couple of spots of BC, before I shot the clear. Likely never notice once everything is back together.
Shot the interior compartment and the boot this afternoon. None of this is really visible after the interior and truck lining kit is installed, but figured, might as well shoot some color on it to ease my mind 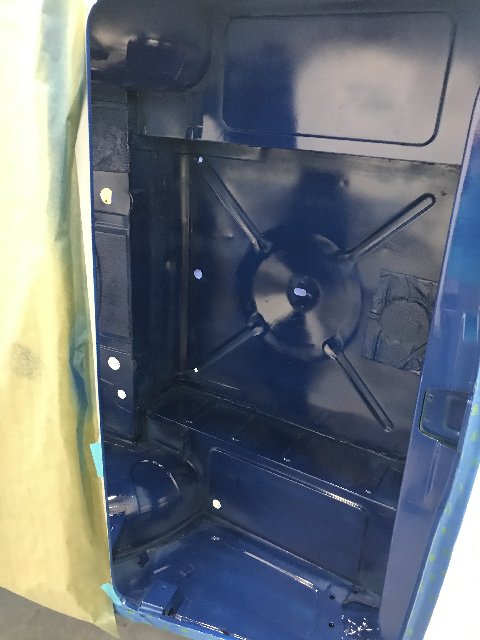 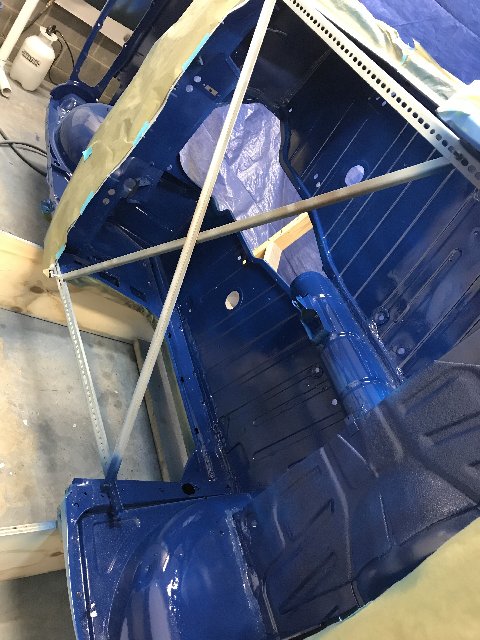   I'm really looking forward to shooting the rest of it. No contortions, no trying to get an extra joint to your arm, no working through the temp cross bracing. I can also get back to laying the paint in better patterns. Tough to get the gun perpendicular to the surface, when there isn't enough space for the gun. |
I know exactly what you mean - I shot the engine bay of my '68 Mustang a few years ago and had the same issues. I swear I will buy a mini gun for the next time I have to paint in tight spaces like that 
|
|
Settled In
Posts: 55
Joined: Wed Jan 01, 2020 7:56 pm Country: USA |
Well, I finished with the tub today, which was pretty much just the flat area under the windshield, the gas fill cap area, the door jambs, and the sills. More orange peel than I wanted again. Definitely going to need some sanding and polishing.
I'm going to make two changes before moving onto the panels. I'm going to run by the jobber tomorrow for a bit of reducer for the CC to see if I can get the high solids clear to flow out just a bit better. I also think I'm too far away gun distance on the flat parts. I notice I'm actually getting less orange peel where I am tighter to the surface like on jambs. It sure is shiny though..... It won't be perfect, but I'm a built vs. bought kind of guy...  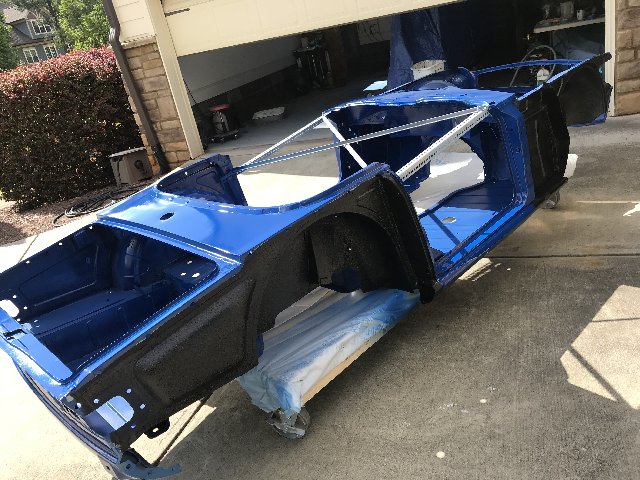 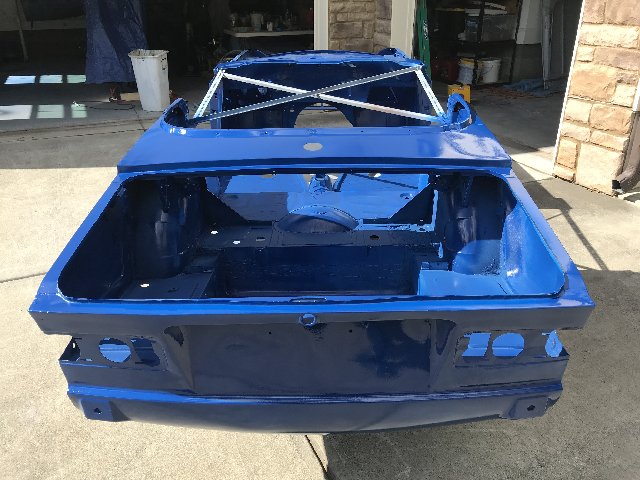 |
 Board Moderator
Posts: 9892
Joined: Fri Oct 20, 2006 12:40 pm Location: ARIZONA |

1968 Coronet R/T
ACTS 16:31 |
Settled In
Posts: 55
Joined: Wed Jan 01, 2020 7:56 pm Country: USA |
Not sure anyone is reading these ramblings still, but just in case.....After a lousy day at work, which is currently at home, I figured I'd shoot some paint to relax, yeah, that was a mistake. First issue, I ran out of disposable HF gun cups, so went back to the metal cup and plastic cap that came with the gun. Couldn't get the base coat to float out well. Fought with it to get decent coverage When cleaning it for clear, realized the cap vent was plugged. Stupid mistake 1 for the night.
In an effort to help with the orange peel, turned up the air a bit, and got the gun closer. On a positive it did help with the clear coat, on a negative, it only takes the briefest of lapses in concentrations to get a run when you are close. And I ended up with a monster on one fender. I have a nib file, I'll attempt to fix it, before I start the panel over. But it's so large, I'm not optimistic. Oh, and don't shoot paint on a really nice evening when the entire neighborhood is out walking around. HOA letter coming in 3, 2, 1.... 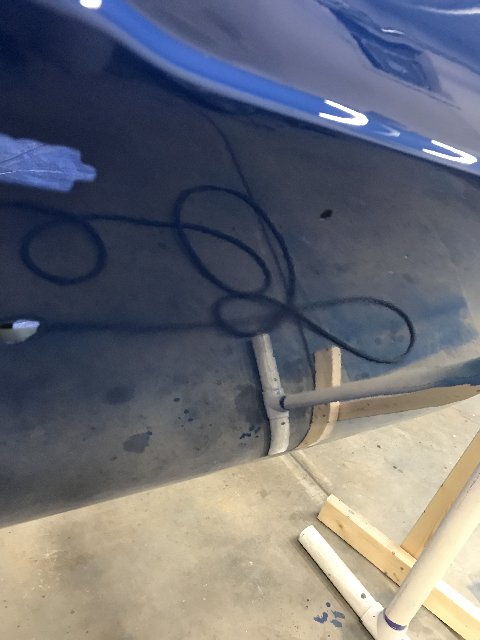  |
Return to Completed & In Progress Member Projects
Who is online
Users browsing this forum: No registered users and 136 guests
Powered by phpBB© 2000, 2002, 2005, 2007 phpBB Group
Advertisements by Advertisement Management