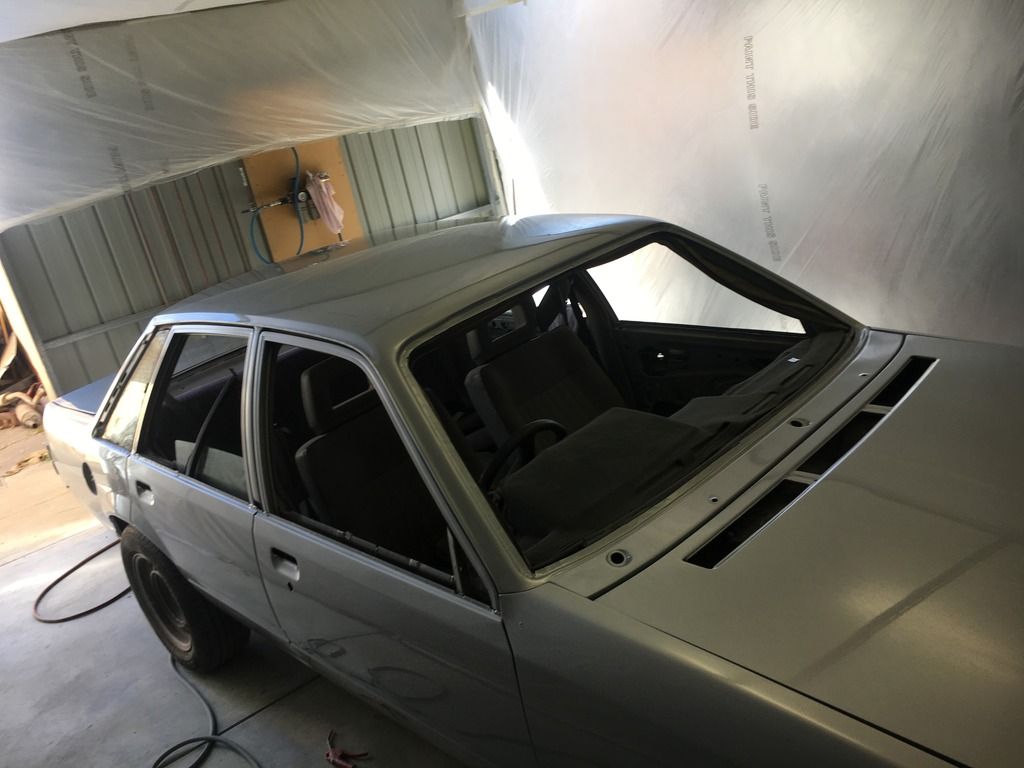
Fresh respray, Best way to fix this silver issue

General Discussion. Make yourself at home...read, ask and answer!


Settled In
Posts: 71
Joined: Tue Oct 16, 2012 12:06 am

Country:
Australia
PostPosted: Sat Nov 10, 2018 6:42 am
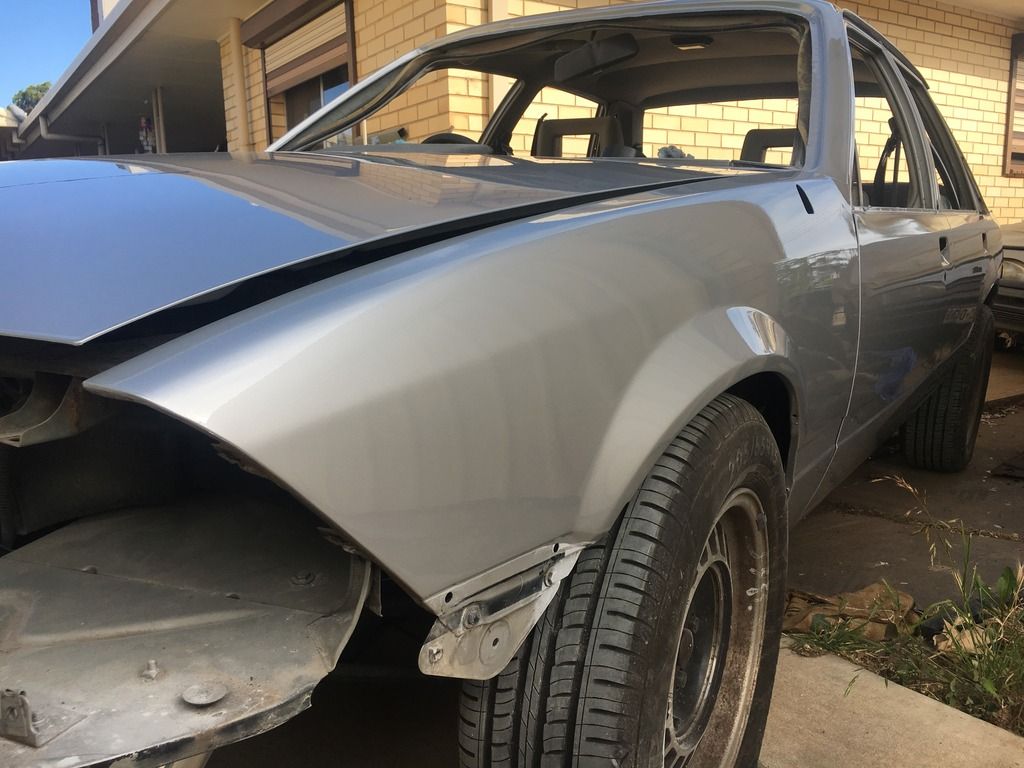
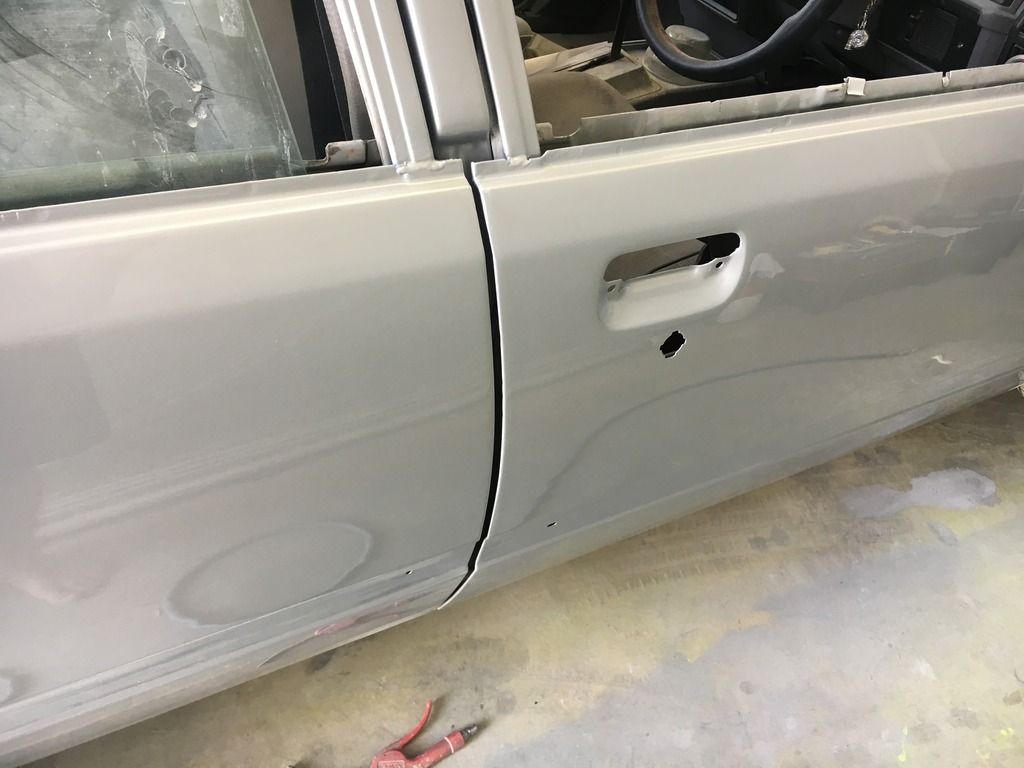
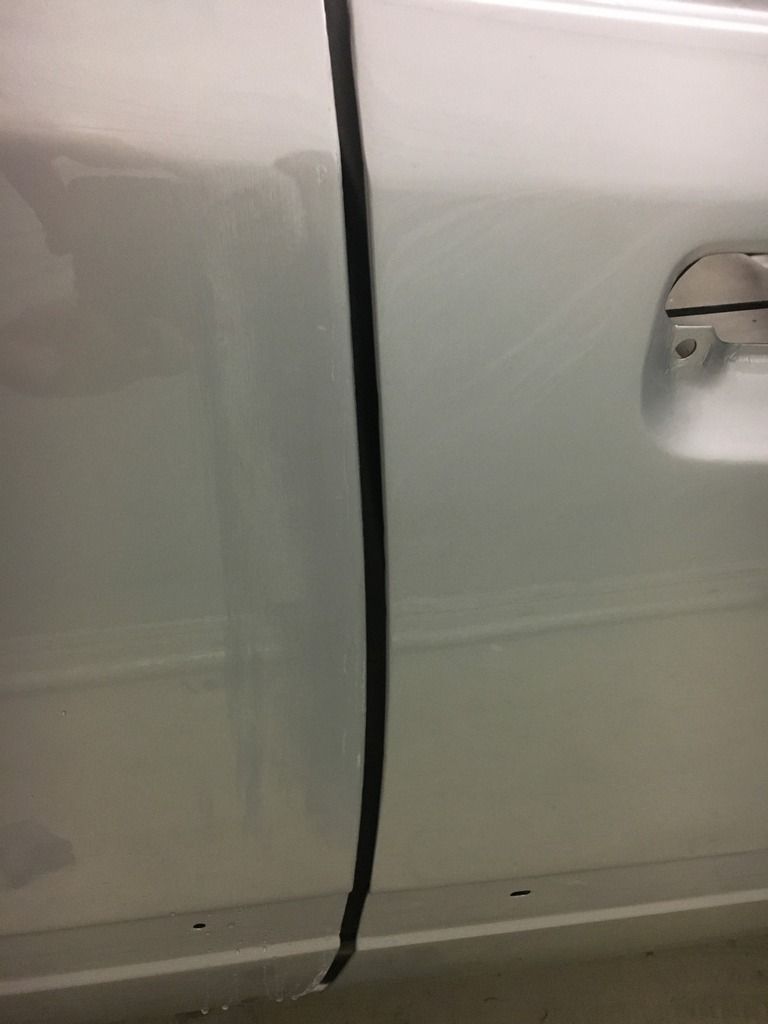
Hi guys, I have just refinished my car in metallic silver basecoat clearcoat. All turned out pretty good, however my inattentiveness during unmasking caused an annoying oopsie. I opened the wrong door and the masking tape stuck to the edge of the door leaving masking residue and flaky bits of basecoat on the fresh clear.

Anyway so i'm going to buzz the whole panel down then repaint.

My question is, I have plenty of the basecoat remaining, am I going to need to apply blending techniques to the adjacent door or can I just spot some basecoat to the affected area and just reclear the whole panel?

Being that the colour is a 100% match (over half a tin left) I would think that if i'm spraying the silver similar, with the same gun settings and spot the basecoat from the edge to around half way down the door there shouldnt be a big colour difference.

Any suggestions or thoughts appreciated. Thanks

Image

Image

Image


Top Contributor
Posts: 6776
Joined: Tue May 19, 2009 7:10 pm
Location: OREGON COAST
PostPosted: Sat Nov 10, 2018 12:45 pm
I couldn't see the damage clearly. but couldn't you just carefully sand the clear then just recoat the clear (clear the complete door) this way your not disturbing the color.
Jay D.
they say my name is Jay


Settled In
Posts: 71
Joined: Tue Oct 16, 2012 12:06 am

Country:
Australia
PostPosted: Sat Nov 10, 2018 3:10 pm
That’s what I was hoping for, but after I blocked the damage out I broke to base and primer ever so slightly.


Top Contributor
Posts: 6776
Joined: Tue May 19, 2009 7:10 pm
Location: OREGON COAST
PostPosted: Sat Nov 10, 2018 5:54 pm
well your going to have to blend the door that has the damage. and you should blend back to the adjacent door also and clear both. its not really that much more to blend both doors and you'll get the best results. you could just bend the damaged door only and clear being your using the same mix and its new. but you COULD run the risk of it being a few shades off, and noticeable at the door to door area. sometimes its the way the paint goes on that changes the shade of the color. it could be a different temperature when you do the blend and the metallic won't lay like it did the first time. there are a few other things that can cause this problem. by blending both doors the eye cant see and minor shade differences. your spray job looks real nice though. :goodjob:
Jay D.
they say my name is Jay


Settled In
Posts: 71
Joined: Tue Oct 16, 2012 12:06 am

Country:
Australia
PostPosted: Sat Nov 10, 2018 6:11 pm
Thanks for that, yeah I thought as much. I have a little fix on the front wheel arch I need to do so I might as well do the 3 panels on the one side.

I don’t have any base coat blender, is that going to be a problem? I see a lot of people doing a “wet bed”.
Am I better off just basing all 3 panels completely?
Or can I get away with fading the base out?

Thanks for the help!


Top Contributor
Posts: 6776
Joined: Tue May 19, 2009 7:10 pm
Location: OREGON COAST
PostPosted: Sat Nov 10, 2018 9:53 pm
you'll be better off just spotting and blending the damaged areas if you rebase the front fender you should blend to the hood same with the rear quarter. just spot and blend, shoot your first coat on the damage. the next coat over the first and out a little, 3-4 "and pull the gun back at the end. on the next coat pull the gun out further yet you want just a mist out to nothing. its kinda hard to explain. and no you shouldn't need any base blender. if you feel comfortable doing a wet bed fine, I get excilent results with out but I use a hi quality base and it does make a difference. GOOD LUCK
Jay D.
they say my name is Jay


Settled In
Posts: 71
Joined: Tue Oct 16, 2012 12:06 am

Country:
Australia
PostPosted: Sun Nov 11, 2018 5:13 am
Jay D, thankyou very much for your help today. You helped me get the courage and the tools to just go and tackle the repair straight up without beating myself up over it.

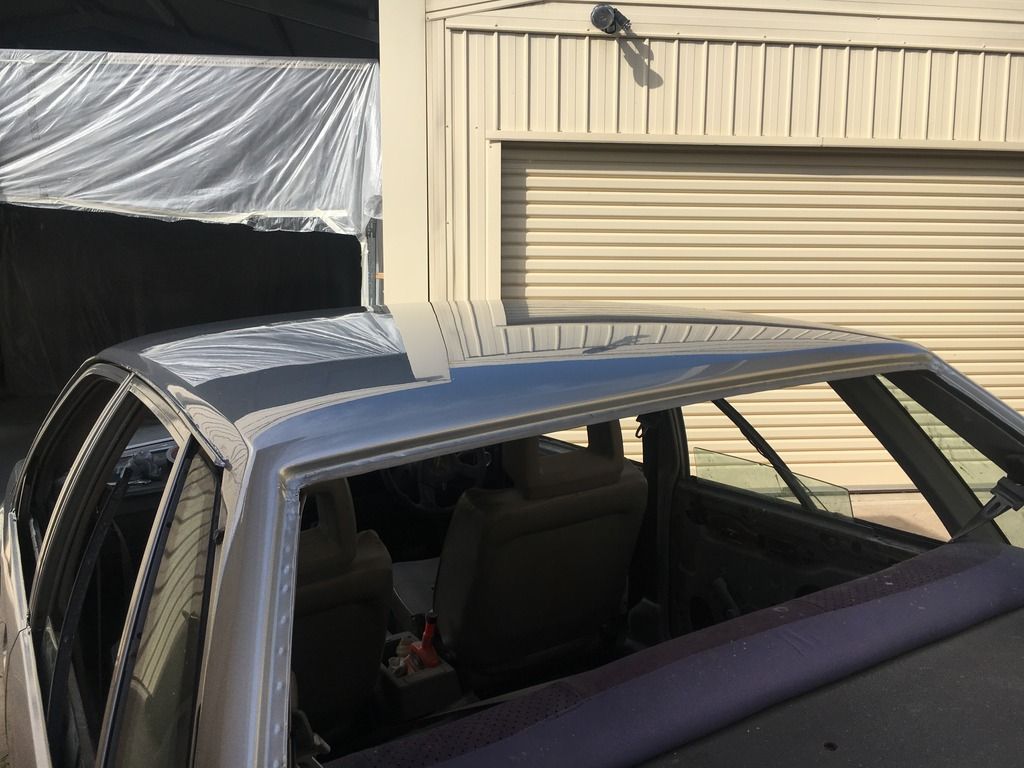
I've got some photos of how I went.

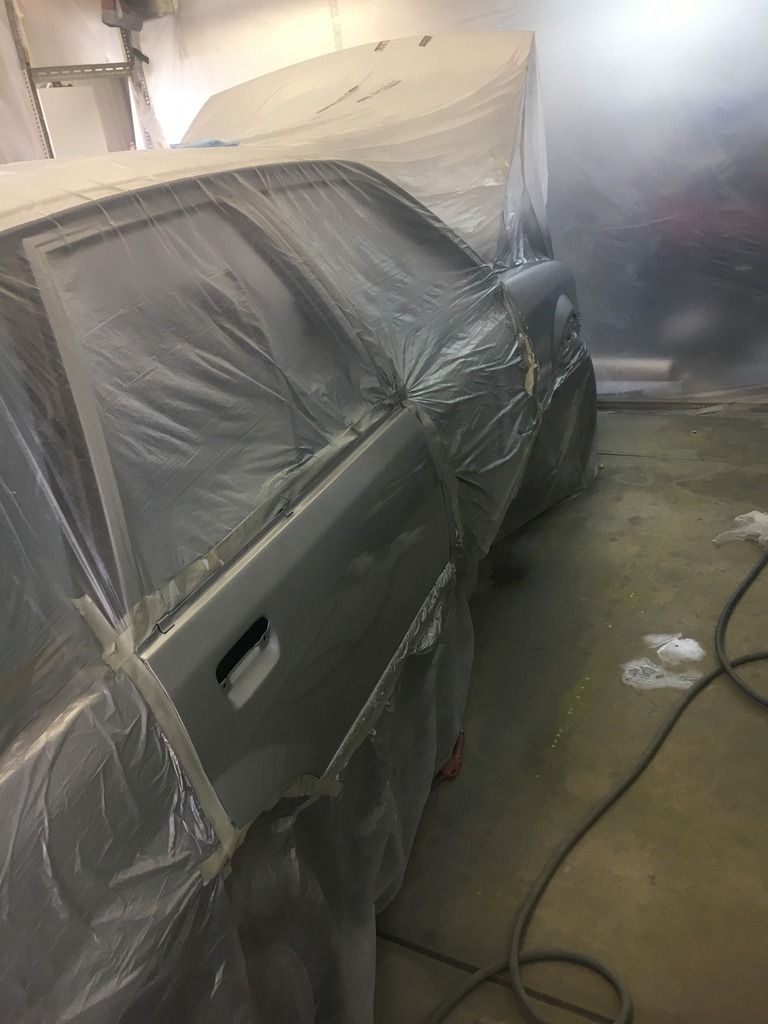
Thankfully with this car, it has plastic side moulds and the door skin has a pressed slot for where the plastic strips sit in and over it making a great break in the panel for this type of work. Rather than scuffing the entire door down (and front guard for the matter) I can contain the repair to the top half.

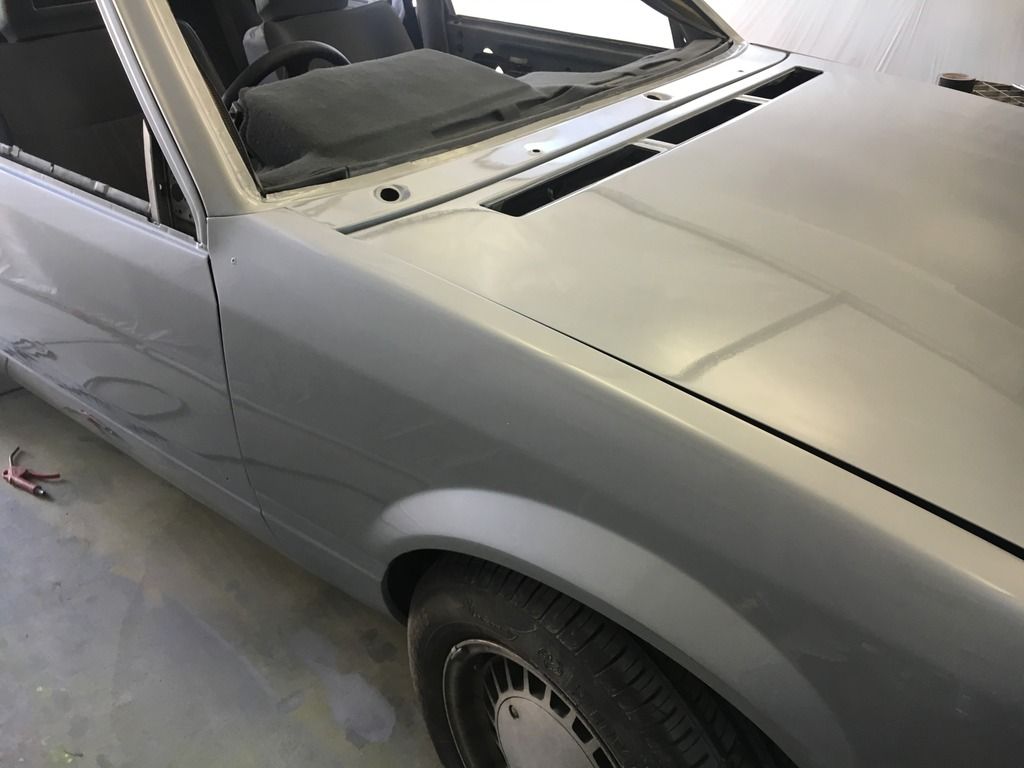
Anyway, scuffed the door down, blew in some of the base coat and blended it into the panel. I found the application was different to how I was painting the entire car 2 days ago and the shade wasn't quite right. So I held my breath and proceeded to base the whole door. It was after all the same paint, same temperature, same gun, same technique, same painter. I think it turned out pretty good! Pulled it into the sun and couldn't fault it.

The front guard, I initially had a cut through at the wheel arch where the 2k primer was removed and exposed the original paint. When I based over it the first time, you could see the transition from old coat to new coat and looked like a line/ mapping. When I painted it two days ago, I tried to put wet on wet primer first, scuff the basecoat, put light coats and dry it but it was still reacting. I continued to clear the panel knowing that the clear would seal it. Today I blocked it smooth, and when I applied basecoat to the area it looked perfect. So the front guard was based and cleared like the rear door.

PS. the reflection of the paint looks dull, that's because it's reflecting the plastic film of my makeshift booth.
Image

Image

Image

Image


Top Contributor
Posts: 6776
Joined: Tue May 19, 2009 7:10 pm
Location: OREGON COAST
PostPosted: Sun Nov 11, 2018 12:46 pm
:clap: :goodjob: glad it worked out for you!
Jay D.
they say my name is Jay

Return to Body and Paint

Who is online

Users browsing this forum: Google [Bot] and 153 guests