I've started building the door hinge pocket braces. There's a small indentation (a "pocket" at the pocket) that the brace needs to conform to at the top. You can see the indentation here:
I'll probably weld a piece of 1/8" steel, cut from a piece of tube, to the backside of the brace to take up the space between the brace and the pocket.
So I cut a couple of pie slices out of my 2"x2" square tube, and then beat the sides down with a ball peen hammer to match the hinge:
This way, the brace will fit the top of the pillar. I'm gonna go weld it right now. I think I'll give gas welding it a shot, since I broke down my TIG when I cleaned up a couple weeks ago, and my MIG is on the other side of the panel truck.
1956 Ford F100 Panel Truck Build (dial up warning)
Here are three shots of the brace welded up using O/A*:
* I really like O/A welding for a lot of things, but MIG is so much faster for tacking, and has a much smaller HAZ; TIG is a lot more precise, as well as being better for some materials, like stainless and aluminum. |
|
Well, I blew it and bought the wrong size bolts, and drilled the corresponding wrong size hole in my parts. Hmmph.
Filled the holes and ground them down. I'll be going back to the hardware store tomorrow. |
|
Got the right bolts, but things aren't working out with the braces as I had (re)planned. Going back to my original design, and so am waiting for a little more material to arrive.
In the meantime, I started working at the rear of the truck, specifically with the wheels wells. The previous owner had the inner wheel wells cut out, widened with a strip of steel, and then welded them back in. I cut them back out a few years back to narrow them to their original width. I'm encountering some rust issues with the remaining spot welded lips. I'm going to have to make another pair of them (one side is just as bad as the other), which looks like it will require a sheet metal brake and a shrinker/stretcher. I can't afford either at the moment, nor do I have the room for the brake. ****!! Where's that bottle of bourbon? |
|
I did a lot of thinking about the wheel well lips, and I should be able to make them by hammerforming. (One of these days, I'll get a shrinker and a stretcher, but until then, I'll keep hammerforming what I can.)
Also, my grinder quit, so now I have to get a replacement. I can't continue anything without one. The next day or two will be spent making patterns, and hopefully I can get another grinder today or tomorrow. I know that my luck could be worse, but jeez... |
|
Instead of making patterns, I decided to start on disassembling the fenders. I got one apart relatively easy. This is the driver's side fender, and is the worst of the two. More rotten fill work, bad welds, etc. Anyway, it's apart now. Here are some pix:
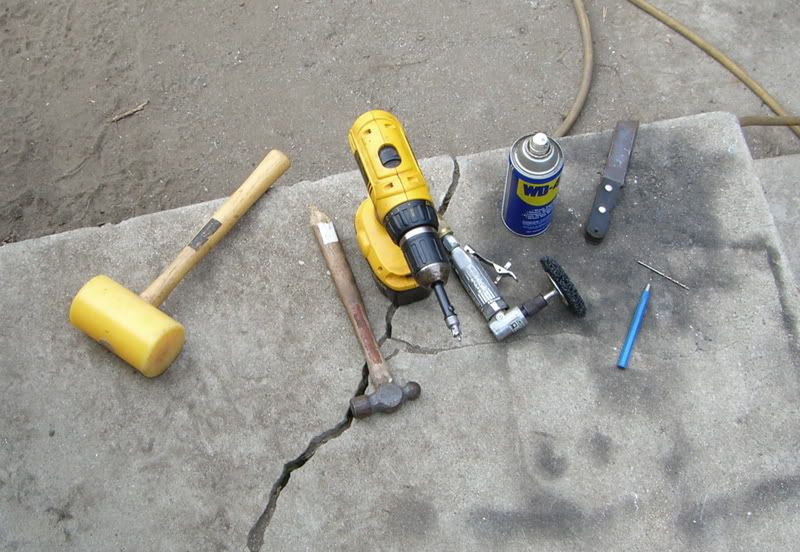
The tools used (left to right: barrel mallet, ball peen hammer, drill with spot weld cutter, pneumatic right angle die grinder with 3M strip disc, the ever-present can of WD40, panel separating knife, punch, and 1/8" drill bit): The spot weld cutter is from Eastwood, but it's a Rotabroach. It's billed as "skip proof", but it really isn't. Even with a pilot hole, if you go too fast too soon, it'll run all over the place. But if you're careful and keep it lubricated, it works great!! 
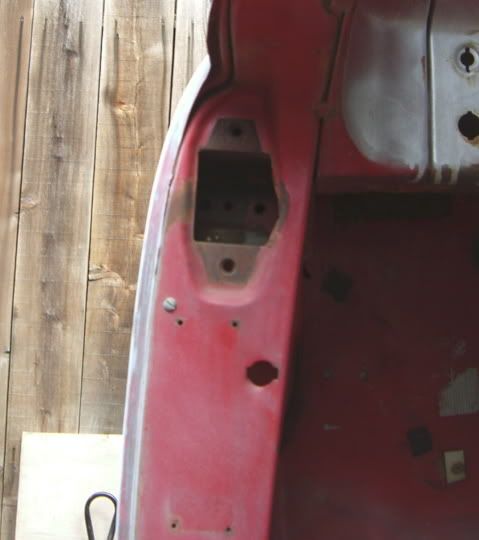
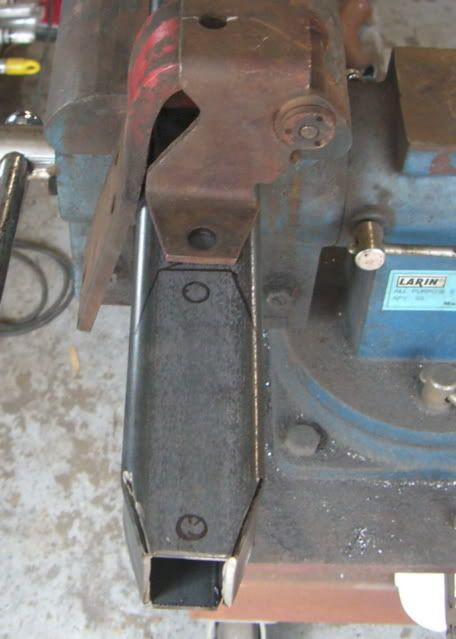
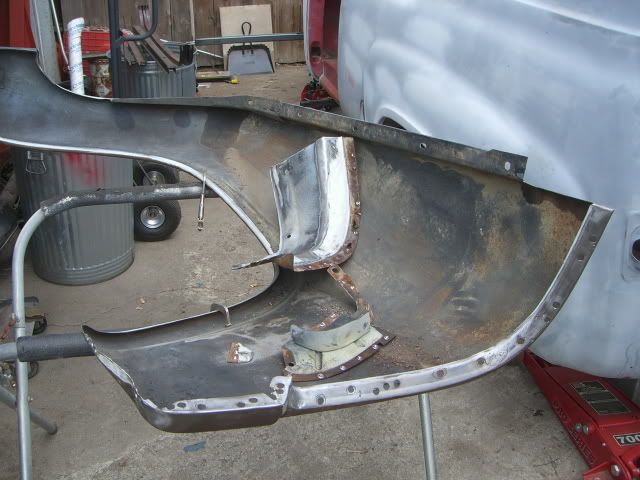
View showing front end of fender disassembled:
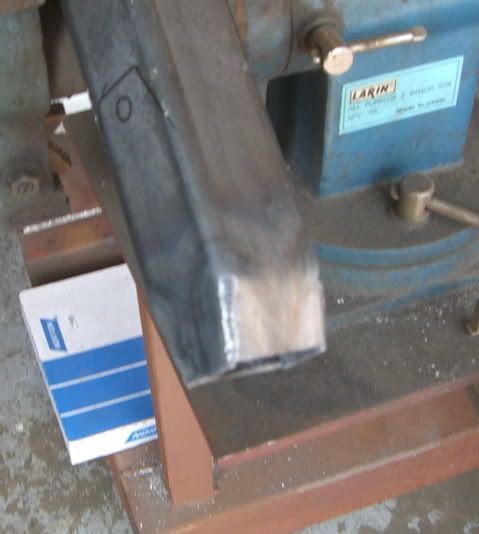
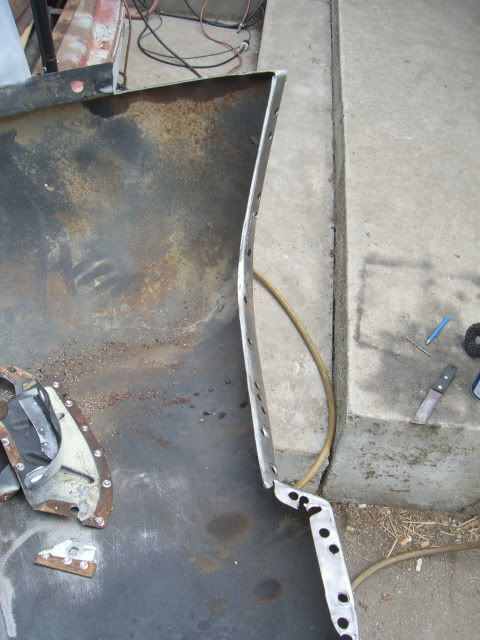
 Top view: 
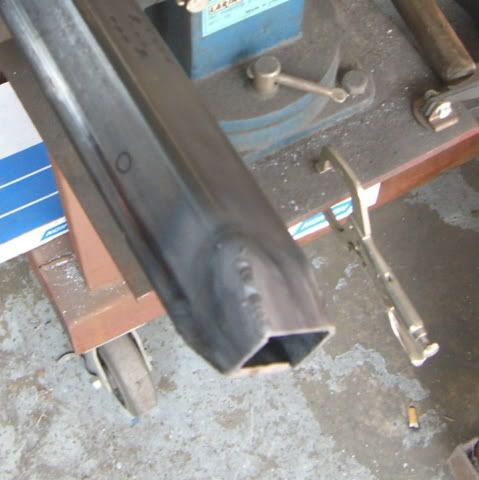
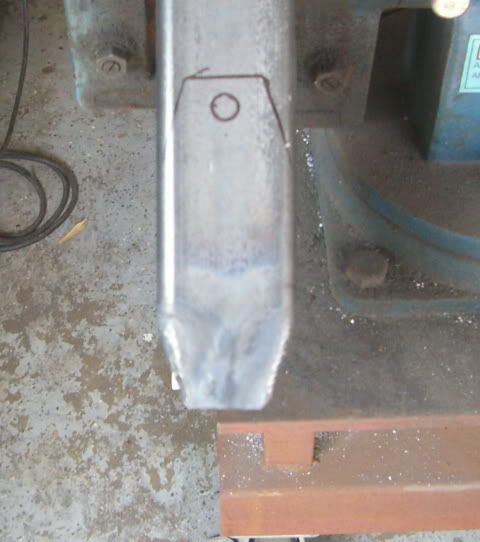
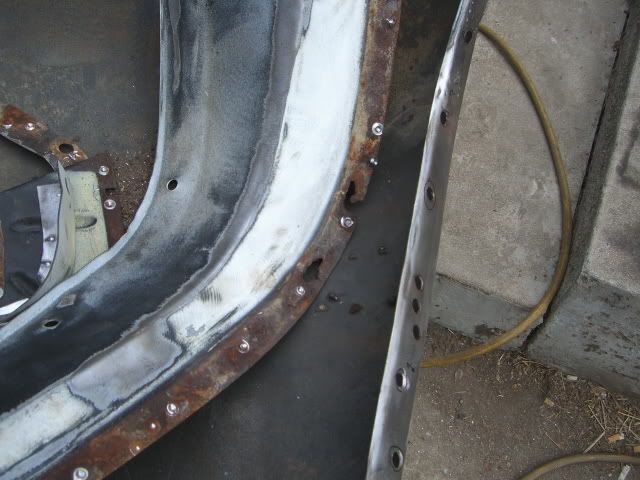
And a close up of some of the worst rust: Next, I'll continue stripping the inside of the fender, and then I'll begin straightening. Once the main fender is straight, I'll begin stripping the pieces, and then I'll straighten and repair them. Once the front of this fender is done, I'll turn my attention to the rear. There is less to cut out, but the repairs necessary at the rear are a little more involved. |
|
Making good progress! We do need more metal work info. like these.
So it's refreshing to see, as it's suppose to be Body and Paint. Cool. A man can do all things if he but wills them.
|
|
Thanks, Han!! I'm glad to be making progress at all, after the string of bad luck I've had the past few days.
The front of this fender has some dents in it that were repaired by the old drill/screw/slide hammer/bondo method. I'll have to raise the low spots, fill the holes, and then hot work the weld to stretch it some. After that, I'll use the shrinking disc on it. First, though, I'll have to strip the backside of the surface rust and paint/primer that's there. More pix to come. |
|
Top Contributor
Posts: 1531
Joined: Mon Mar 28, 2005 10:44 am Location: San Francisco Bay area |
Creepy, someone has probably said this already, however......You are such a great addition to this forum! You have really lifted the bar around here with some great stuff, a great additude, great photos and great knowledge. Thanks!
Brian Free lance adviser
"Hitting the pavement at 100 mph really smarts" Evel Knievel |
Hey Brian, thanks!! I really appreciate it!! I can't take all the credit, though. It's guys like John Kelly, Wray Schelin, Kent White, Ron Fournier, Ron Covell, Fay Butler, and on and on, that really inspired me. I just happen to be in a position that allows me to experiment on my own stuff, and then help build other folks' projects.
In other words, I was always too BROKE to be able to afford to have someone else do the work for me!! So, what with the interweb and all, I started watching what guys were doing over at Metalshapers, and eventually, Metal Meet. Just about anyone with the drive can do this stuff. I'm not super special. Get some hammers, dollies, an O/A torch, and some sheet metal, and start beating on it!! Seriously though, I really appreciate your compliment. If I've helped anyone with their projects, then I'm happy. |
|
Who is online
Users browsing this forum: Google [Bot], Rebel Racing and 111 guests