Hi,
New to the forum and thought I would post up some of the jobs I have been playing around with lately. I am a qualified painter who has been out of the trade the last 10 years. Due to circumstances I now have the chance to basically flip cars for a living. I am building a decent shed with spraybooth on a new property we have bought and will be buying cars, giving them a nice paintjob and selling them on, looking to make around 5k a car or so.
Current personal project that I have is a 1967 Camaro with a small block 350 in it. I will post some progress pics of it shortly after my first post gets given the ok by the mods.
One job that I have done was a mates round nose 1968 mini. This is what it looked like when he got it
Then after removing some rust we got stuck into the paint. The colour was Lexus royal blue with Ford Transit white roof and cooper s stripes.
Here it is all put together. We just denibbed some dirt and gave it a quick buff. It was not colour sanded. He took out best paint at this show in Sydney with it.
Once this has been given the ok by the mods I will continue the post with the rest of the projects and the Camaro.
Some work from Aussie
18 posts
• Page 1 of 2 • 1, 2
Scott
|
|
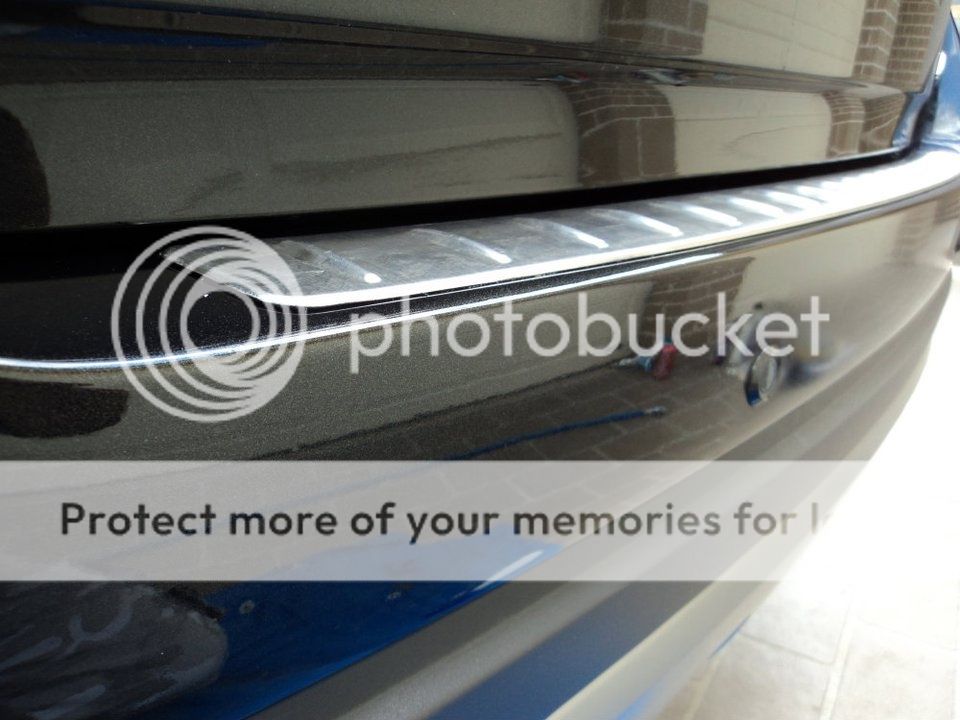
This was a bumper bar blend on my wifes Holden Captiva. Repair done in 2k clear over base
Another bumper on my wifes mothers car. Subaru white 3 layer pearl. Another bumper blend 
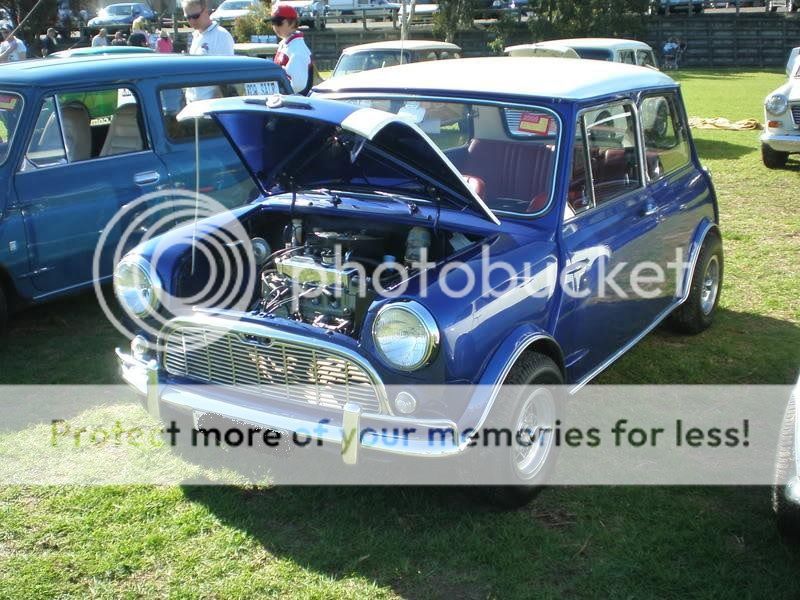
This was fitting a Holden Dealer Team (HDT) bonnet scoop and applying vinyl track stripes to my SS commodore. Colour is 2k clear over base General Motors Holden Voodoo blue A set of Harley tanks and gaurd painted in 2k clear over base. Colour is General Motors carbon flash black This was the finish straight off the gun Colour sanded flat with 2000 grit and machine buffed I removed the standard SS rear diffuser and fitted a diffuser from a Pontiac G8 GXP (they are the same car) just required a bit of cutting in relation to removing a bit of bumper near the exhaust and lengthening the holes for the locating tabs on the new diffuser. This was the original Holden fitted diffuser Diffuser removed and bumper trimmed and holes lengthened Finished with the new Pontiac diffuser on This is a set of fibreglass engine covers for my uncles car. He has the same car as mine but in the utility version and is the same colour. These were painted in 2k clear over base using normal hardener. The raw gel coated covers. The covers with straight off the gun finish After a 2000 grit colour sand and buff The covers after being fitted This is the 67 camaro I bought a few months ago. Until I can get my shed and spraybooth built in a few months I have just concentrated on tidying up the interior for now. Have fitted new original style seats and resprayed the dash as it was a bit knocked around and rough looking. The car. Currently painted Ermine white The dash and steering column before. It was like this all over. Very pitted All feathered out ready for a wet on wet hit with acrylic lacquer primer surfacer and satin black. I applied the satin black very dry because I did not want too much of the semi gloss shine to come through. Was just after a hint of semi gloss as opposed to using completely matt black. Finished product The dash once I got everything back together. Also shows the houndstooth seats. I have an unnatural addiction to houndstooth. The instrument cluster in this photo has now been replaced with a new one since this photo was taken. This is the colour the car will be painted. It is the Audi on top and the colour is called solar orange. It will be a 2k clear over base with painted bumblebee stripes in straight white tinter. Will also be getting rid of the centreline wheels and fitting rims from a 69 SS 396 camaro and also fitting a SS hood to it as well. Thats about it for now. I will keep posting as more happens and look forward to being on the forum. Thanks guys Scott
|
|
wow! real nice work; I look forward to seeing your projects. Thanks for posting
|
|
Nice!
Never argue with an idiot, he will drag you down to his level and beat you with experience.
|
|
Great work...I look forward to following your projects!
69 Mustang 302 Coupe
Currently in "Rust Removal" stage www.jobslick.com or http://www.facebook.com/JobSlick |
|
Well it has been over 12 months since I first posted but it has been a busy twelve months. The new house was built and I now have my shed put together and up and running.
Pad for shed all dug out and retaining wall in. Shed up and full of landscaping gear for the house. The majority of the last twelve months has been taken up with landscaping. I managed to find an eighteen month old spraybooth for sale for two grand. I just had to go to Sydney and pull it apart, load it on a truck and bring it home. Sydney is about a two hour drive away Now just to put it. Back together. Ha ha Figured it out and it is now running and up in place Also got compressor in and ran airline throughout the shed and to the booth. The shed is also pwered up with lights, three phase power etc etc Well that is the logistics taken care of. More photos to come in an hour or so of actual painting that has been done. Scott
|
|
Needed to do another repair on the wifes captiva as it got scratched while we were moving house. Always the way.
The scratch Rubbed back, feathered out and the deeper scratches filled with body filler Primed up and rubbed ready for colour All fixed. Good thing I have plenty of this colour laying around. The finish is peely but bear in mind I am matching it to the existing paintwork Scott
|
|
This one I just finished. My neighbour next door is selling his SS commodore and it was absolutely riddled with stone chips so we did a quick front end respray on it. The colour is General Motors Holden Phantom Black. A beautiful black metallic that can be edge to edged if needed. In this case I did not need to. I just repainted the entire bonnet or hood and blended down and along the front guards.
First up I removed the front bumper bar and took the gloss off the panels to see what I was working with. As this was just a tidy up to sell the larger stone chips were just filled with body filler and then 2k hi fill primed with the hi fill taking care of any smaller chips. The same went for the bumper bar as well So chips filled and primer on, primer rubbed and into the booth ready for colour Colour on. Off the gun finish shown Off the gun finish outside the booth. Again it is peely but our GM paint finishes here have quite a bit of orange peel in them so I was matching the existing paintwork The bar was in pretty bad shape and had it's corners fairly well gouged and scratched so I rebuilt the corners with the help of some filler and it all came up pretty good. After everything was painted I just gave it a quick and light cut with some 2000 grit to take a bit of the featheriness out of it and denib some dirt and she came up pretty good. Owner was happy with it and so was I Scott
|
|
wow, I really like the new workshop, congratulations! Nice work there.
Have you had any problems using old newspaper for masking? It tends to have a lot of fibers in it (which end up in the paint) and it also bleeds through pretty easily. Maybe you guys have higher quality newspaper in Australia...here it would be a problem... |
|
Cheers Chris. Mate, I have never had a problem with the newspaper. Years ago when I was in a shop we tested newspaper against proper masking paper and we got the same results with both so we stuck with the newspaper cause we go got it for free. Never had issues with bleed through either. We must have a different quality paper down here. Thanks again mate
Scott
|
|
18 posts
• Page 1 of 2 • 1, 2
Return to Completed & In Progress Member Projects
Who is online
Users browsing this forum: No registered users and 96 guests