The Range Rover turned out great which is more then I can say for my day overall. Heading to the job, I hit 5 klm of unsealed road

then half way thru the job I hear the sound of water sprinklers firing up, normally not to much to worry about, then remember seeing a "BORE WATER IN USE" sign at the gates on the way in 8O 8O After putting down the buff and going to my truck there she was with bore water glistening in the sun all down the driver side and half of the bonnet.

NOT HAPPY. Then during the Sealing stage every time I put a coat of Z on Id get a little shower and as space was an issue I had the bonnet half out of the garage and it would get wet each time. 8O

But as they say in the classics "the show must go on"
Kristian and I spent 10 hours on the Thursday and I finished it off with around 4 1/2 hours Friday
wash
clay
White Wolfgang pad and 3.01
Black Wolfgang pad and 85RD
3 x Z5 Pro
Z10 on the leather
1Z Cockpit Premium on the rest.
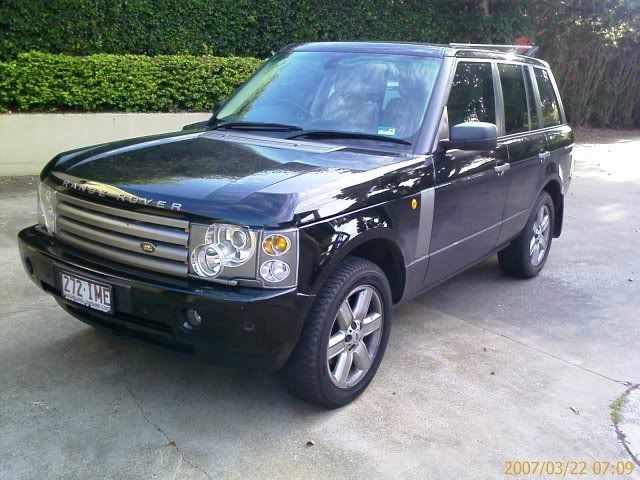
Before
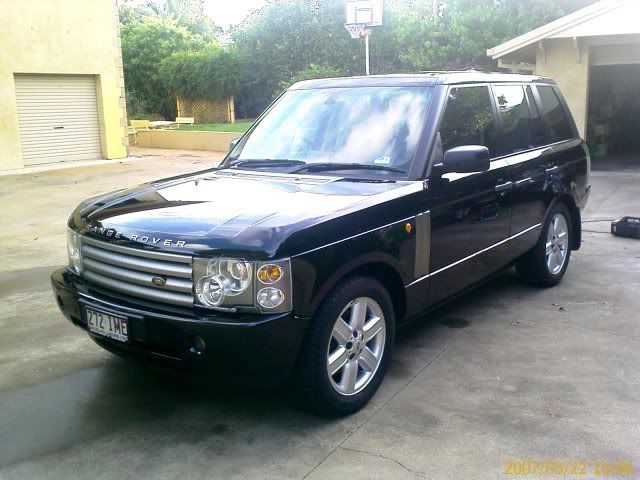
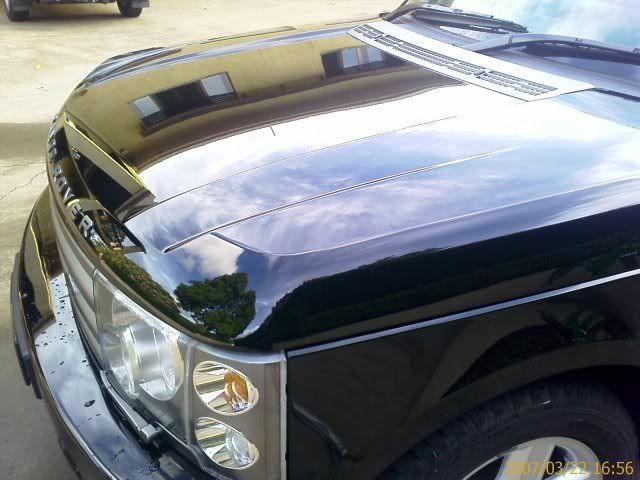
After Buffing
After 3 x Z5 Pro
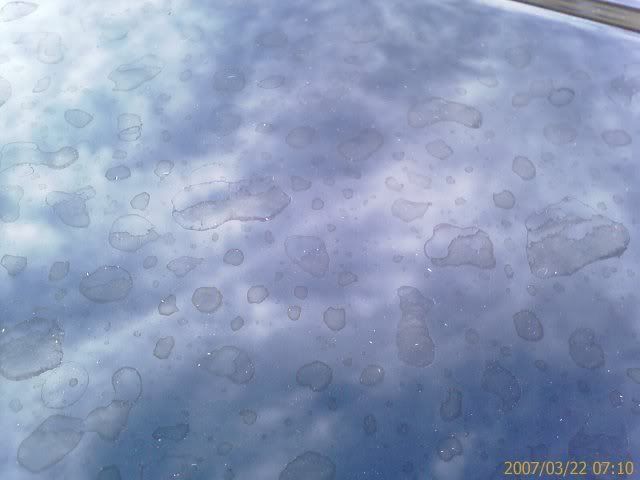
Some of the crud to battle with (something different from swirls.......just kidding they were there too)
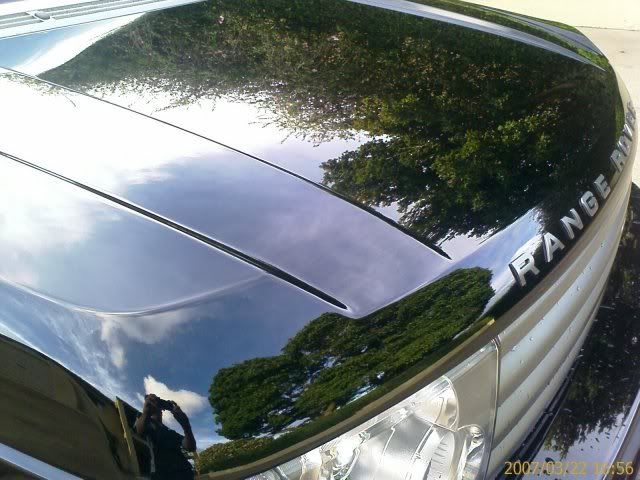
After Buffing and in the nude
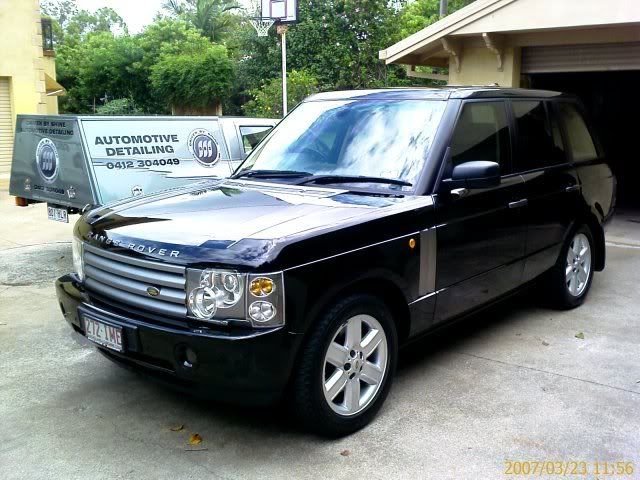
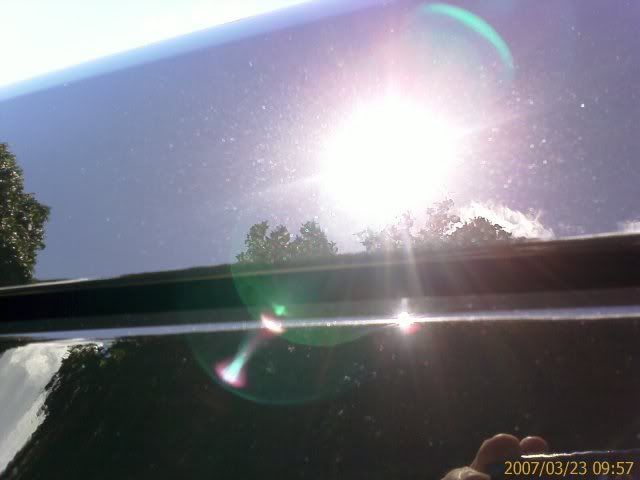
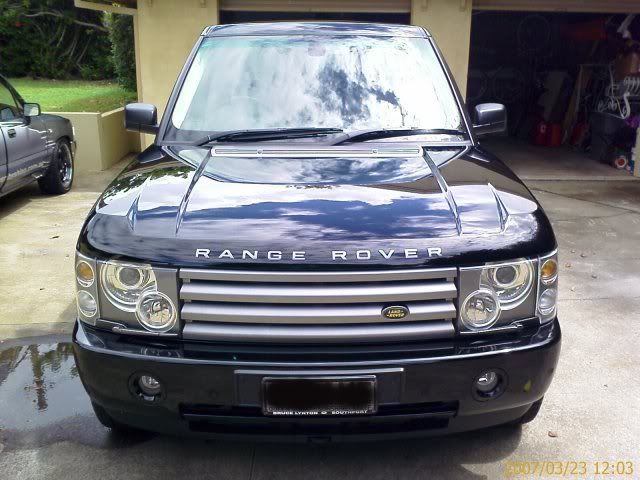
Next day - ready for sealing and some of the only sun I saw all day
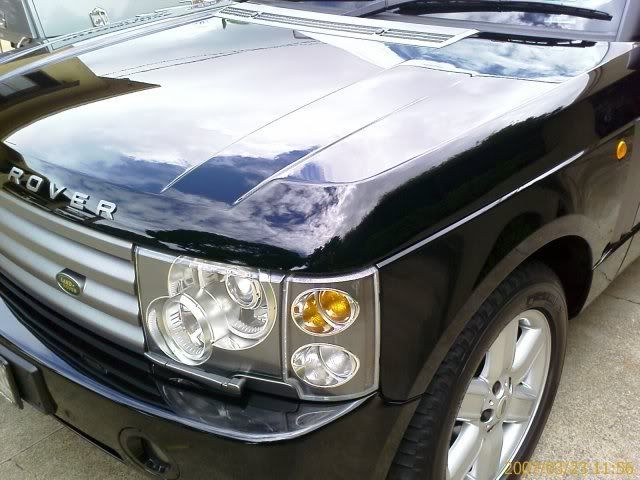
After Zaino